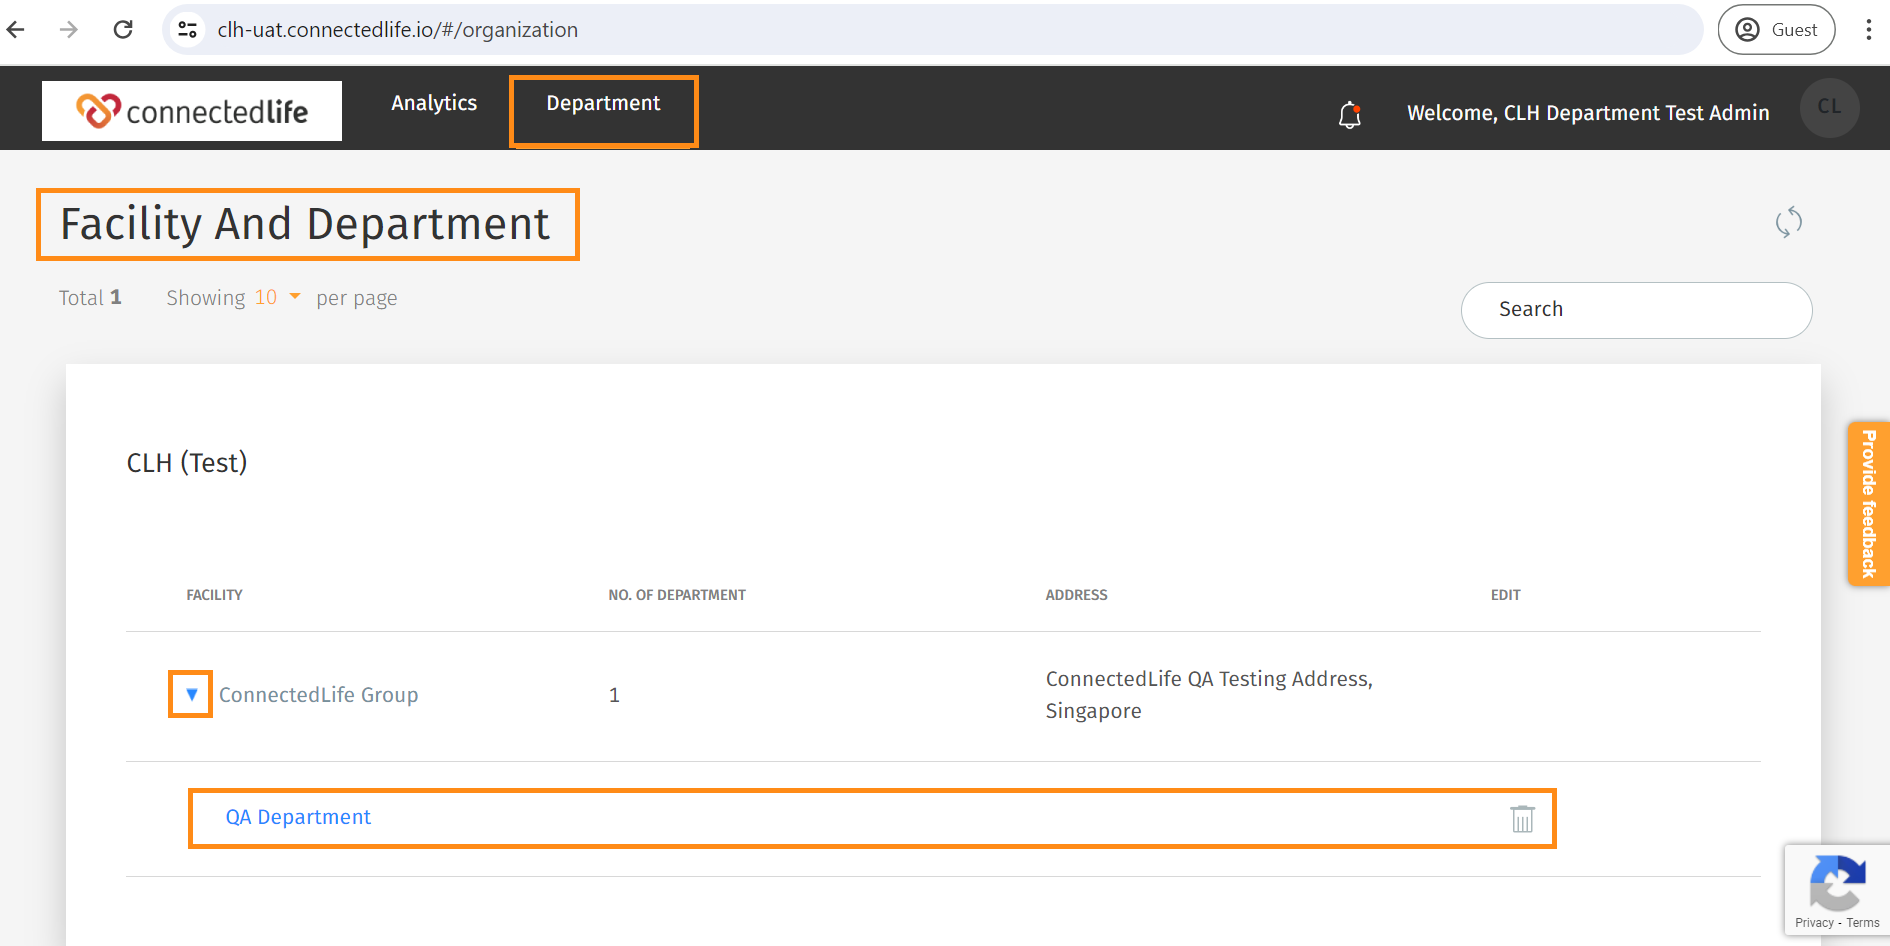
What is a Support Team?
Support Team oversees users’ activities, invites, and assigns users. Support Team Member (W+) is also known as STM. There are two types of STM. There are primary and secondary STMs. Support Team roles and responsibilities involve managing patient lists, schedules, and documents and monitoring patient health parameters and compliance.
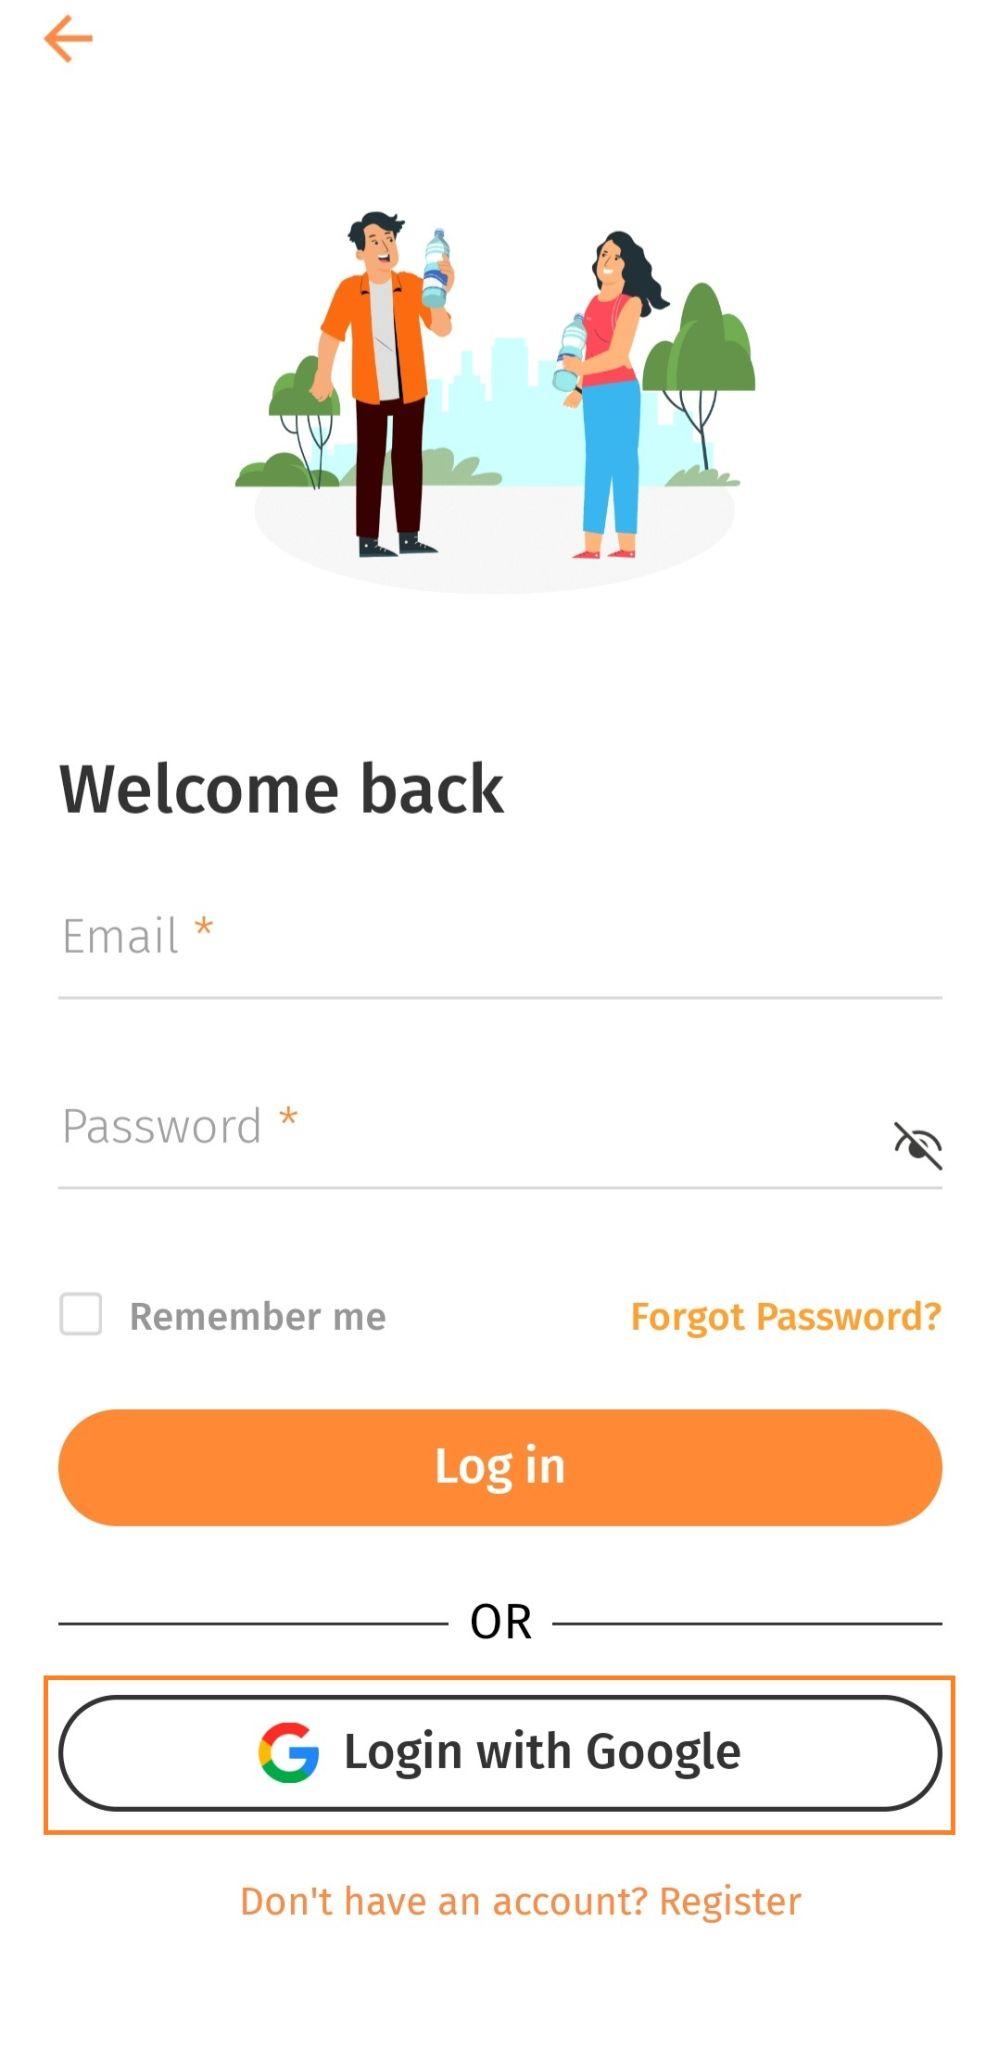
Support Team Member Login View
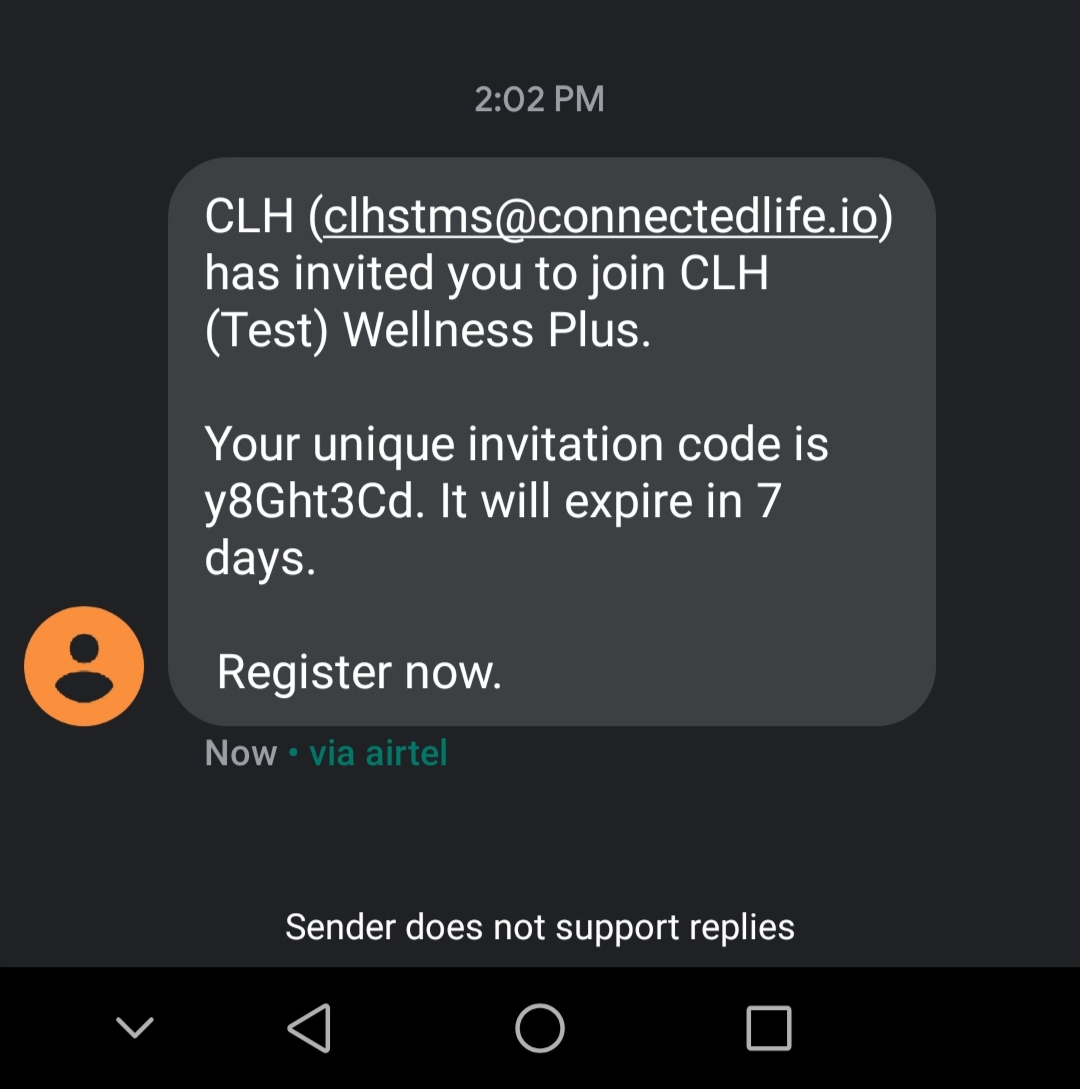
Please log in to the CLH STM Account account to get access.
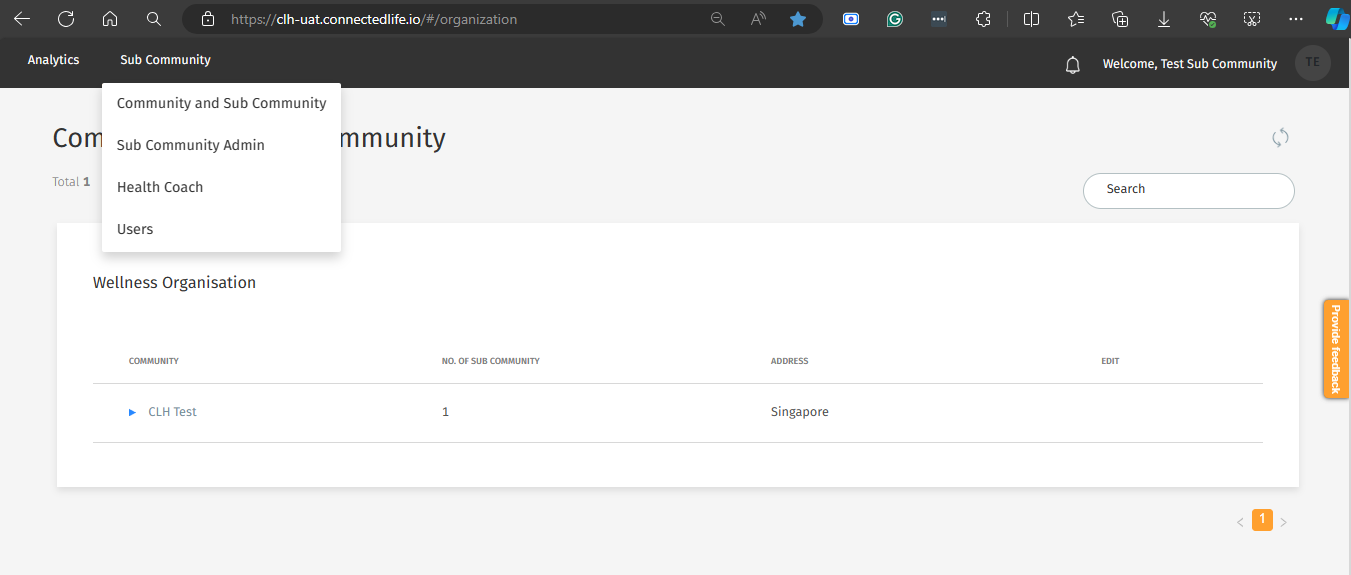
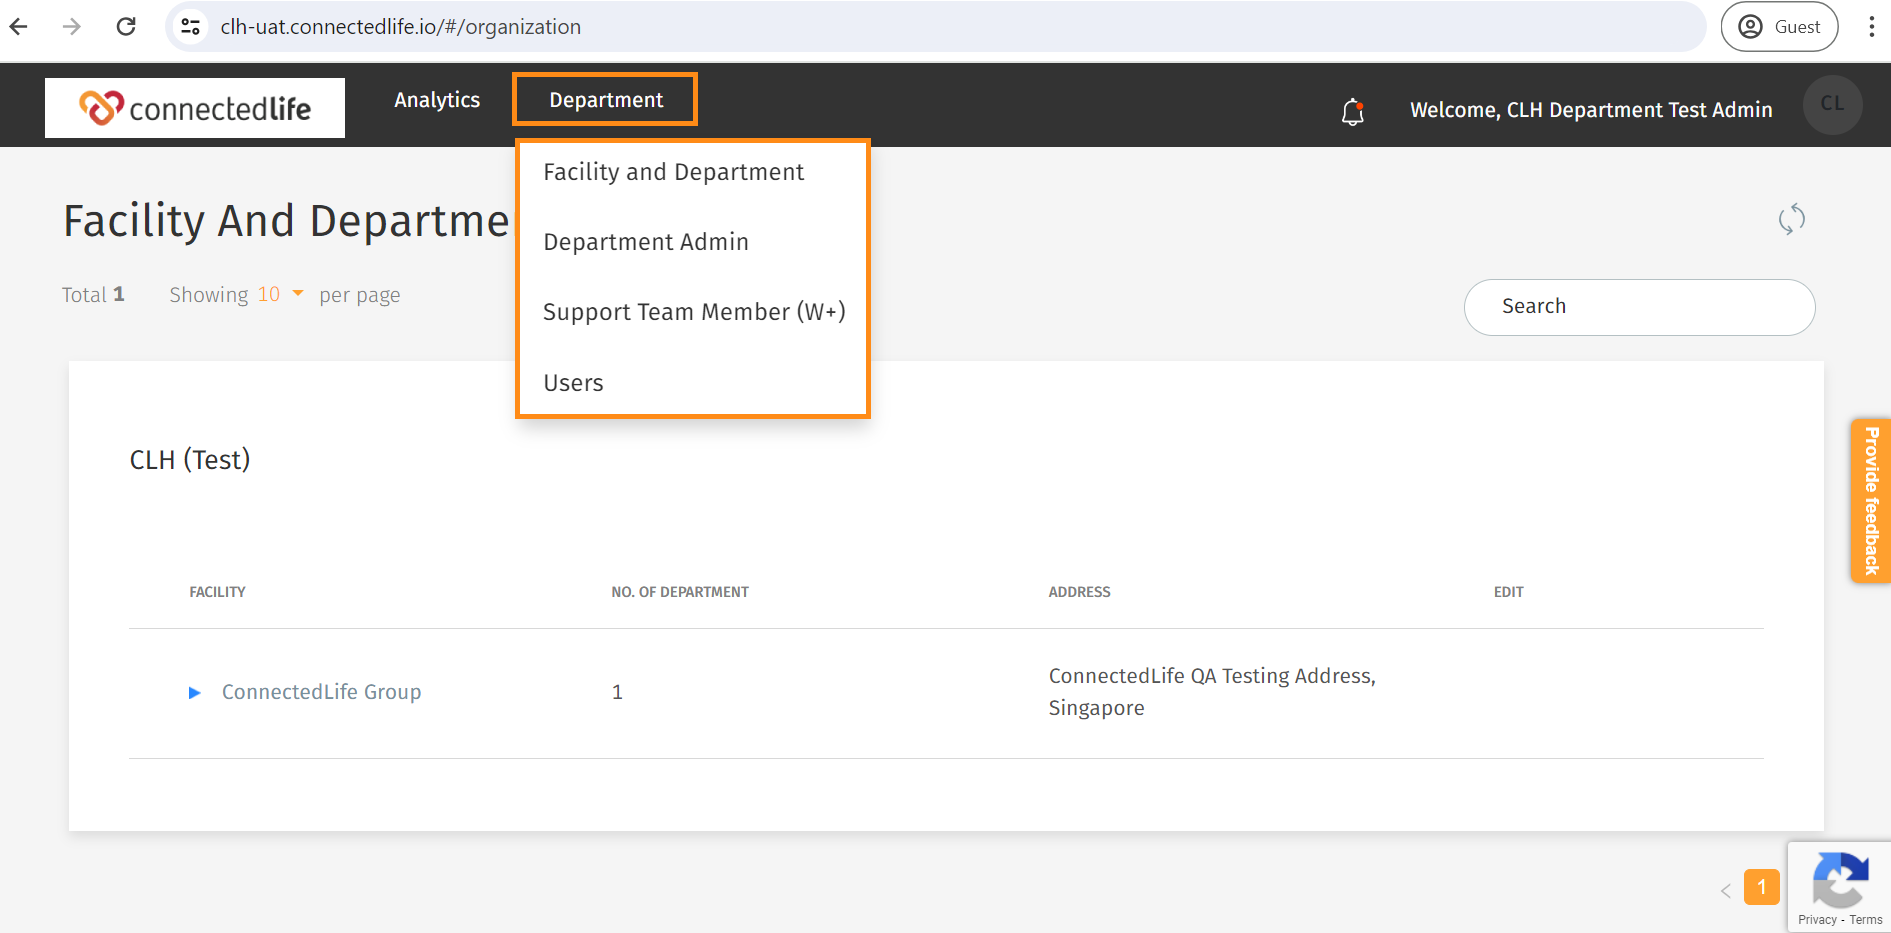
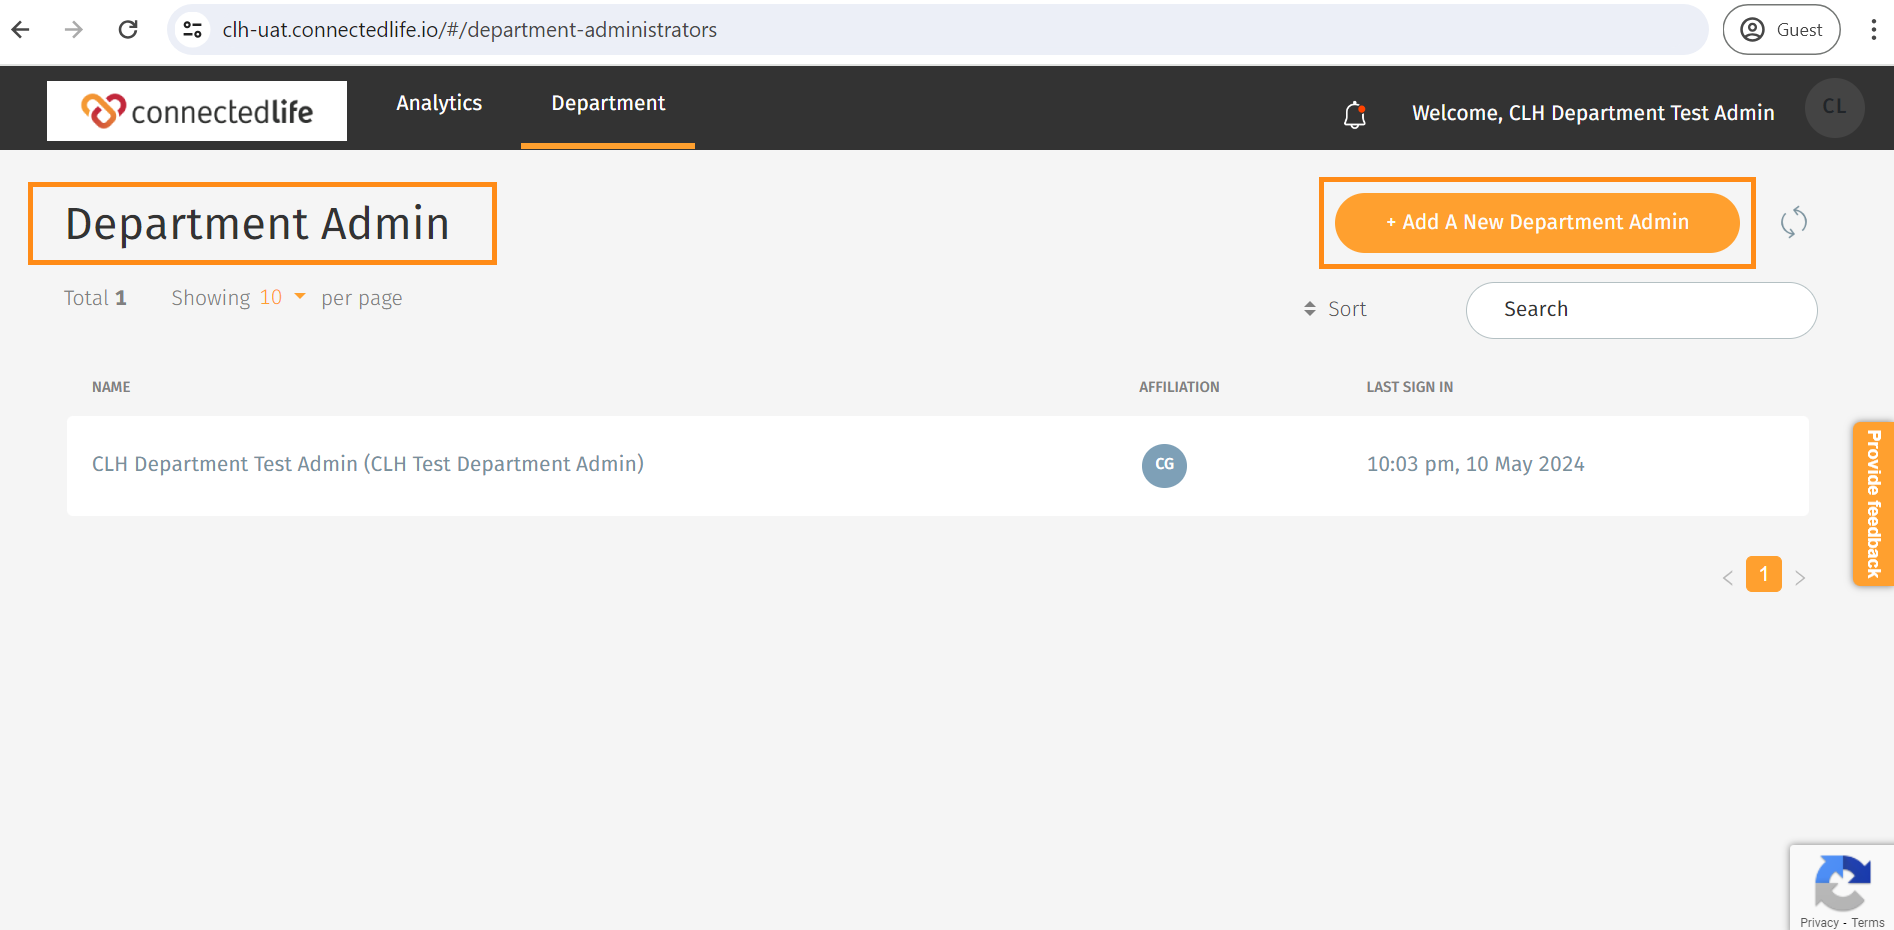
Support Team Member Account tab view: (as STM)
- Analytics
- My Users
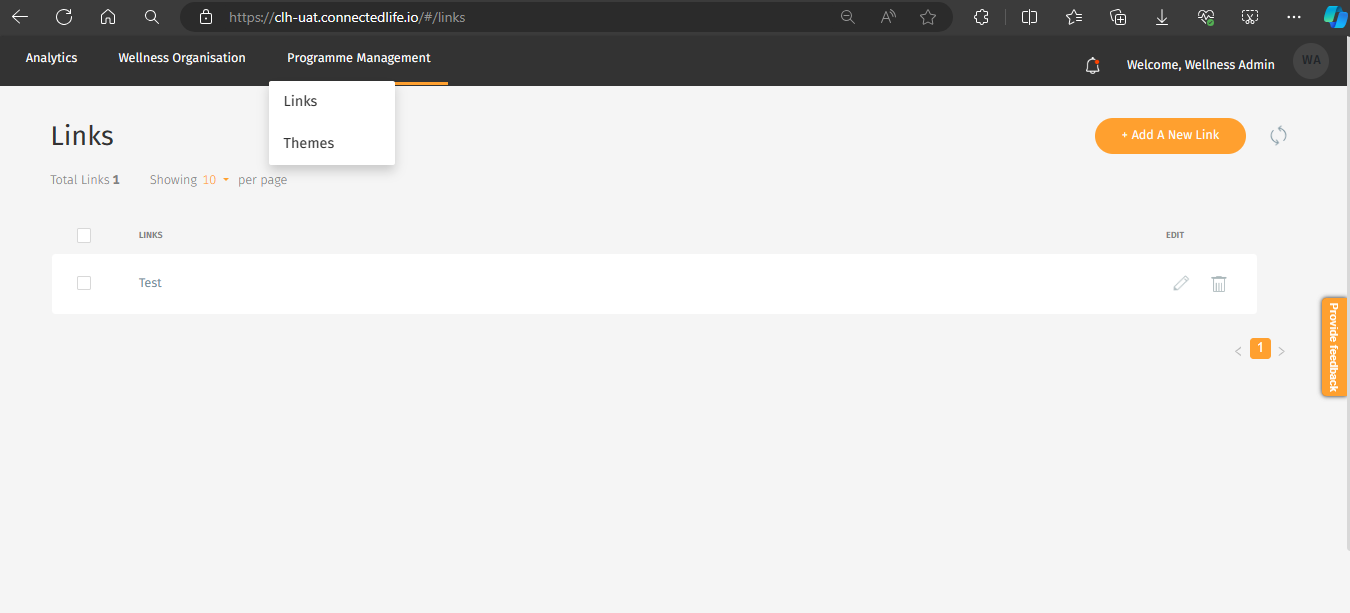
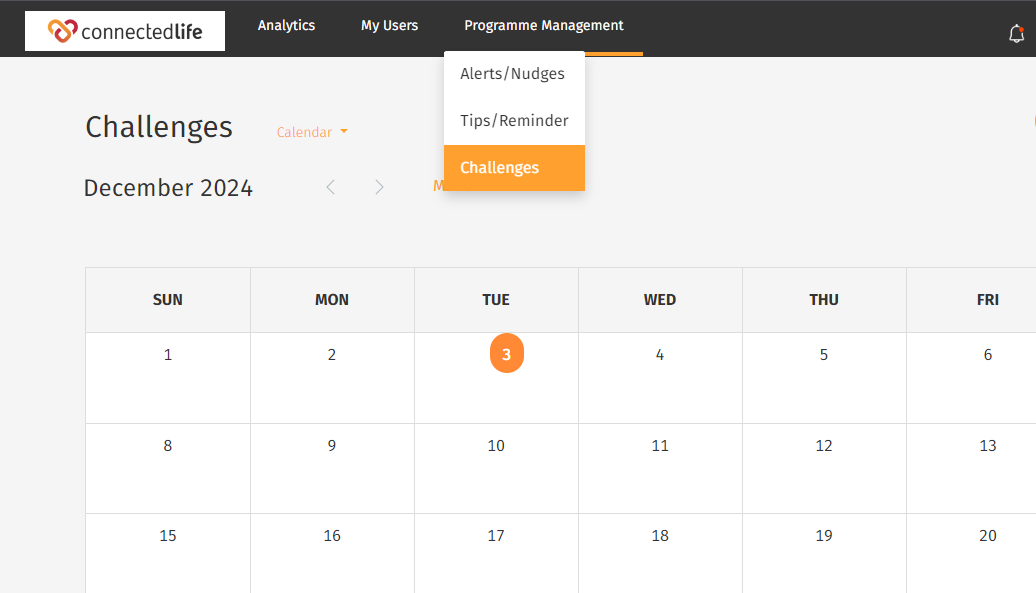
- Programme Management
STM can also check the User’s Support Team, Facility and Department, Alerts, Key Parameters, Medical Condition, Overall Compliance, Onboarding Progress, and Personal Info from the Profile.

My Users tab view: you’ll land on the Assigned To Me users list.
Only the users visible who are assigned to the selected Support Team Member.
From the My Users tab, you can: (as STM)
Create new group, edit the group name, and add group members.

- View Users list
- Invite New User
- Edit/Monitor Assigned User
- Referral option for Affiliation purposes
From the drop-down menu beside Assigned Users, you can find:
- Assigned
- Pending Onboarding Users
- Invited
- Incoming
Note: Support Team Member (STM) cannot access the All Users, Unassigned Users, Pending Activation List.

Programme Management tab view: (as STM)
- Add New/Edit/Delete, Alerts/Nudges to the assigned users.

- Add New/Edit/Delete Tips/Reminder.

- Add New/Edit/Delete, challenge template to the assigned users or groups.
 Note:
Note: