How to change Support Team Member (W+)’s Facility and Department?

Adding patients to change Support Team Member’s (W+) Facility and Department on the Connectedlife Platform. Only users with specific organizational roles such as Organization Admin, Facility Admin, and Department Admin have the necessary authority to carry out this task.

Here’s a step-by-step guide on how to effectively add patients under a Support Team Member / Clinician :

  1. Login to the ConnectedLife Admin account.
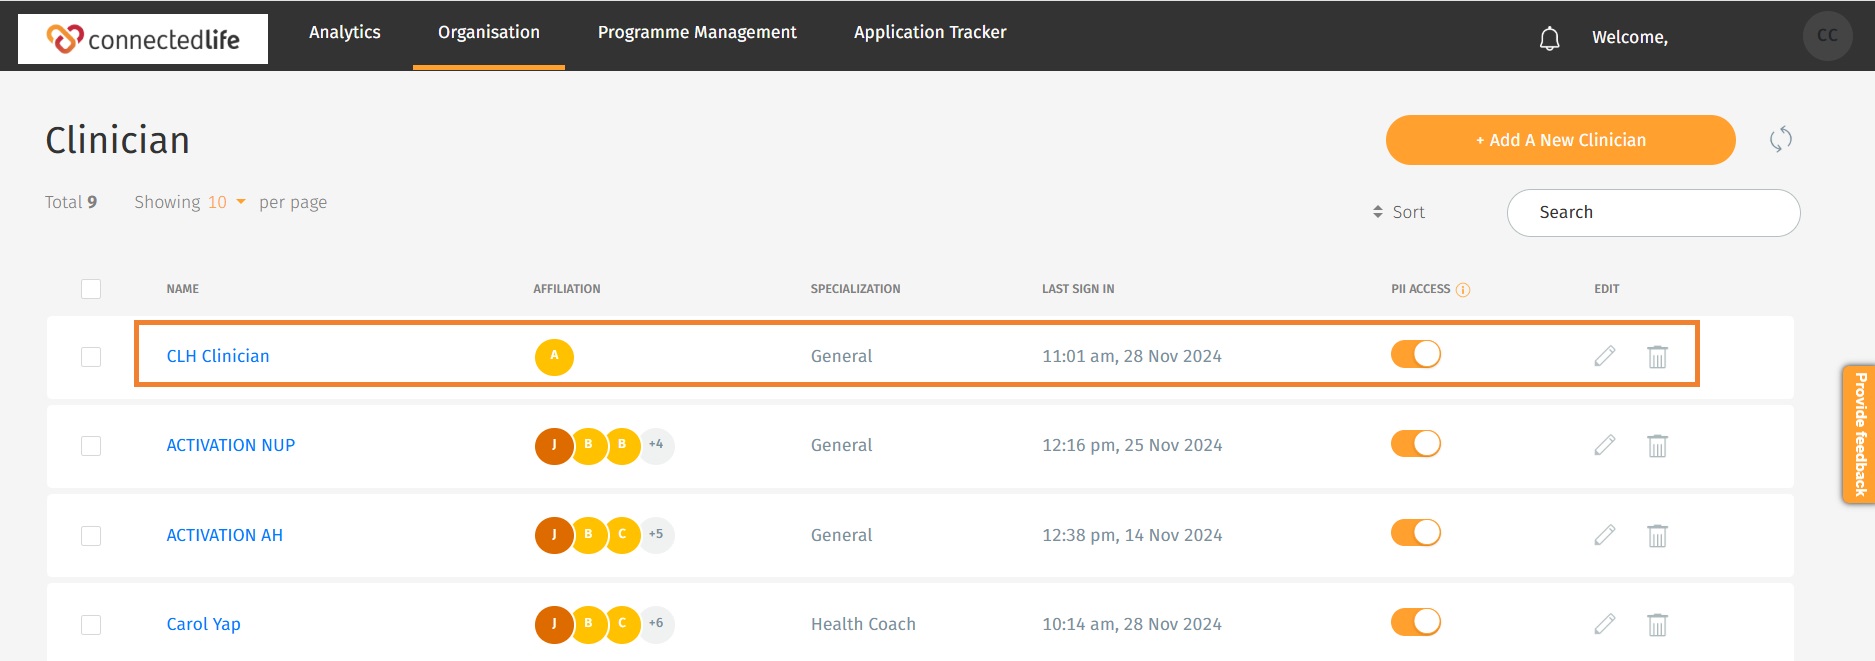
  2. Once logged in, go to the “Organisation” tab and select “Support Team Member (W+).”
  3. You’ll be presented with a list of Support Team Members (W+) within the platform.
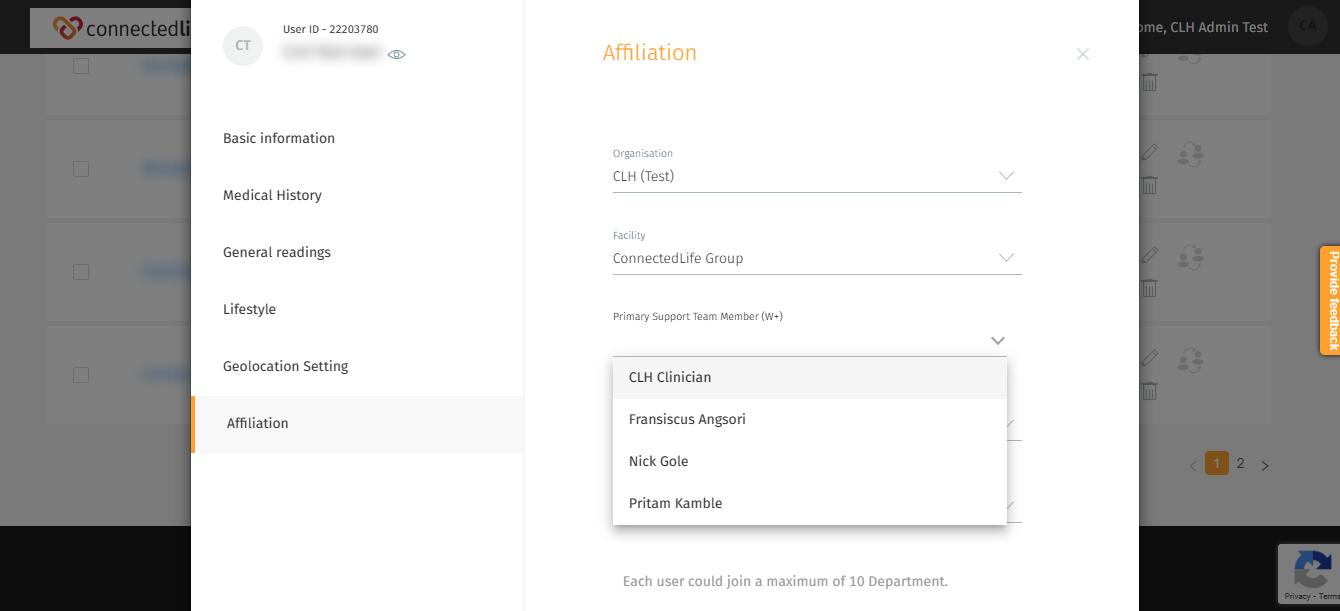
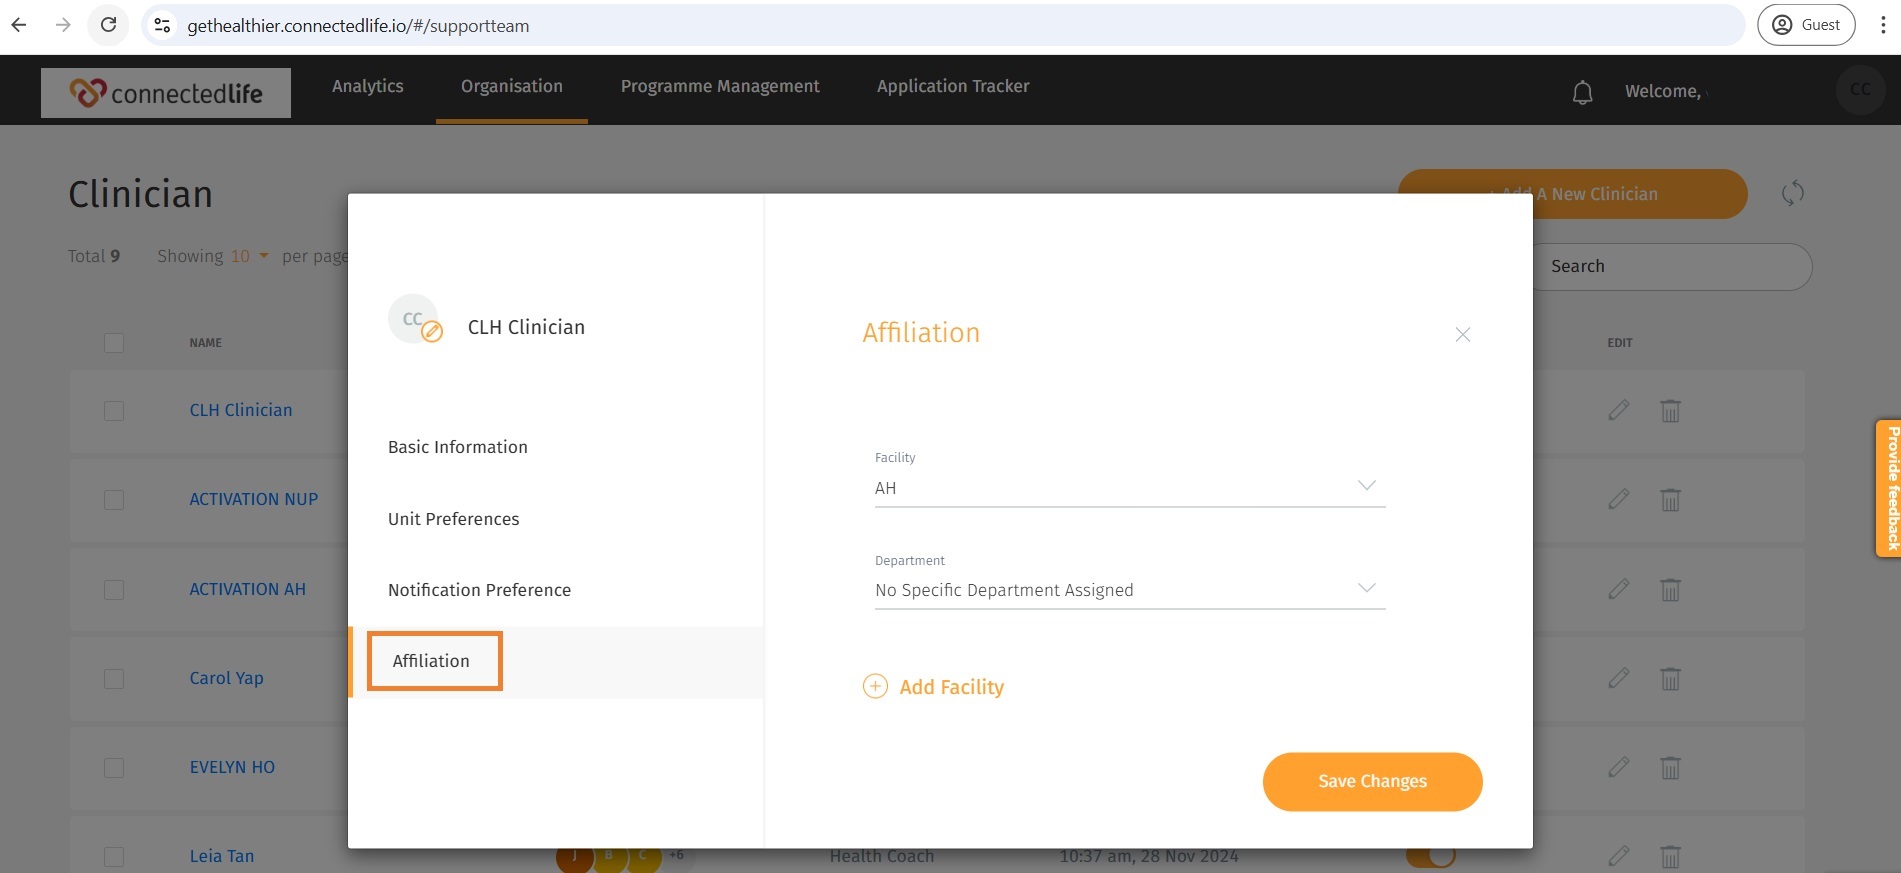
  4. Click on the edit icon (pencil) corresponding to the desired “Support Team Member.”
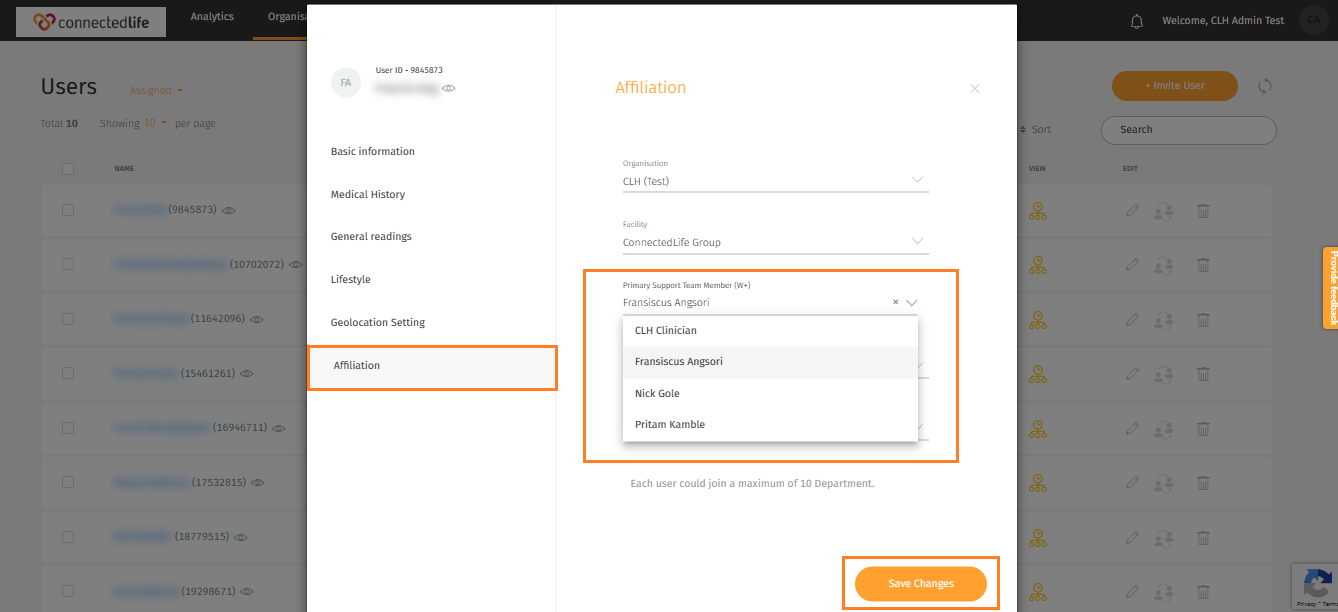
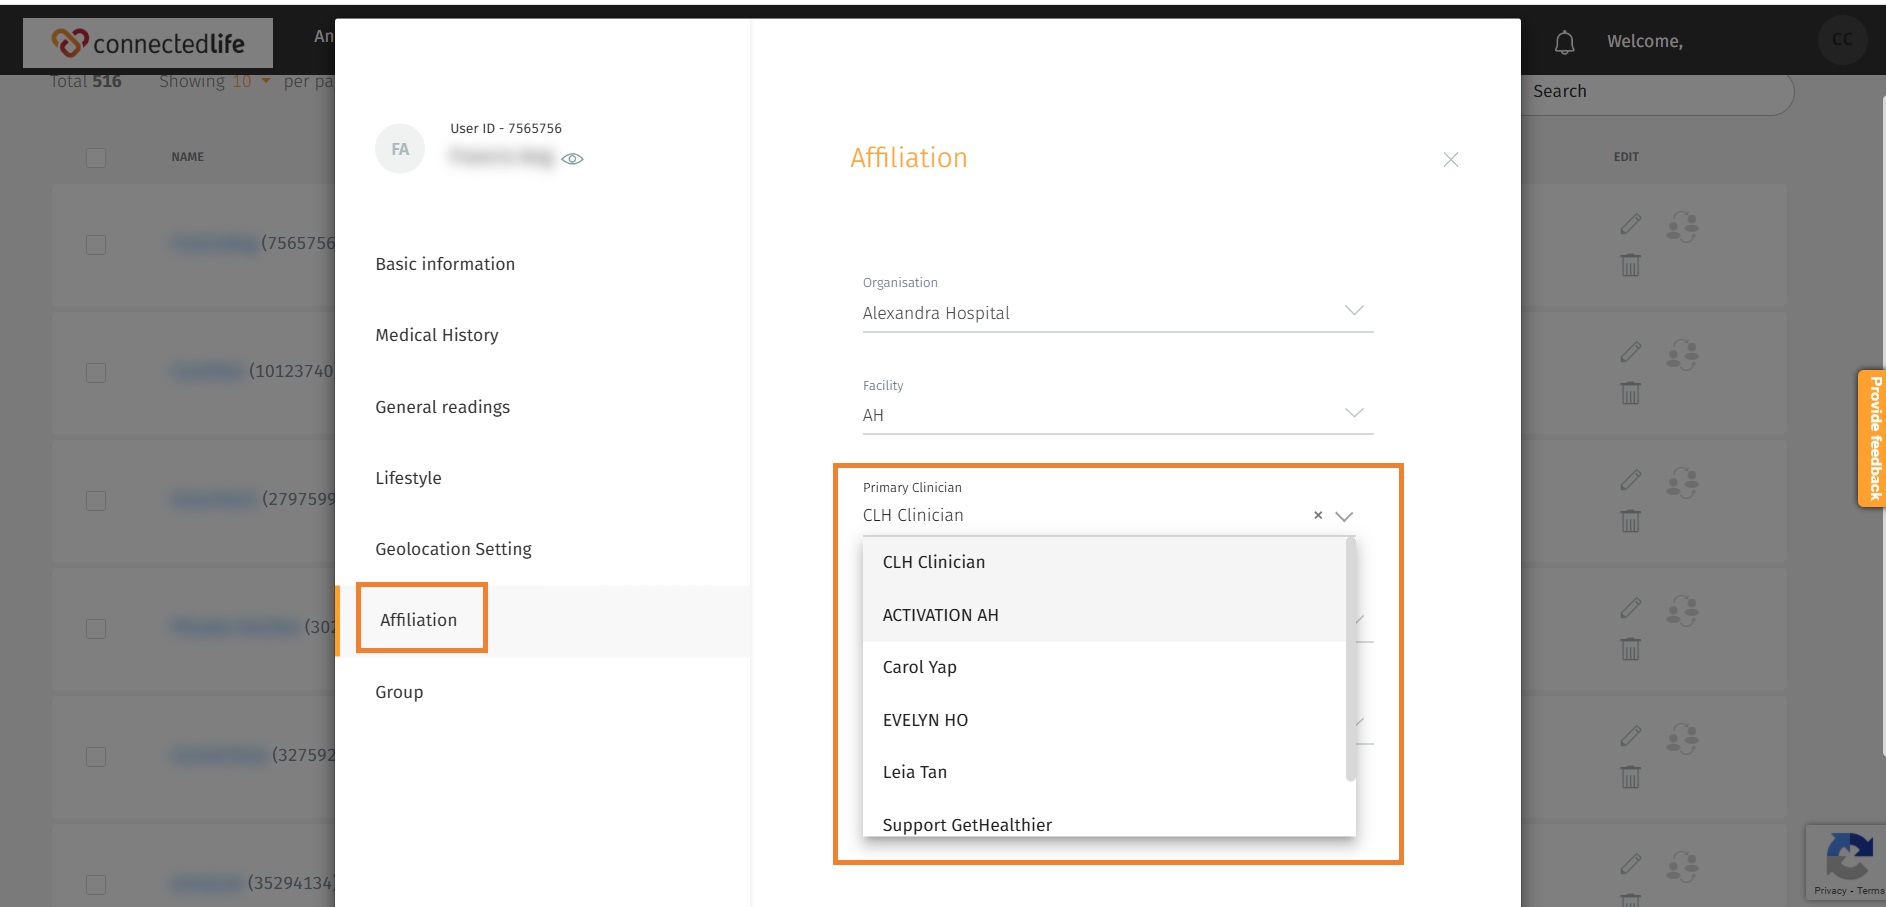
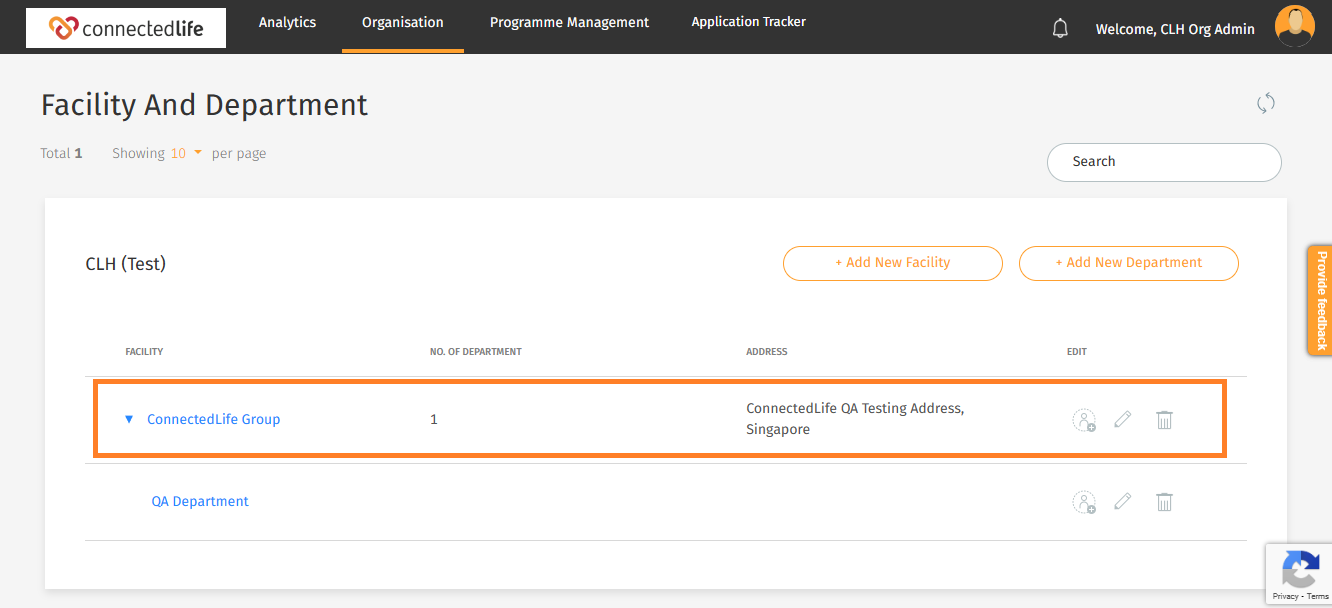
  5. Select Affiliation.
  6. Select the Facility and Department from the drop-down menu you want to change it to and click Save Changes.
  7. A pop-up confirmation will appear.

By following these steps, the Support Team Member’s (W+) Facility and Department can be changed on the Connectedlife Platform, facilitating seamless management and support within the system.

How to add User to Support Team Member (W+) Account?

Adding a user to a Support Team Member (W+) on the Connectedlife Platform is a straightforward process. Only users with specific organisational roles such as Organisation Admin, Facility Admin, and Department Admin have the necessary authority to carry out this task.

Here’s a step-by-step guide on how to effectively add user under a Support Team Member:

  • Access the ConnectedLife Admin account using your credentials.
  • Once logged in, go to the “Organisation” tab and select “Users.”
  • You’ll be presented with a list of users within the platform.
  • To add a user, input the User ID or name in the search bar. Alternatively, you can manually browse and select the desired user.
  • Click on the edit icon (pencil) corresponding to the selected user.
  • Within the edit mode, navigate to the “Affiliation” option.
  • Under the Affiliation page, you’ll find the options to designate the user as either the “Primary Support Team Member” or “Secondary Support Team Member.”
  • After selecting the appropriate support role, click on “Save Changes.”
  • A pop-up confirmation will appear, confirming the successful assignment of the Support Team Member to the selected user.

By following these steps, users can be efficiently assigned to Support Team Members on the Connectedlife Platform, facilitating seamless management and support within the system.

How to assign and unassign Support Team Member (W+)?

This article outlines the step-by-step process to assign and unassign a Support Team Member (W+) to an existing user in the Connectedlife Platform. Only organisational roles such as Organisation Admin, Facility Admin, and Department Admin have the authority to perform this task.

Here’s a guide on how to carry out these functions effectively:

Assigning a Support Team Member (W+)

  • Login to the ConnectedLife Admin account.
  • Go to the “Organisation” tab and choose “Users.”
  • A list of users page will be displayed.
  • Now input the User’s User ID or User Name in the Search bar or select the desired user you want to assign.
  • Click on the Affiliation Button.
  • Select the Support Team Member you want to assign.
  • Click on Save Changes.
  • A pop-up confirmation will indicate that the Support Team Member has been assigned successfully.

Unassigning a Support Team Member (W+)

  • Please follow the above steps and unselect the Support Team Member you want to unassign.

How to add, edit, delete Support Team Member (W+)?

This article outlines the step-by-step process to assign and unassign a Support Team Member (W+) to an existing user in the Connectedlife Platform. Only organisational roles such as Organisation Admin, Facility Admin, and Department Admin have the authority to perform this task.

Here’s a guide on how to carry out these functions effectively:

Assigning a Support Team Member (W+)

  • Login to the ConnectedLife Admin account.
  • Go to the “Organisation” tab and choose “Users.”
  • A list of users page will be displayed.
  • Now input the User’s User ID or User Name in the Search bar or select the desired user you want to assign.
  • Click on the Affiliation Button.
  • Select the Support Team Member you want to assign.
  • Click on Save Changes.
  • A pop-up confirmation will indicate that the Support Team Member has been assigned successfully.

Unassigning a Support Team Member (W+)

  • Please follow the above steps and unselect the Support Team Member you want to unassign.

How to add, edit, delete Department Admin?

Support Team / Clinician oversees users’ activities, invites, and assigns users. Support Team Member / Clinician is also known as STM. This article outlines the step-by-step process to add, edit, and delete a Support Team Member (W+) / Clinician to the Connectedlife Platform. Only organisational roles such as Organisation Admin, Facility Admin, and Department Admin have the authority to perform this task.

Here’s a guide on how to carry out these functions effectively:

Adding a New Support Team Member (W+) / Clinician

  • Access your ConnectedLife Admin account.
  • Go to the “Organisation” tab and choose “Support Team Member (W+) / Clinician.”
  • Then, click on “+Add New Support Team Member (W+) / Clinician”
  • Fill in all necessary information for the new Support Team Member (W+) / Clinician, then proceed by clicking “Next.”
  • A confirmation pop-up will indicate the successful addition of the Support Team Member (W+) / Clinician.

Viewing, Editing, and Deleting Support Team Member (W+) / Clinician

To manage existing Support Team Members (W+):

  • View: Access the list of all available Support Team Members (W+) / Clinicians by selecting “Support Team Member (W+) / Clinician” from the Organisation tab.
  • Edit: Modify the details of any Support Team Member (W+) / Clinician by clicking on the edit icon associated with their profile.
  • Delete: If needed, remove a Support Team Member (W+) / Clinician by clicking on the delete icon next to their profile. Ensure to unassign any Users linked to the same Support Team Member (W+) / Clinician before deletion for a smooth transition.

Tips for Effective Management:

  • Enable PII Access: Ensure “PII Access” is enabled to grant user identification (e.g., User first name and last name) for Support Team Members to access patient personal particulars.
  • Complete Information: Input all basic details of the support team member / Clinician including Name, Phone Number, country, and specialisation.
  • Assign to Facility and Department: Select the relevant Facility and Department for the Support Team Member / Clinician.
  • Unit Preference: Set unit preferences accordingly.

This streamlined process ensures efficient management of Support Team Members (W+) / Clinicians on the ConnectedLife Platform while maintaining data integrity and user access permissions.

How to add, edit, delete Facility Admin?

Facility administration is a crucial aspect of managing operations within the ConnectedLife Platform. Only organisational roles such as Organisation Admin and Facility Admin have the authority to perform tasks related to adding, editing, or deleting Facility Admin.

Here’s a guide on how to carry out these functions effectively:

Adding a New Facility Admin

Step 1: Log in to your ConnectedLife Organisation Admin account.

Step 2: Upon logging in, you’ll be directed to the admin dashboard. Navigate to the Organisation tab and select “Facility Admin.” Then, click on the “+Add New Facility Admin” option.

Step 3: Fill in the required information for the new Facility Admin and proceed by clicking “Next.”

Step 4: Select the relevant Facility for the new admin and confirm by clicking “Create Account.”

Step 5: A confirmation pop-up will appear, indicating that the Facility Admin has been successfully added.

Viewing, Editing, and Deleting Facility Admins

To manage existing Facility Admins:

  • View: Access the list of all available Facility Admins by selecting “Facility Admin” from the Organisation tab.
  • Edit: You can modify the details of any Facility Admin by clicking on the edit icon associated with their profile.
  • Delete: If necessary, remove a Facility Admin by clicking on the delete icon next to their profile. Before deletion, ensure to unassign any Users linked to the same Facility for a seamless transition.

Tips for Smooth Management

  • User Unassignment: Before deleting a Facility Admin, it’s advisable to unassign any Users who are associated with the same Facility to avoid disruptions in management.

By following these steps, Organisation Admins and Facility Admins can efficiently manage the roles and responsibilities of Facility Admins within the ConnectedLife Platform.

How to add, edit, delete Facility and Department?

This guideline is for individuals holding Organisational roles like Organisation Admin and Facility Admin within the ConnectedLife Platform. It provides comprehensive instructions on effectively managing Facilities and Departments, covering tasks such as Adding, Editing, and Deleting these entities.

Add New Facility

Step 1:

Log in to the ConnectedLife Organisation Admin account.

Step 2:

Admin dashboard will open. Click on the Organisation tab. Go to Facility and Department. Click on +Add New Facility.

Step 3:

Fill out the necessary information. Then press Add Facility.

Step 4:

A pop-up will appear of Facility successfully added.

View, Edit, and Delete Facility

In the Facility and Management section under the Organisation tab, you can view all available facilities. You also have the option to edit the details of any facility or delete any facility by clicking on the edit or delete icon.

Add New Department

Step 1:

Log in to the ConnectedLife Organisation Admin account.

Step 2:

Admin dashboard will open. Click on the Organisation tab. Click on Facility and Department. Click on +Add New Department.

Step 3:

Fill out the information and then press Add Department.

Step 4:

A pop-up will appear as Department successfully added.

View, Edit, and Delete Department

In the Facility and Management section under the Organisation tab, you can view all available departments under facilities. You also have the option to edit the details of any facility or delete any facility by clicking on the edit or delete icon.

Tips:

Before deleting a facility or a department, please ensure that all Users and Support Team Members associated with have been removed.

What is Population Data Distribution?

Discover the “Population Data Distribution” feature within the Analytic tab of the ConnectedLife platform, accessible to key organisational roles including Organisation Admin, Facility Admin, Department Admin, and Support Team Member.

Here’s how to access and utilise this functionality:

  • Sign in to your ConnectedLife dashboard.
  • Head to the Analytics tab.
  • Find the “Population Data Distribution” section.

Population Data Distribution

Within this section, you’ll gain insights into a variety of health and wellness metrics across your population. From BMI and Waist Circumference to activity levels and sleep patterns, you can delve into a comprehensive array of indicators. The feature allows for customisation, enabling analysis over specific time spans of up to 90 days.

Key parameters covered in the Population Data Distribution include:

  • BMI
  • Waist Circumference
  • High-Intensity Exercise
  • Excess Sedentary Time
  • Steps
  • Active Zone Minutes
  • Distance Covered
  • Sleep
  • Water Intake
  • Mood and Stress
  • Healthy Diet
  • Alcohol
  • Smoking

This feature offers invaluable insights for understanding population health trends and tailoring interventions as needed.

What is Challenges in Population Analysis?

The “Challenges” functionality can be found within the Population Analysis of the ConnectedLife platform, accessible to Organisational roles such as Organisation Admin, Facility Admin, Department Admin, and Support Team Member.

To utilize this feature, follow these steps:

  • Log in to your ConnectedLife dashboard.
  • Navigate to the Analytics tab.
  • Within the Population Analysis section, locate the “Challenges” option.

Challenges:

The Challenges section offers a systematic method for evaluating goals. It encompasses Ongoing Challenges, Personal Challenges, Past Challenges, Start Date, End Date, Participants, an All Goals Template, Challenge Analysis, Goals Contribution Distribution, and Participants Engagement. Organisational roles can monitor progress over time. Through Challenge Analysis tools, users can assess the impact of initiatives and interventions, promoting ongoing enhancement.

What is Groups in Population Analysis?

The “Groups” functionality can be found within the Population Analysis of the ConnectedLife platform, accessible to Organisational roles such as Organisation Admin, Facility Admin, Department Admin, and Support Team Member.

To utilize this feature, follow these steps:

  • Log in to your ConnectedLife dashboard.
  • Navigate to the Analytics tab.
  • Within the Population Analysis section, locate the “Groups” option.

Groups:

This feature facilitates the management and analysis of various groups within the platform. Organisational roles can view Group names, member statistics, and metrics related to Wellness Score and Engagement, enabling targeted interventions and support where needed.