What is Pending Onboarding Users?
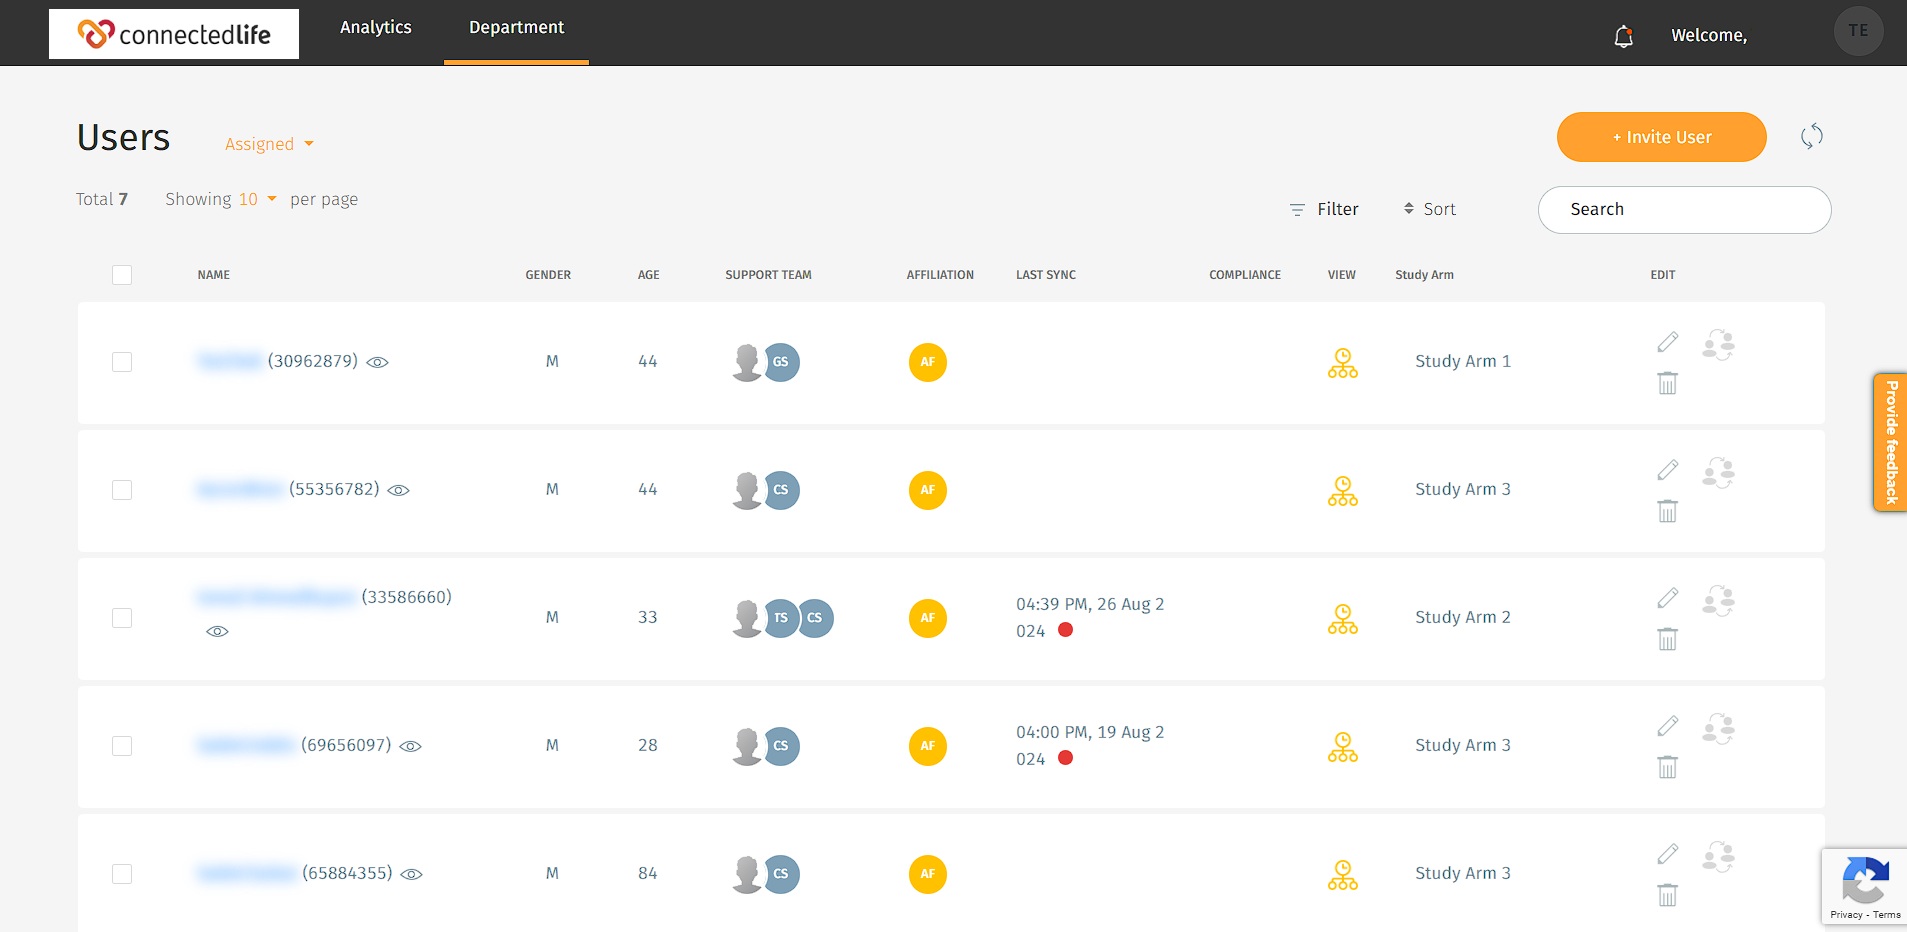
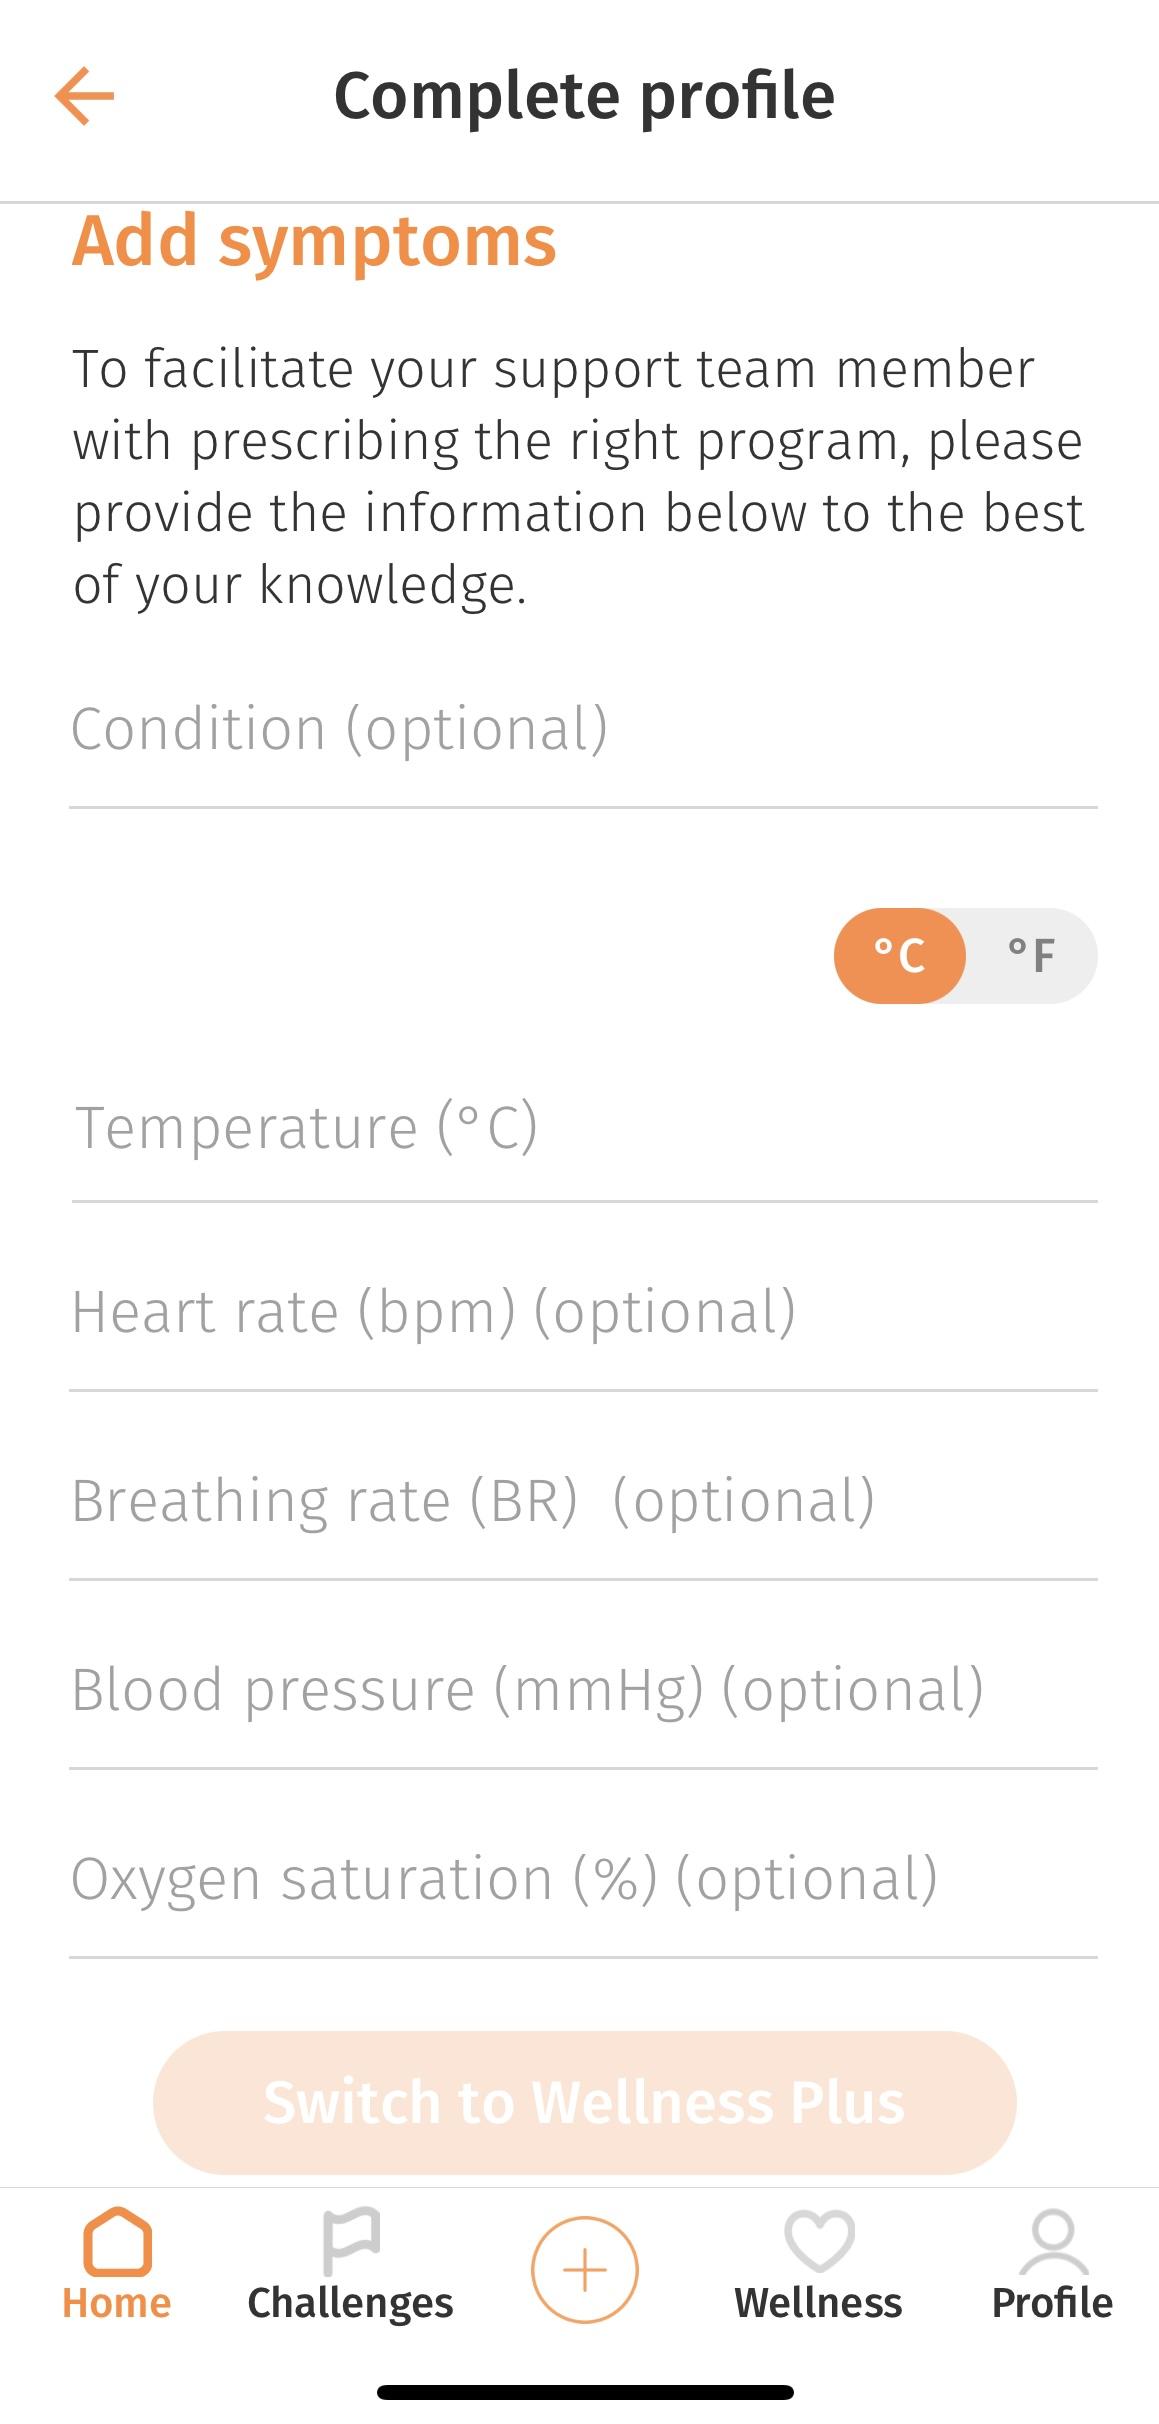
Understanding “Pending Onboarding Users” is crucial for managing responsibilities effectively within the ConnectedLife Platform. Pending Onboarding Users are those who have completed microsite registration, and mobile onboarding on the mobile app without selecting a primary support team.
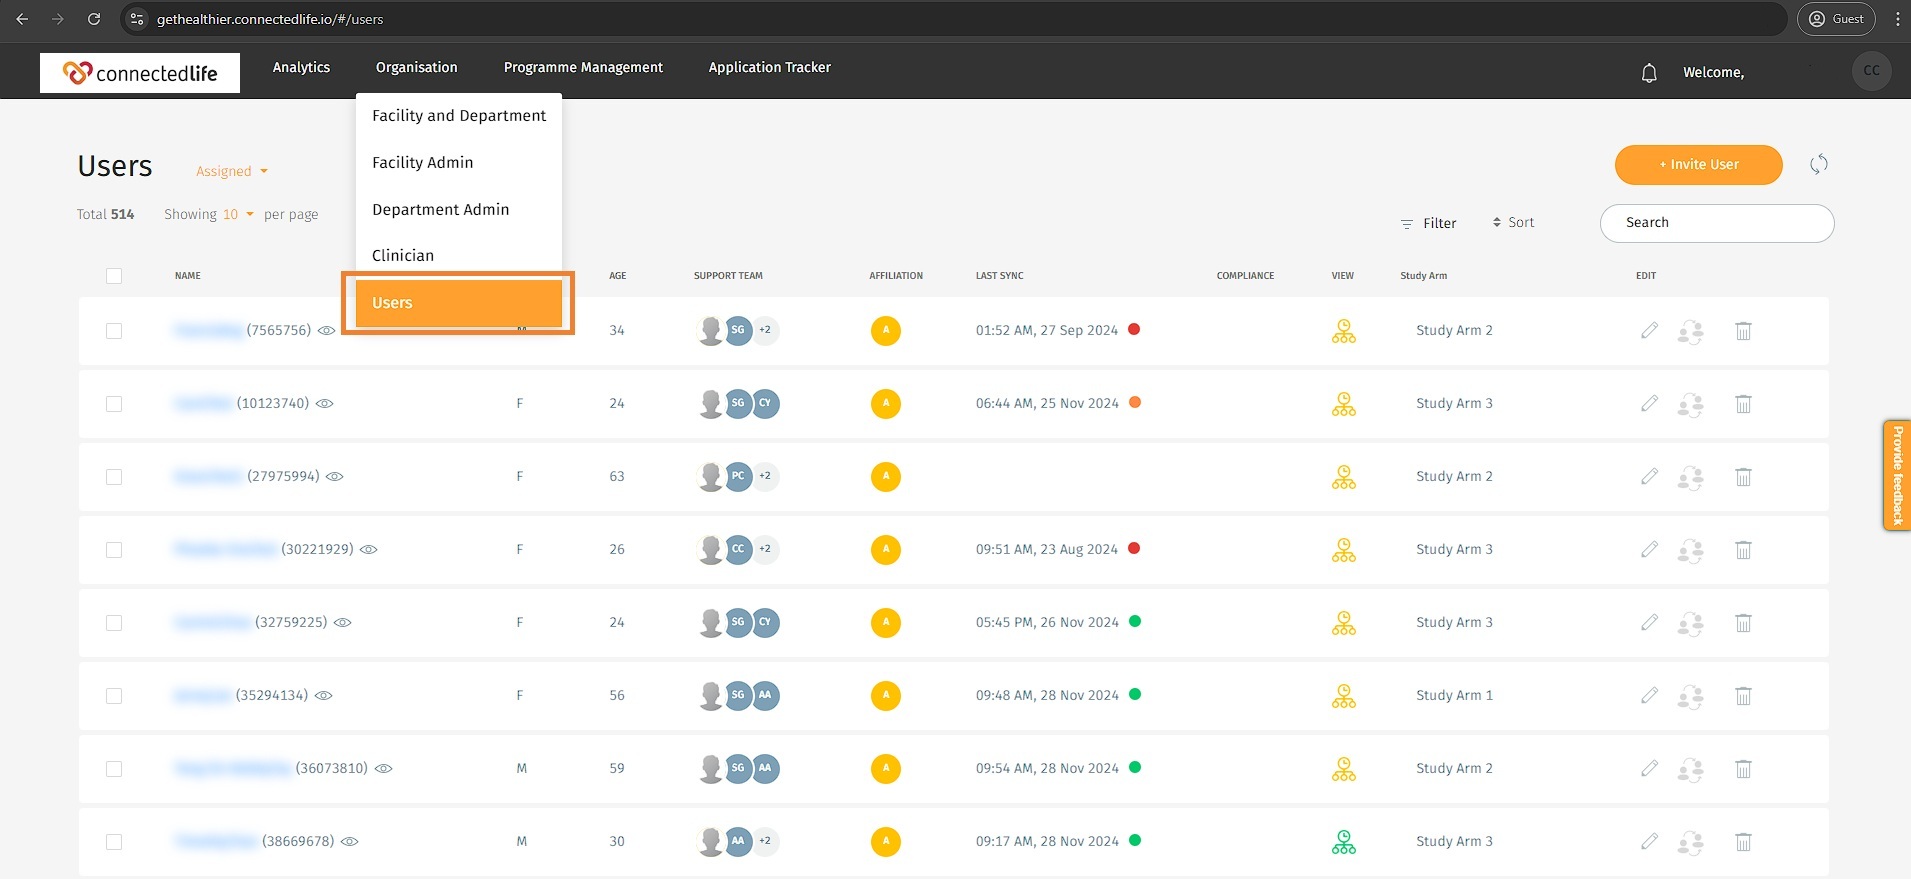
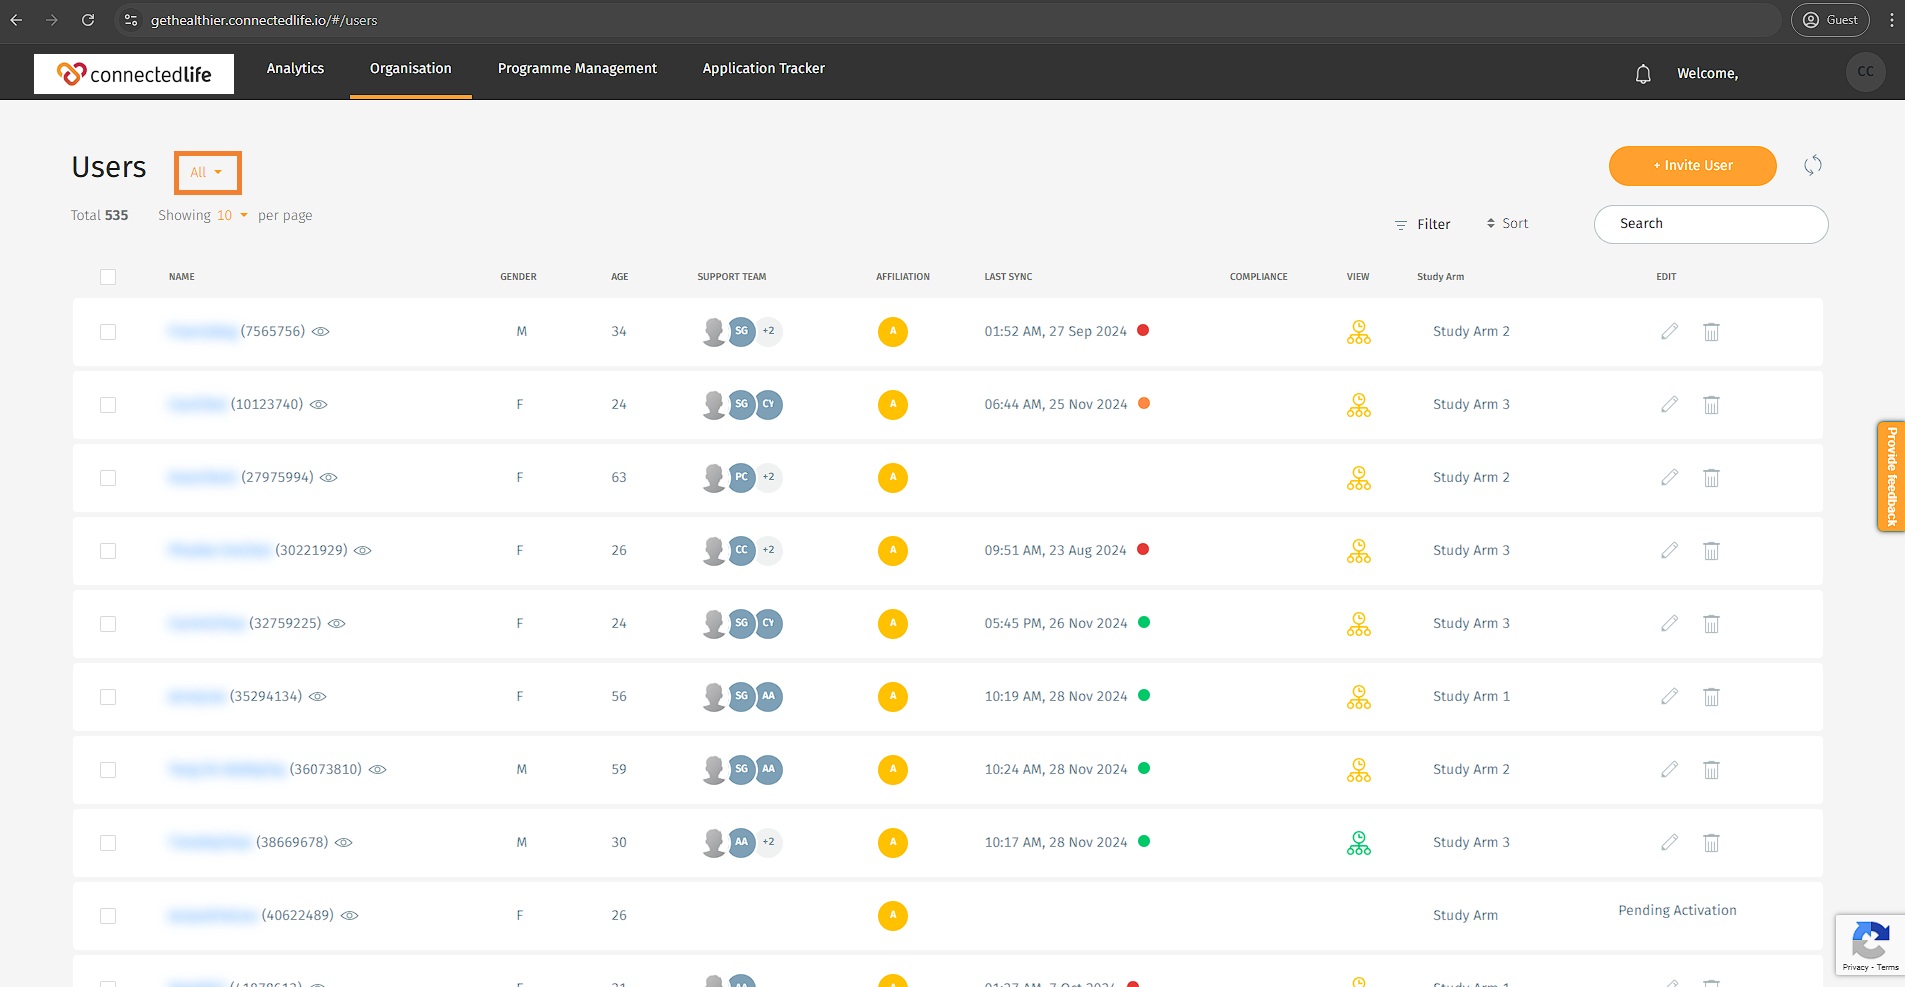
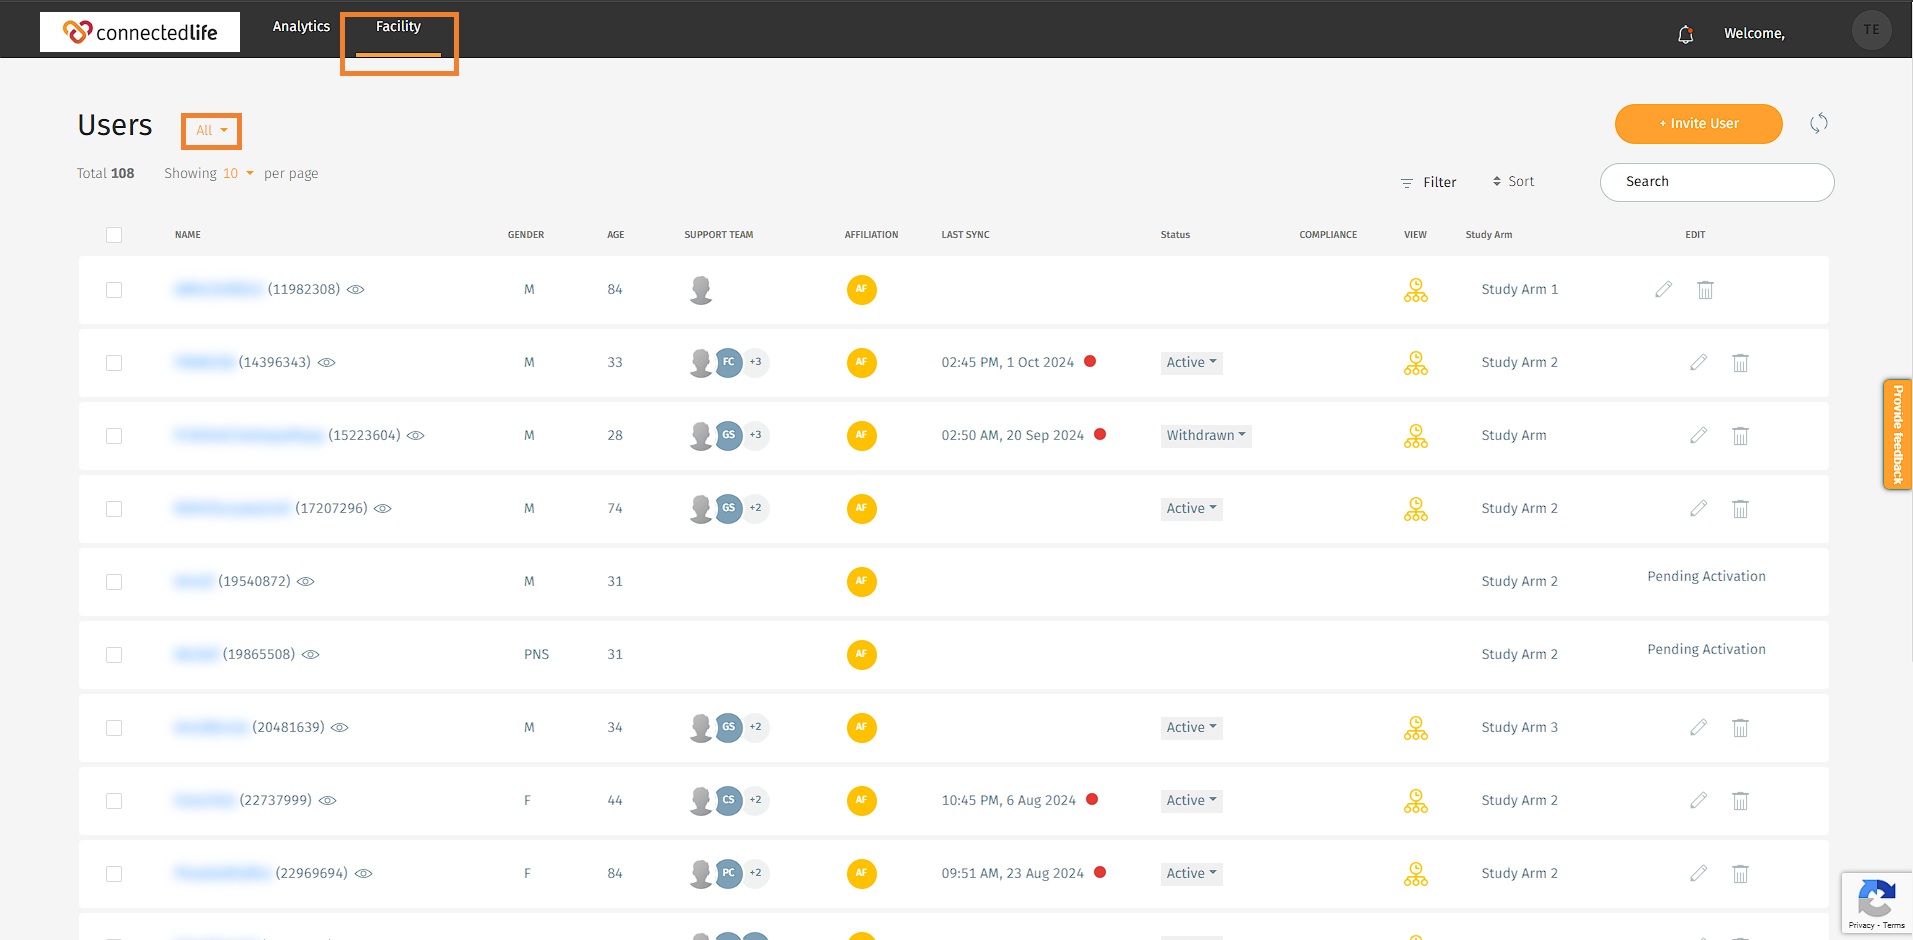
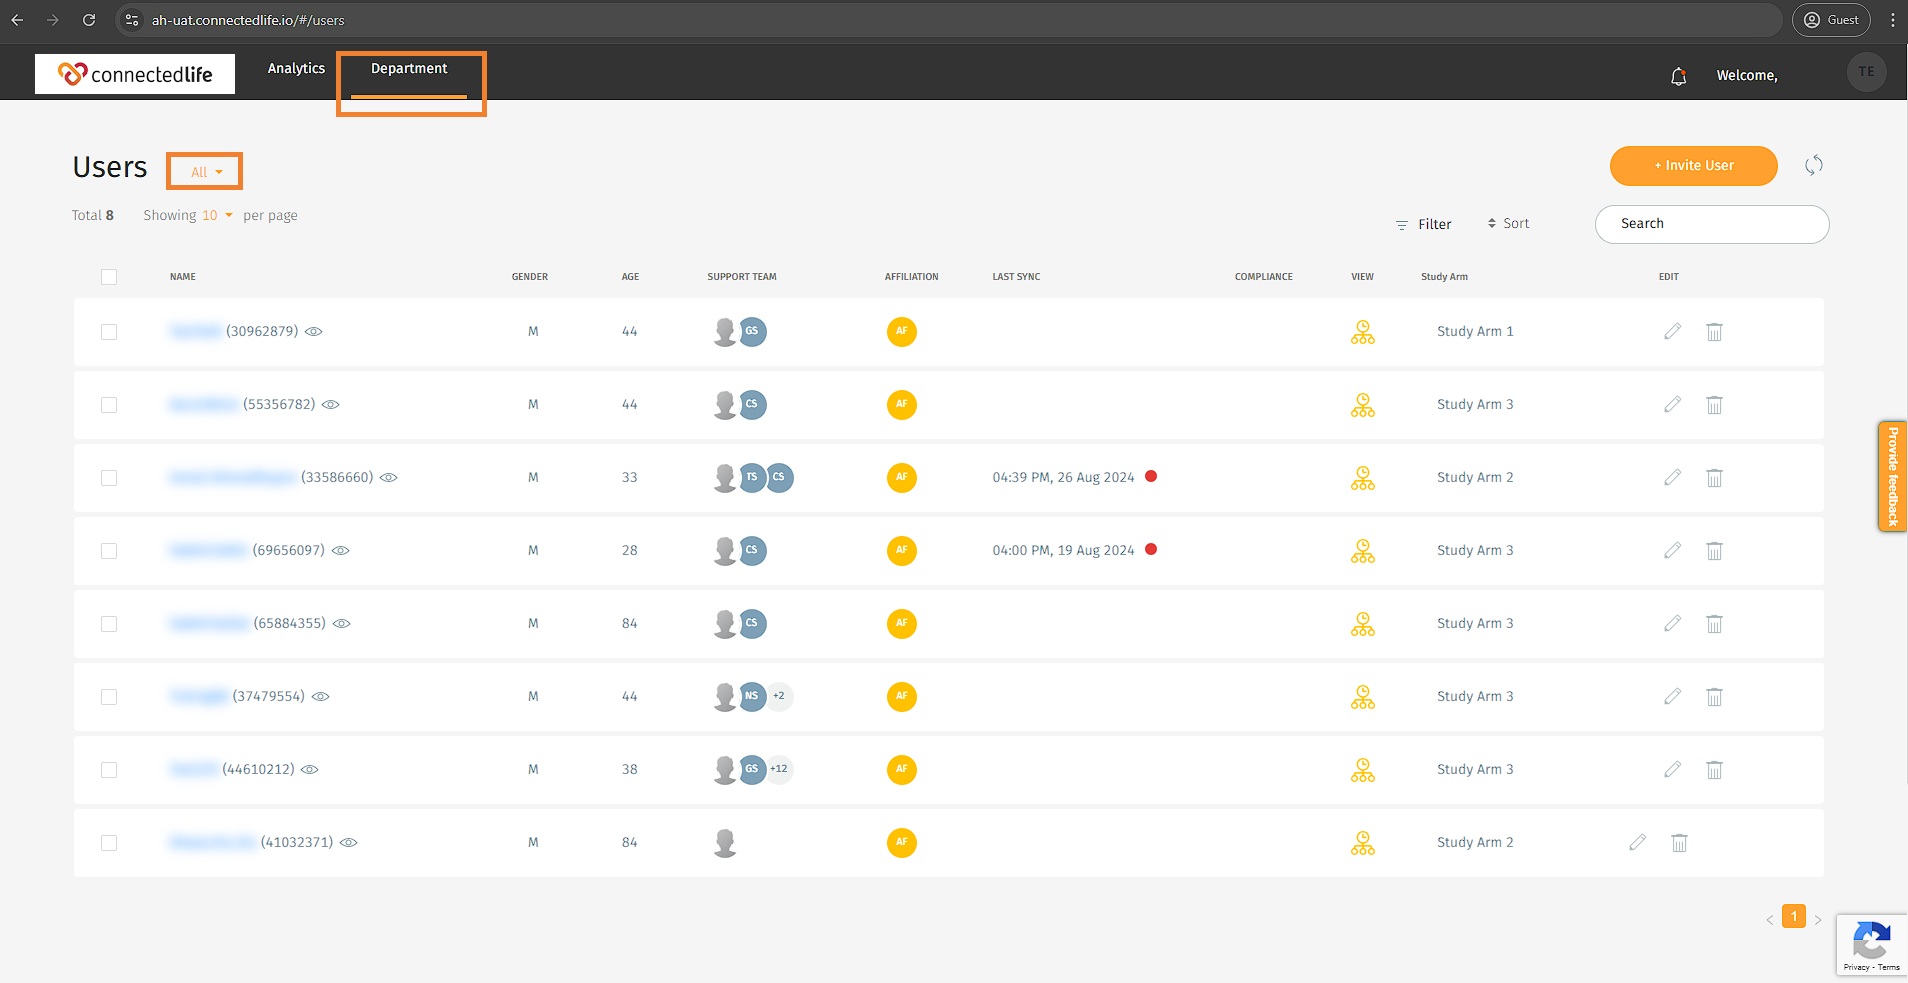
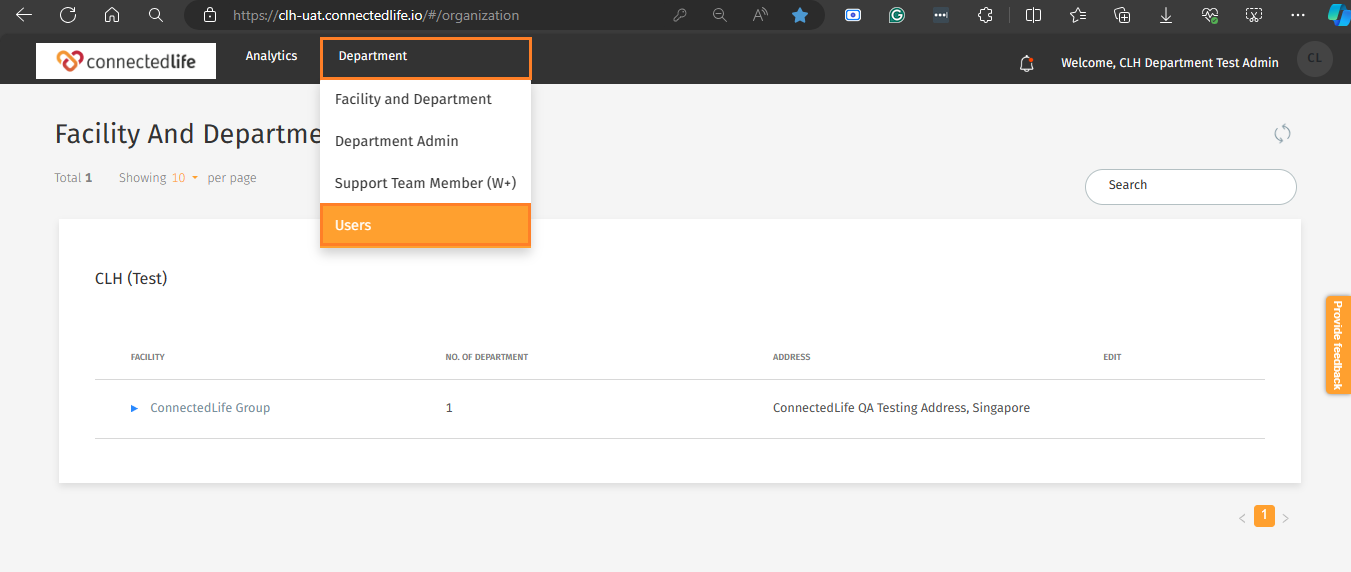
Specific organisational roles such as Organisation Admin, Facility Admin, and Support Team Member can access the list of Pending Onboarding Users, follow these steps based on your role within the system:
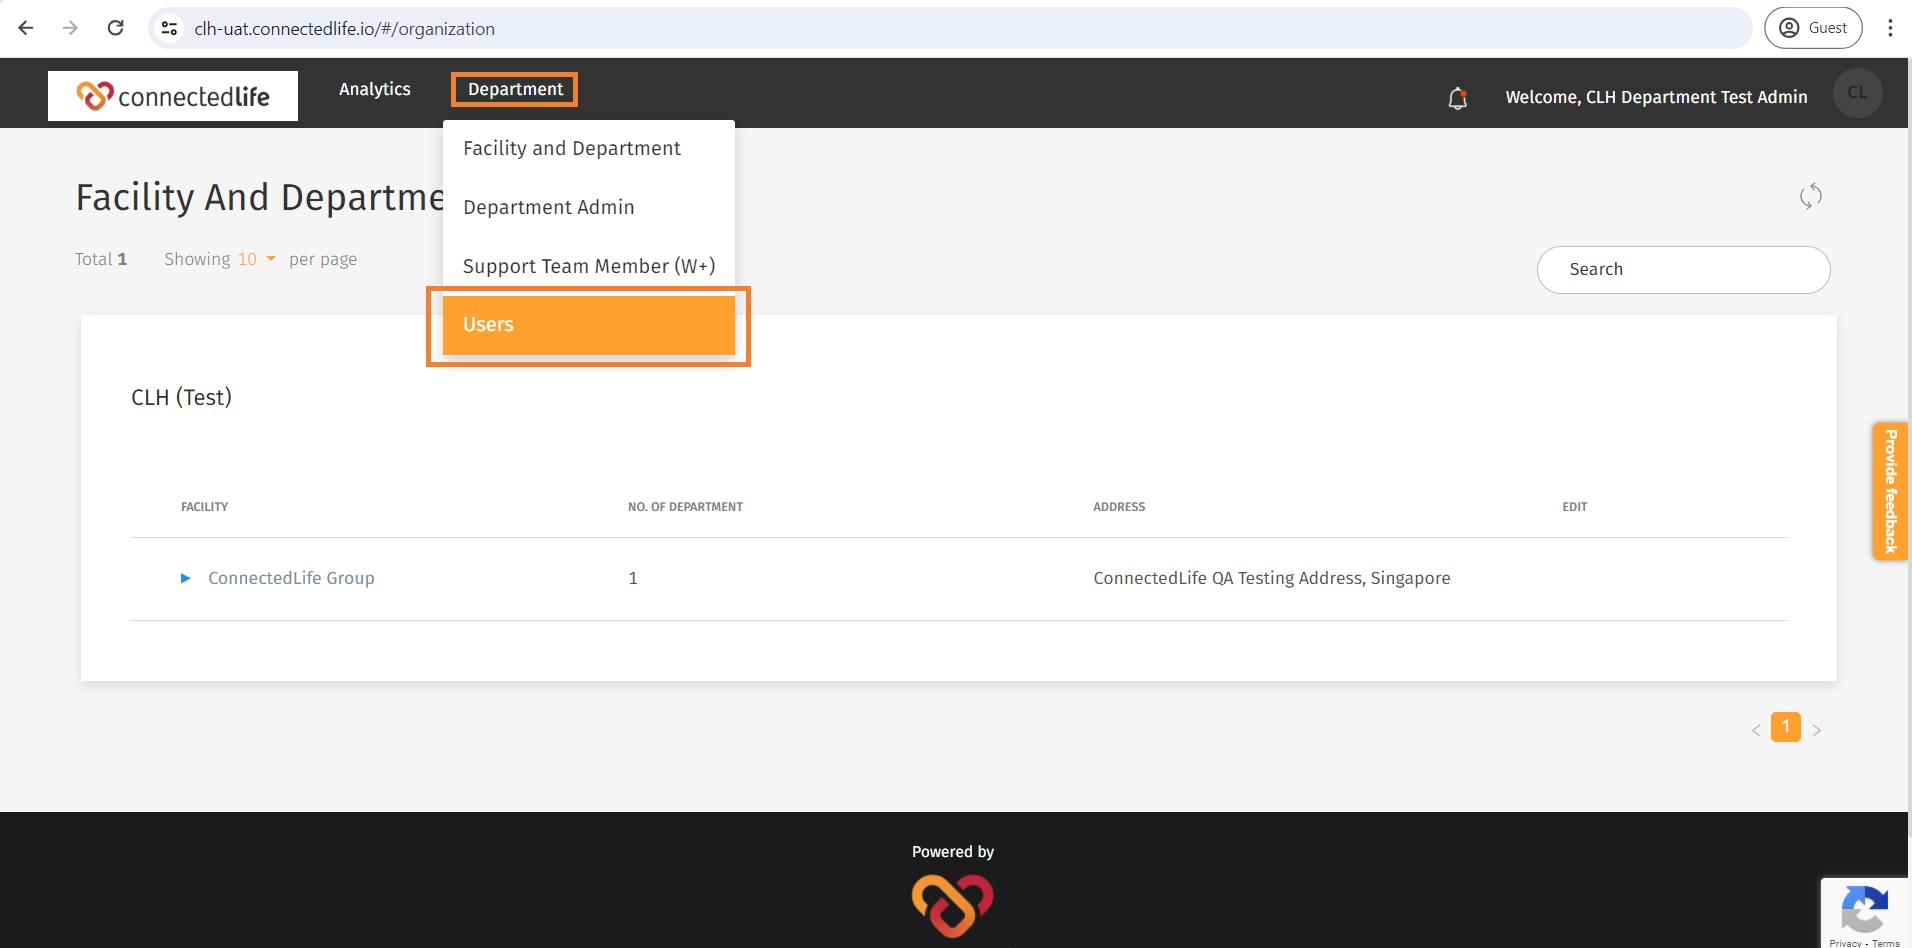
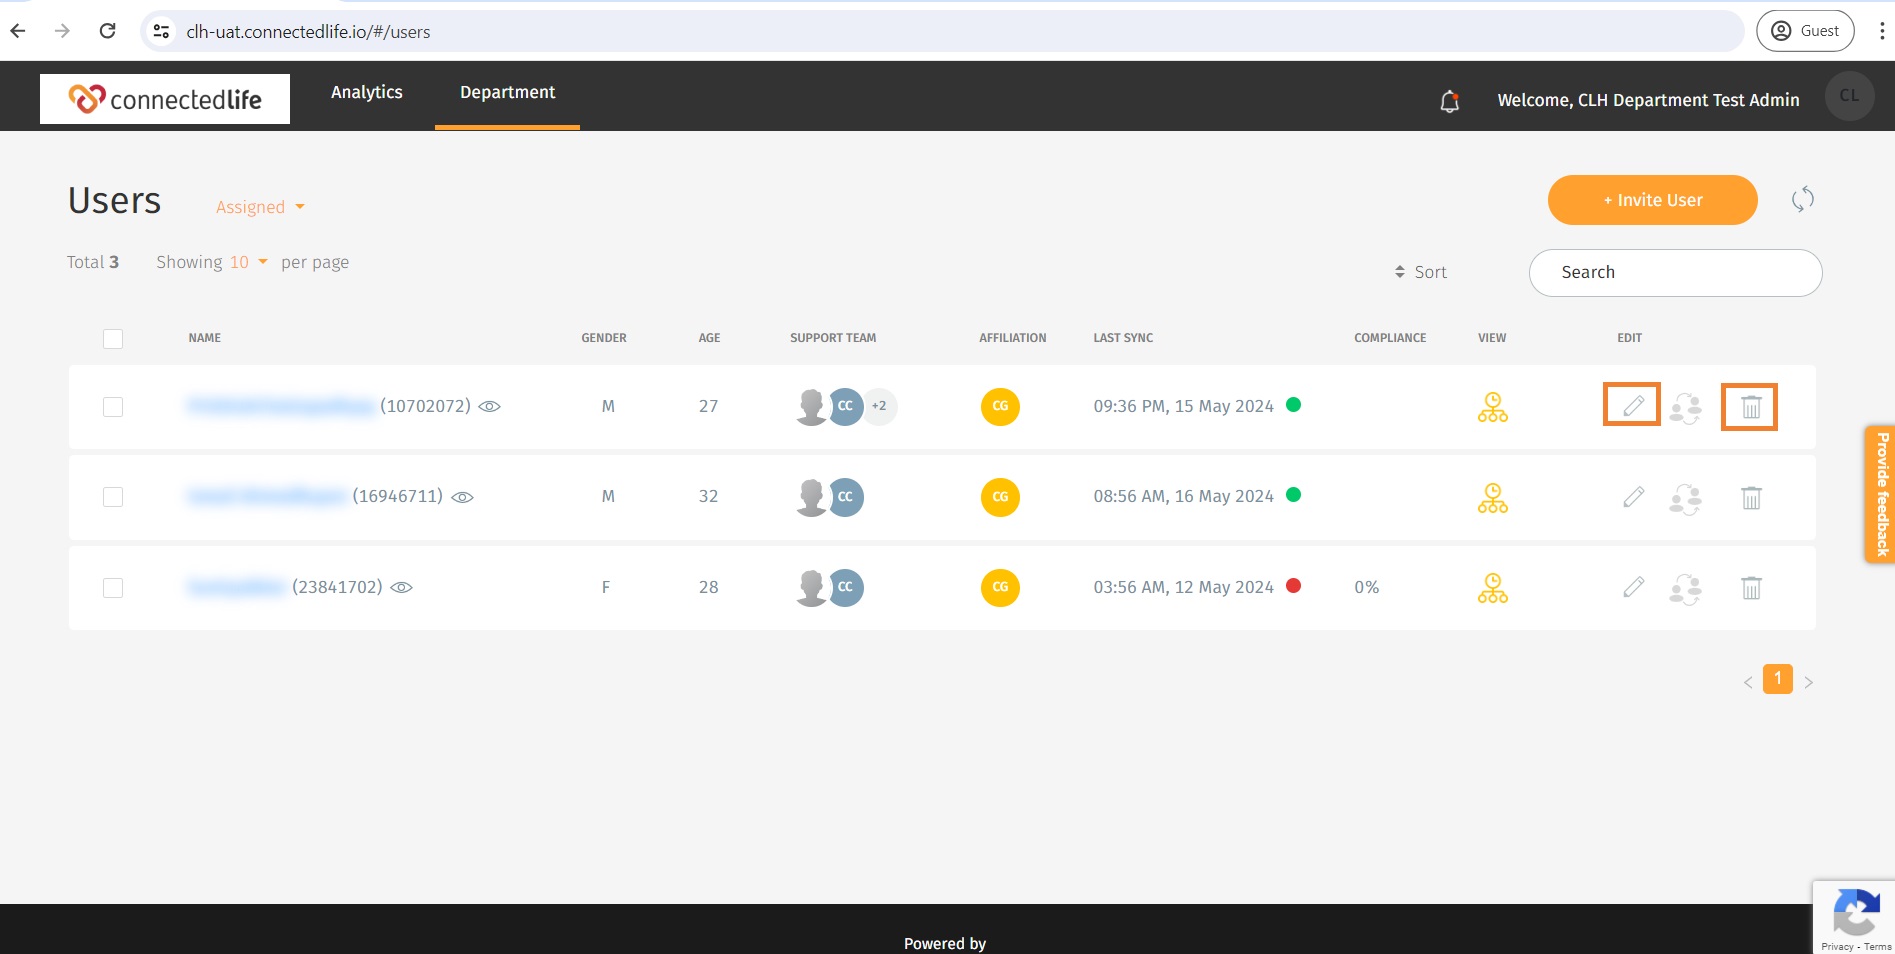
For Organisation Admins:
- Log in to your ConnectedLife Organisation Admin account.
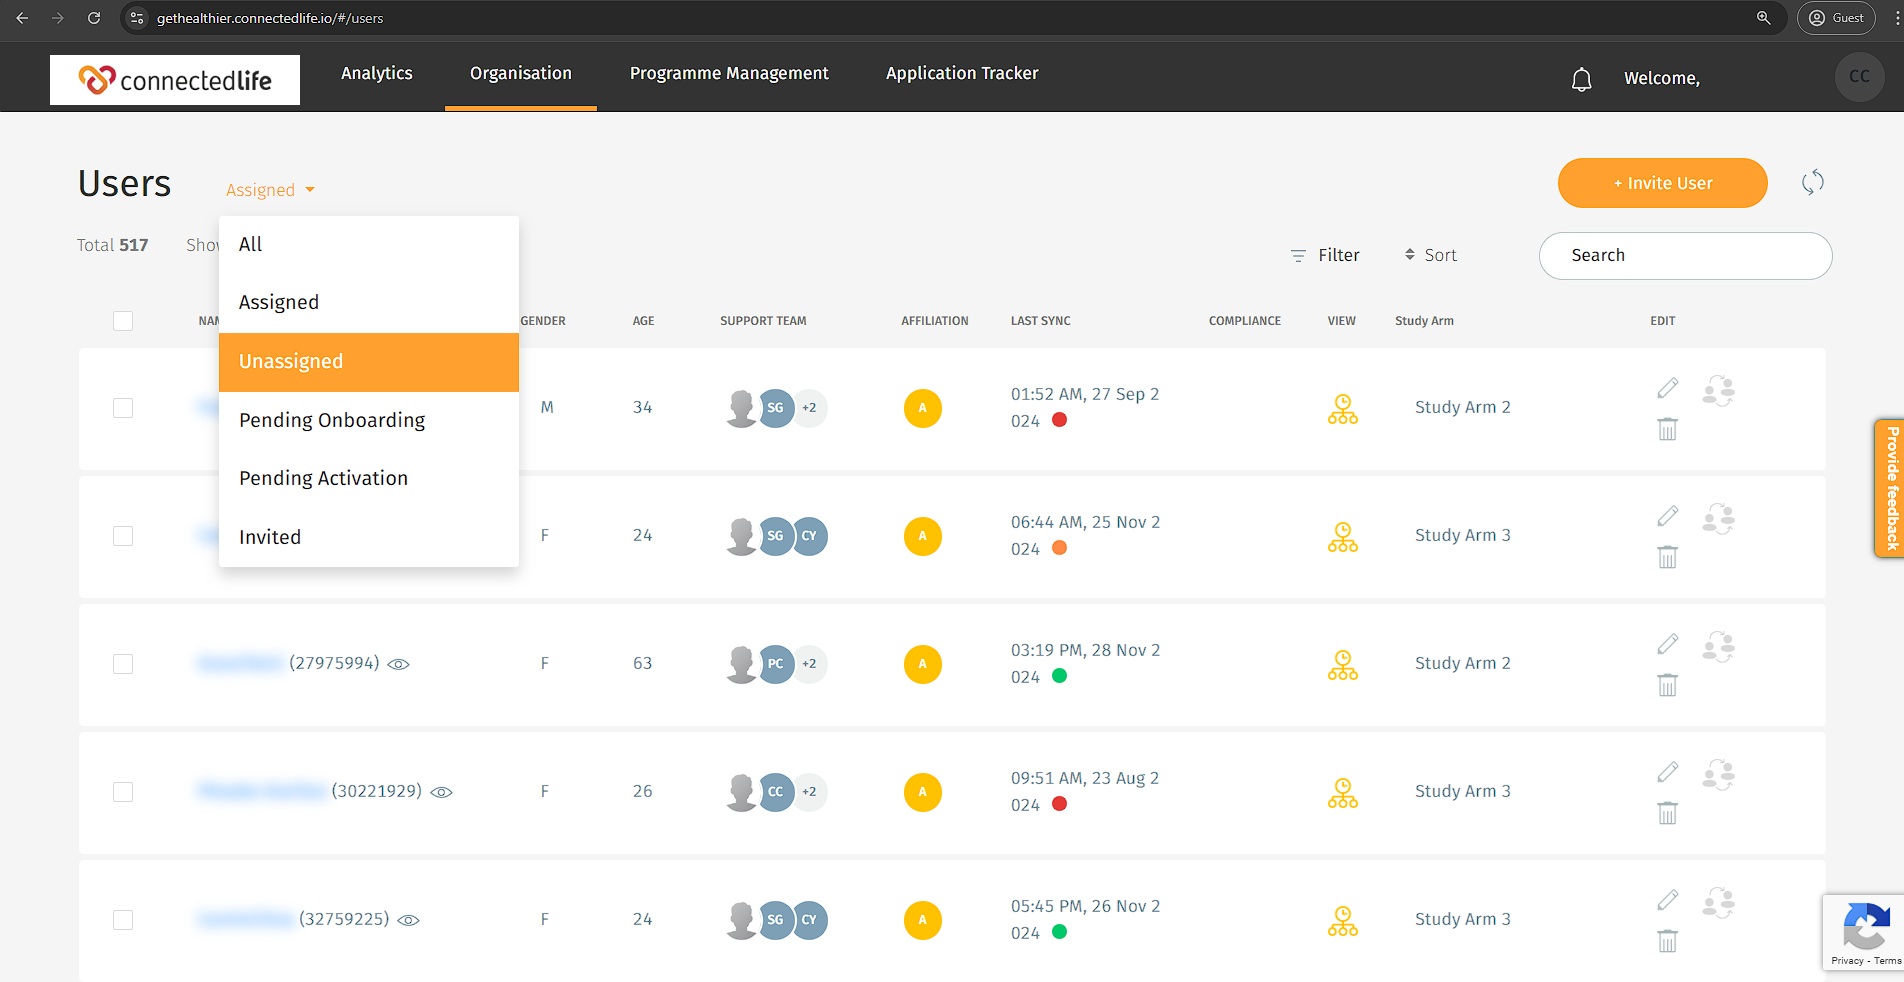
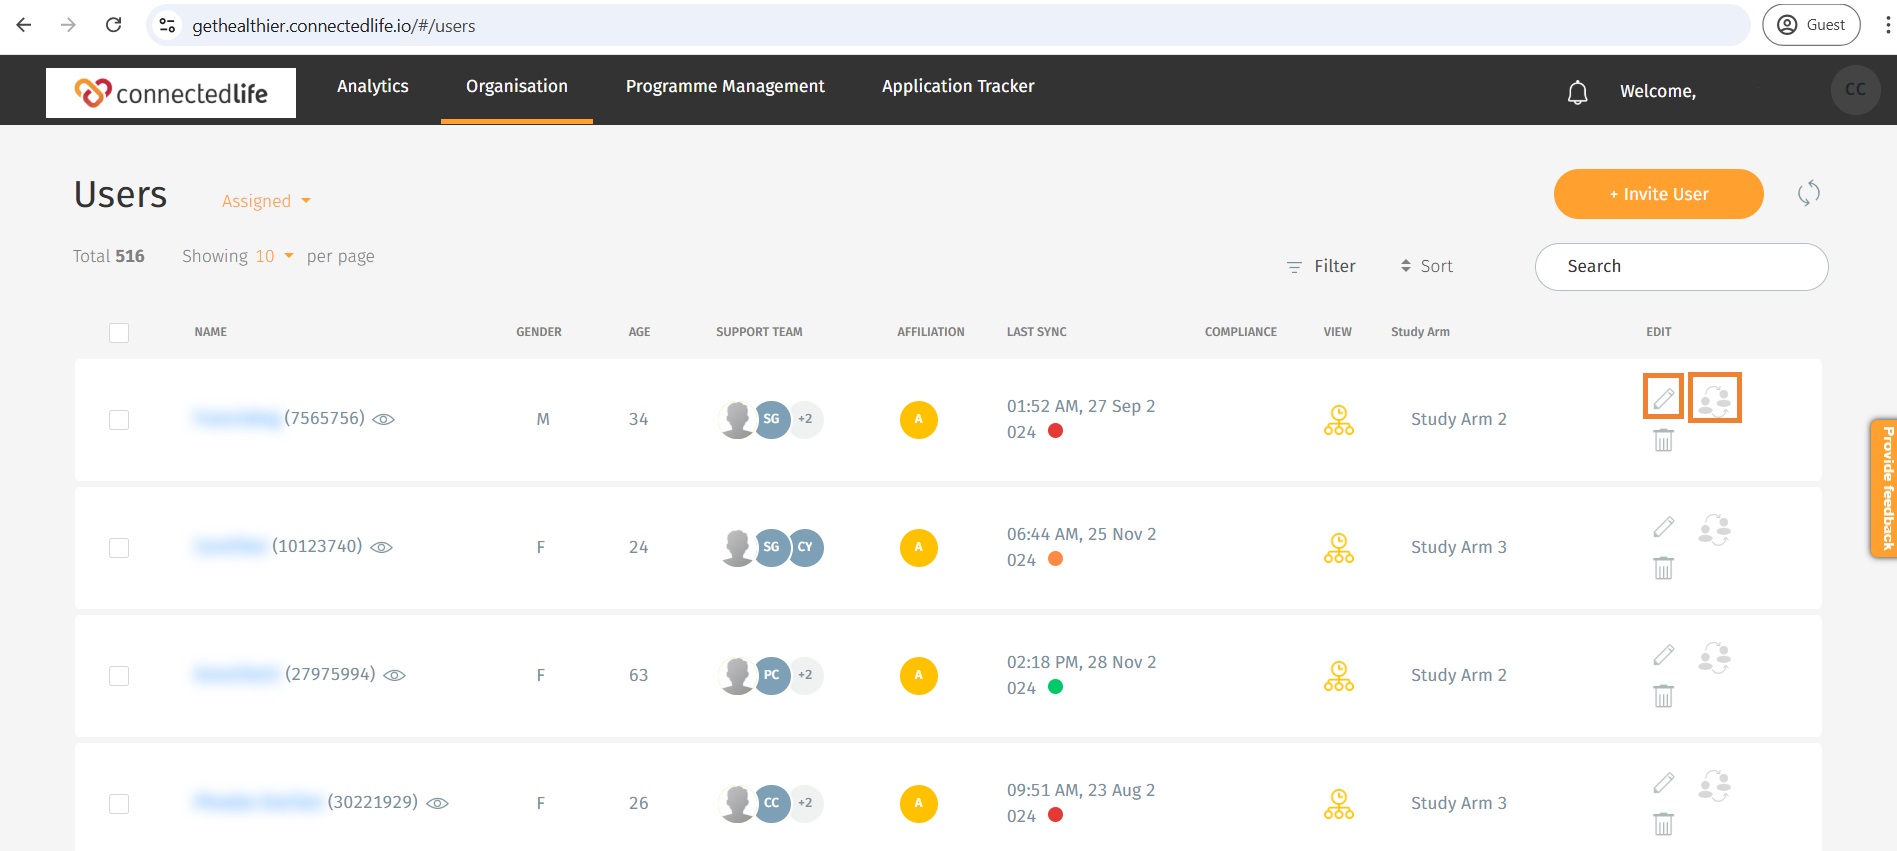
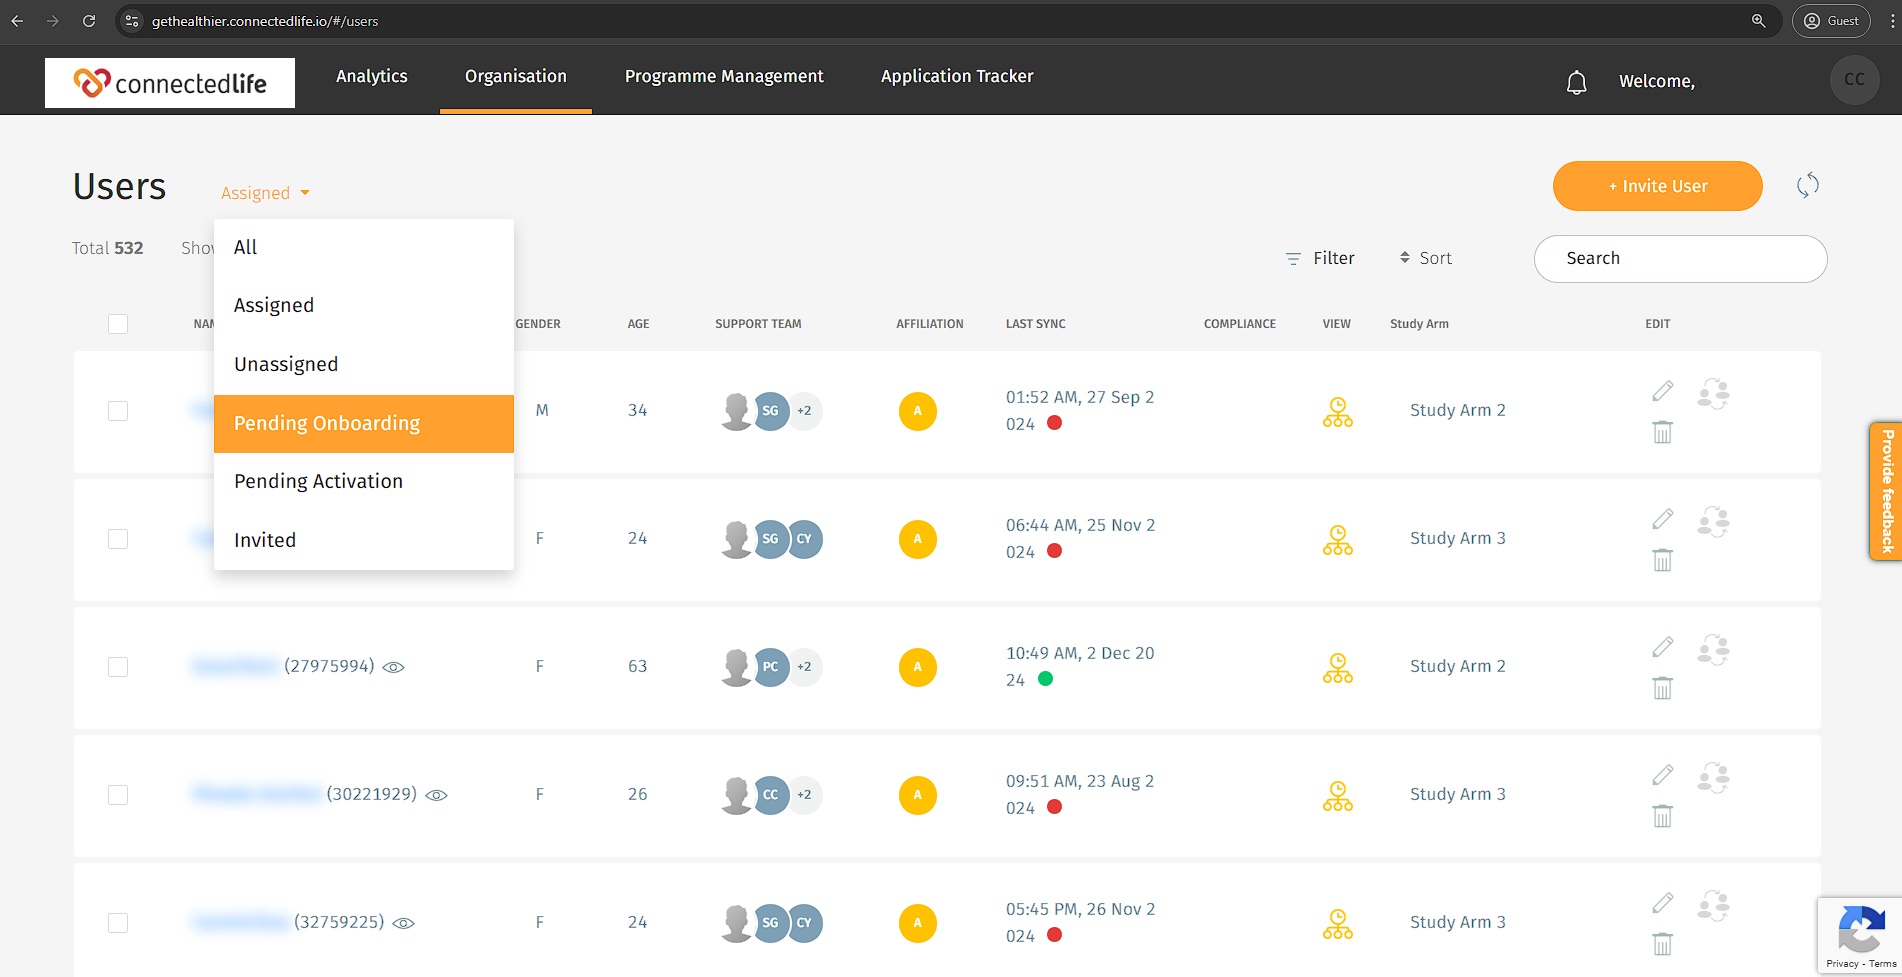
- Navigate to the “Organisation” tab and select “Users.”
- Now click on the drop-down menu and select Pending Onboarding Users.
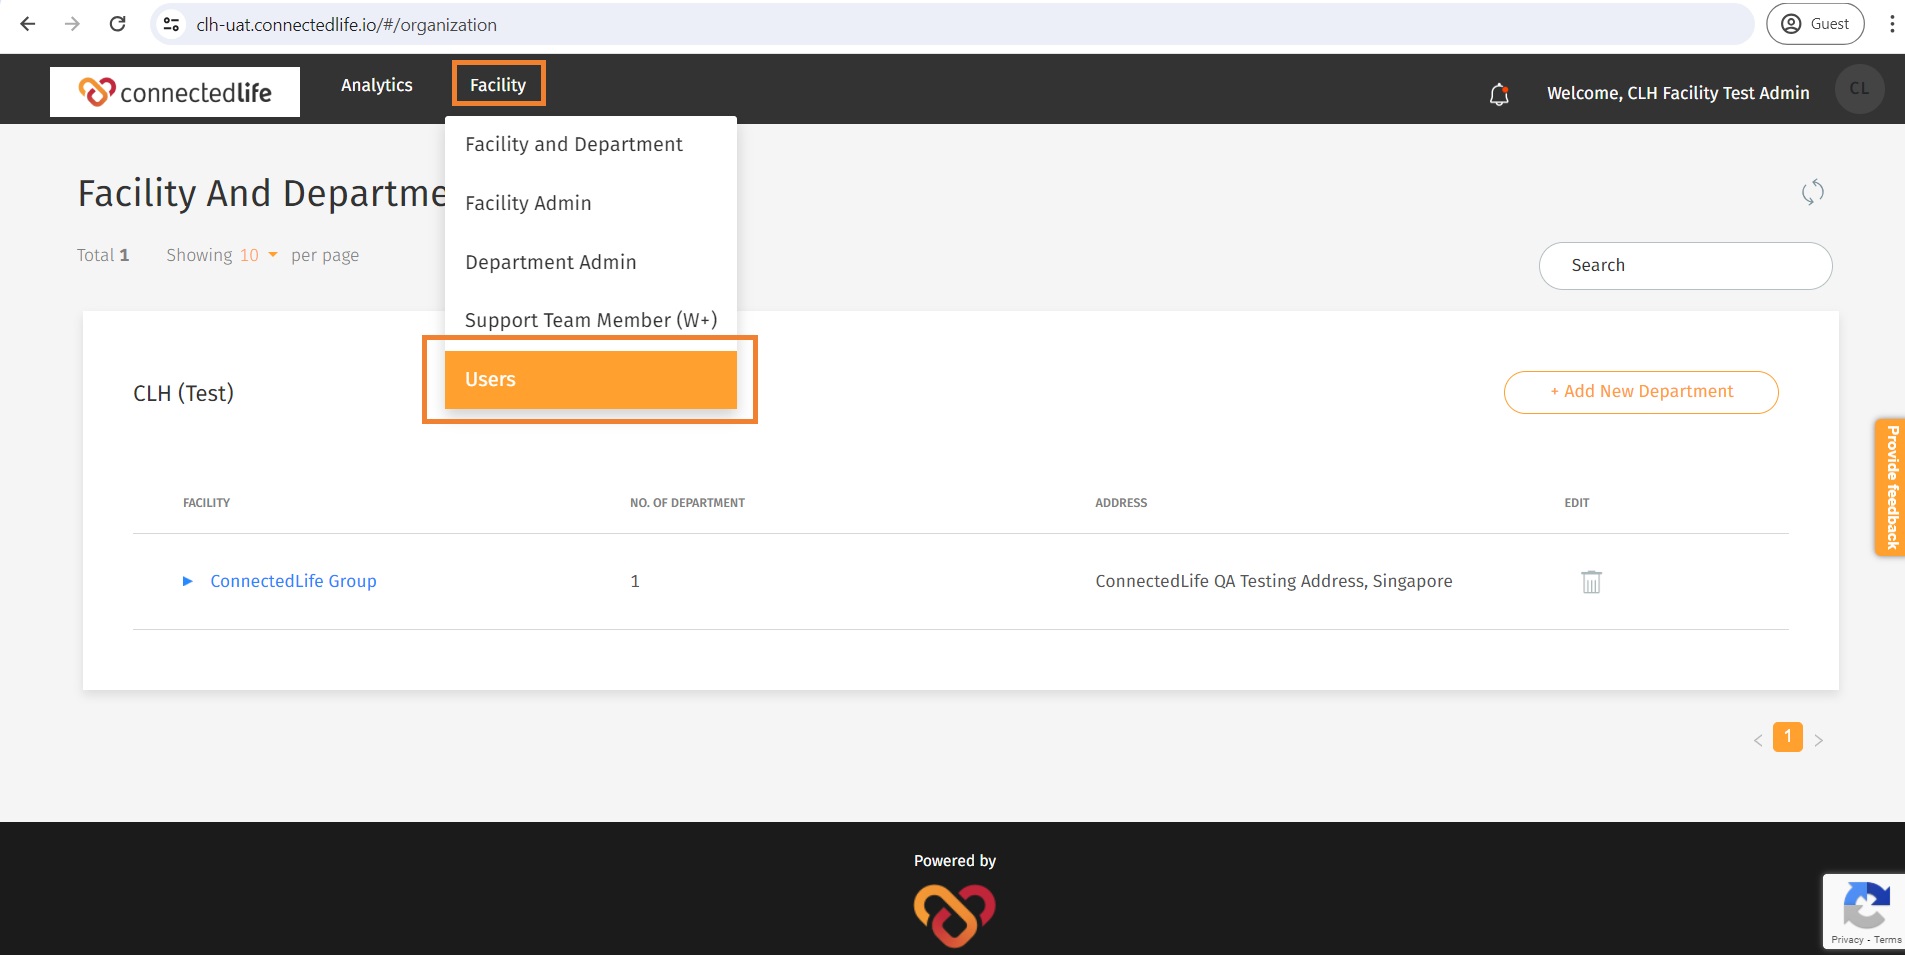
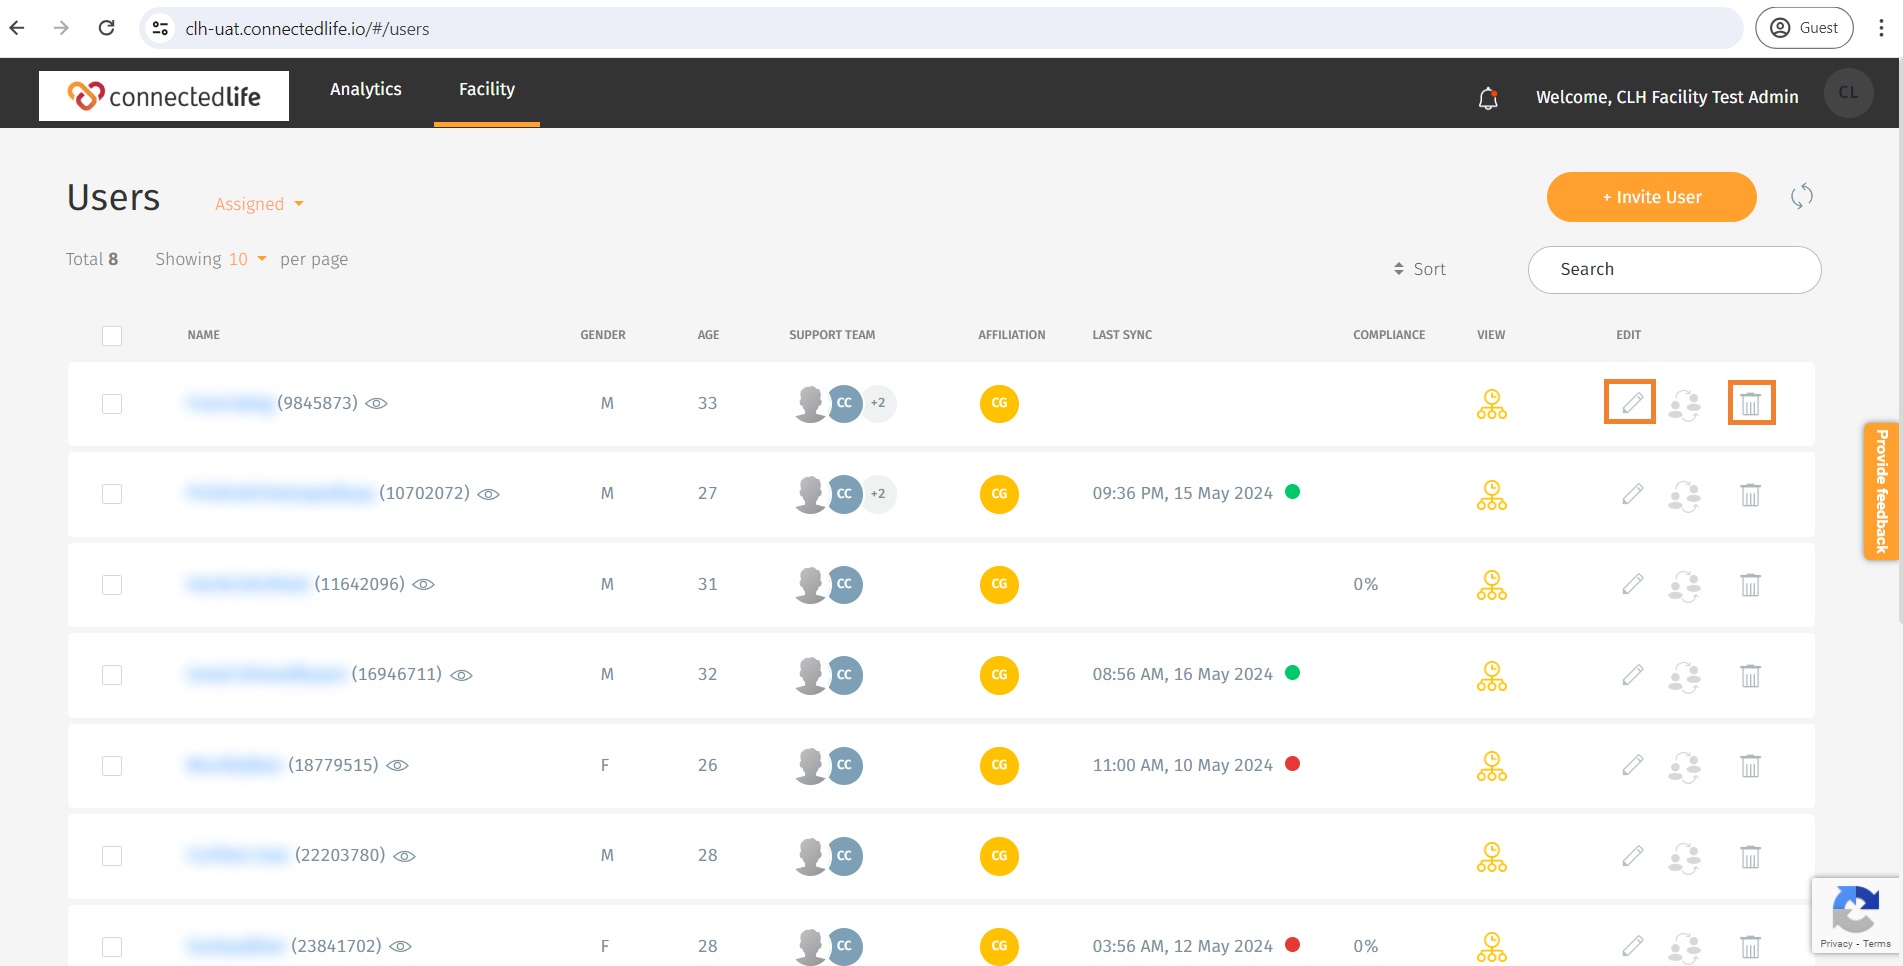
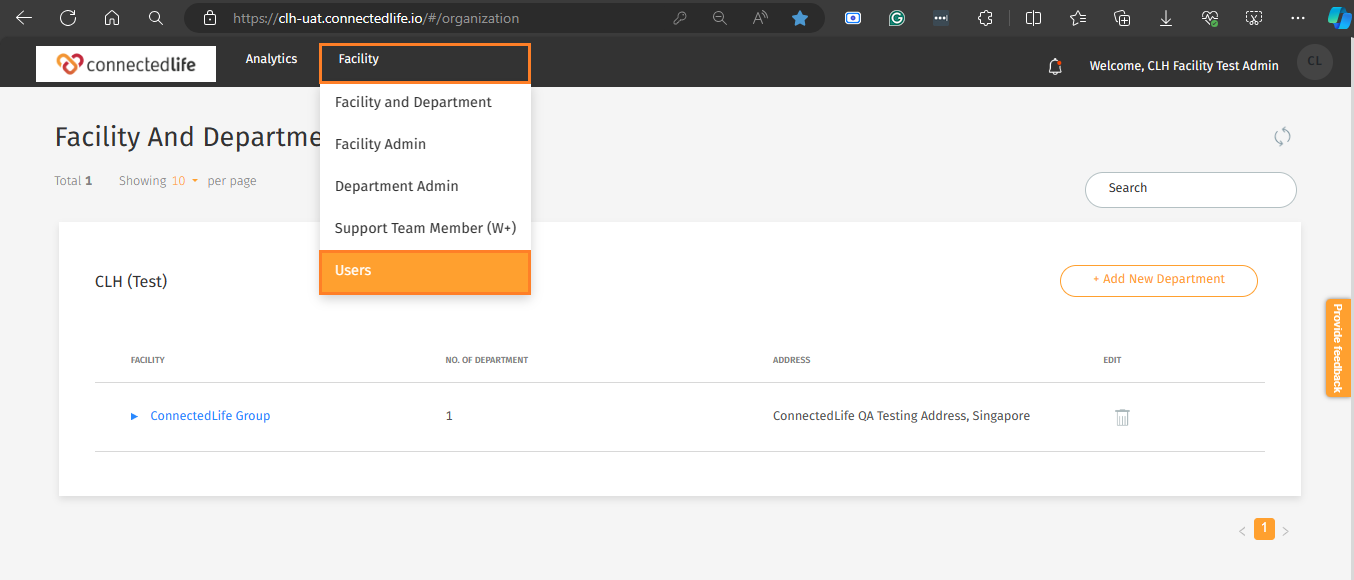
For Facility Admins:
- Access your ConnectedLife Facility Admin account.
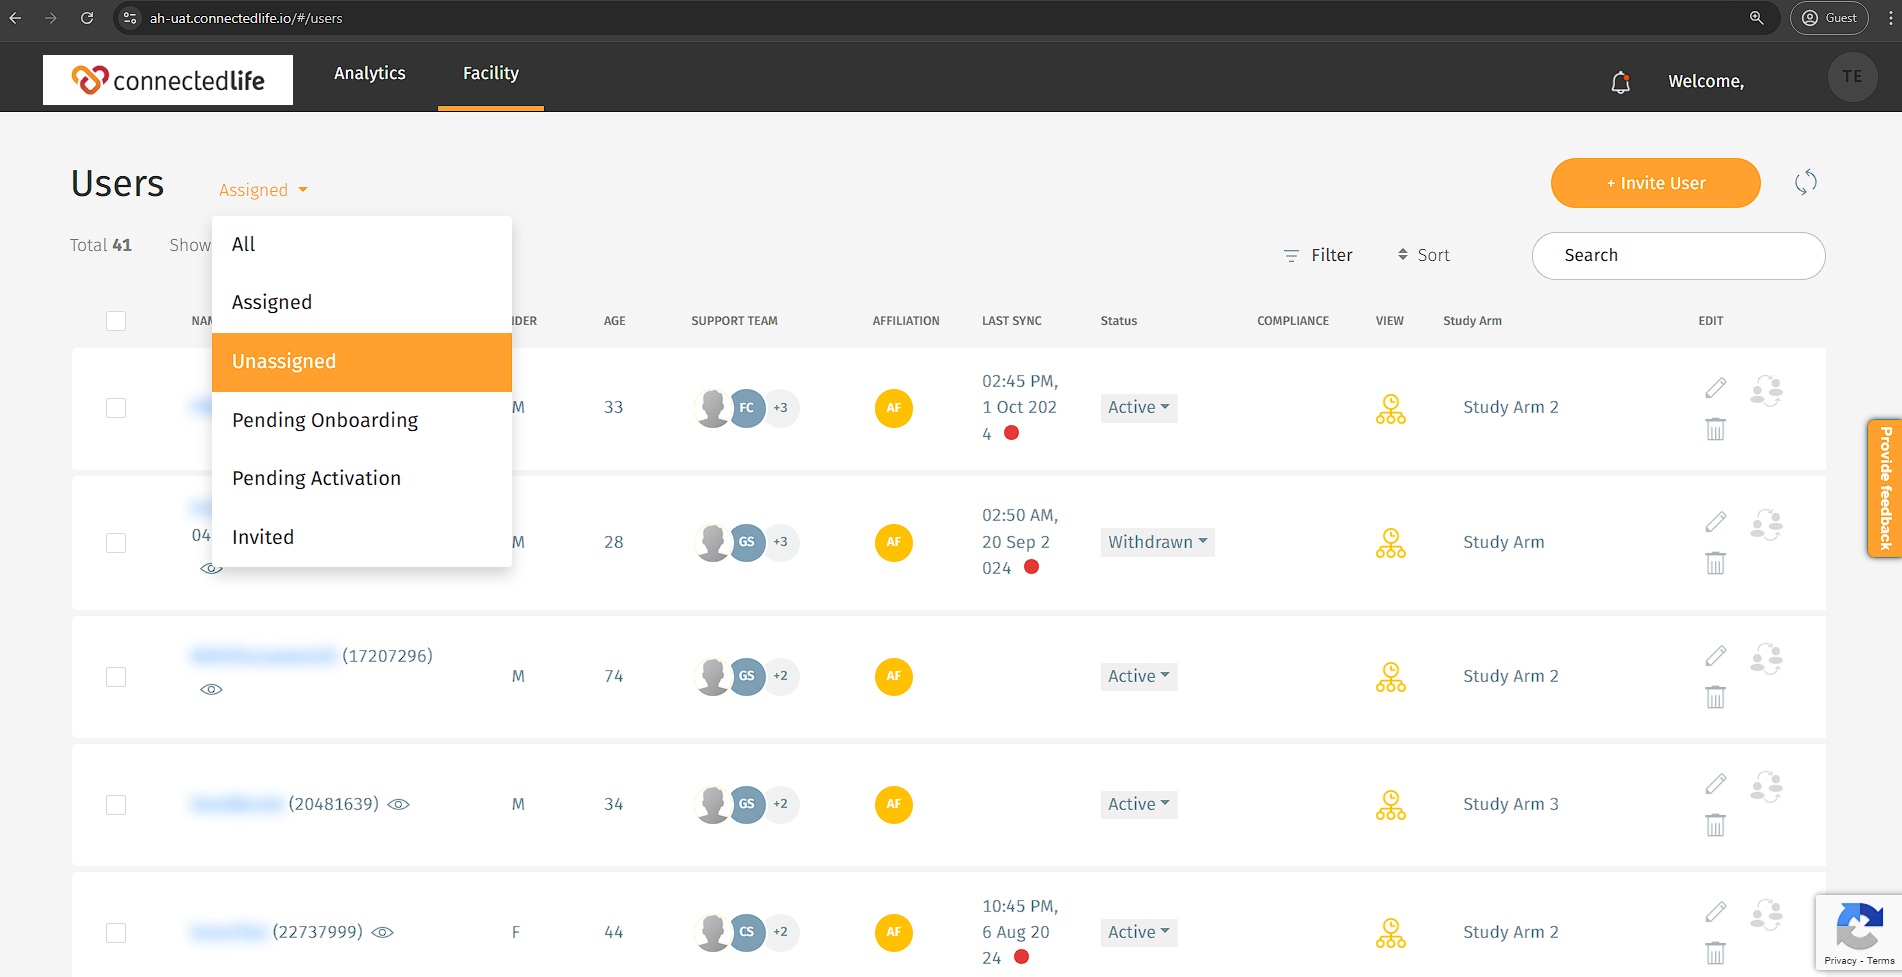
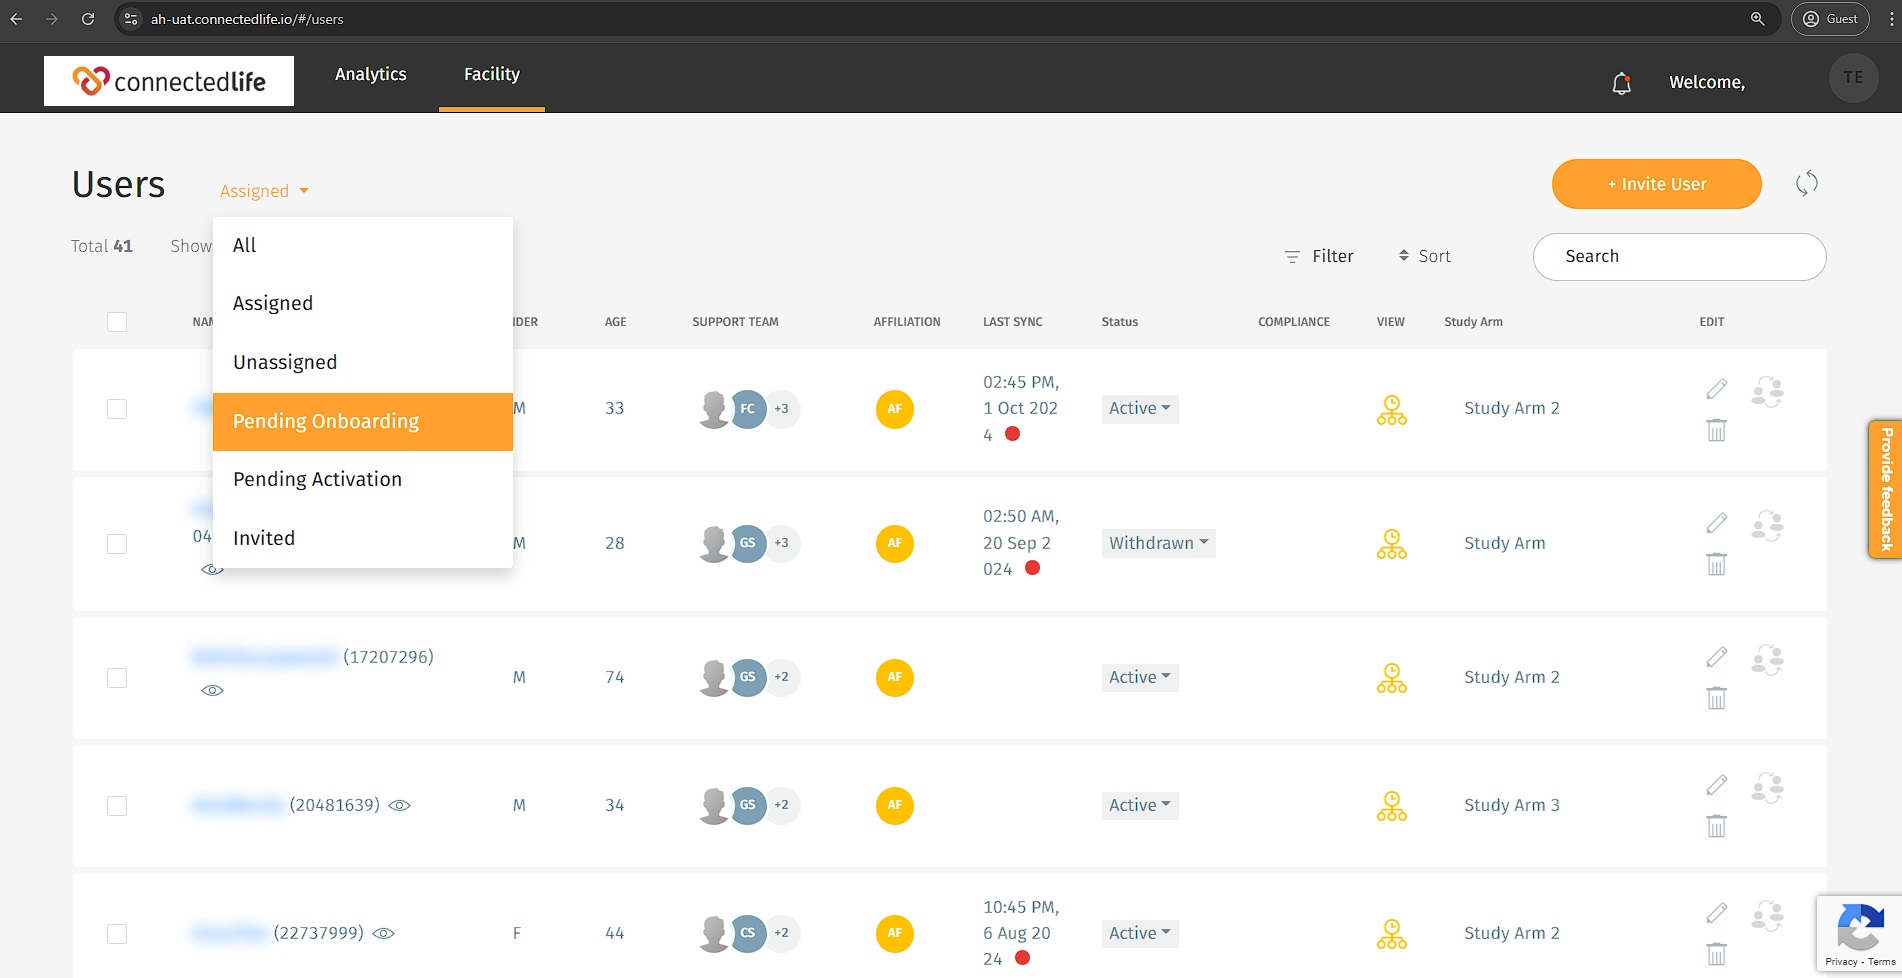
- Navigate to the “Facility” tab and select “Users.”
- Now click on the drop-down menu and select Pending Onboarding Users.
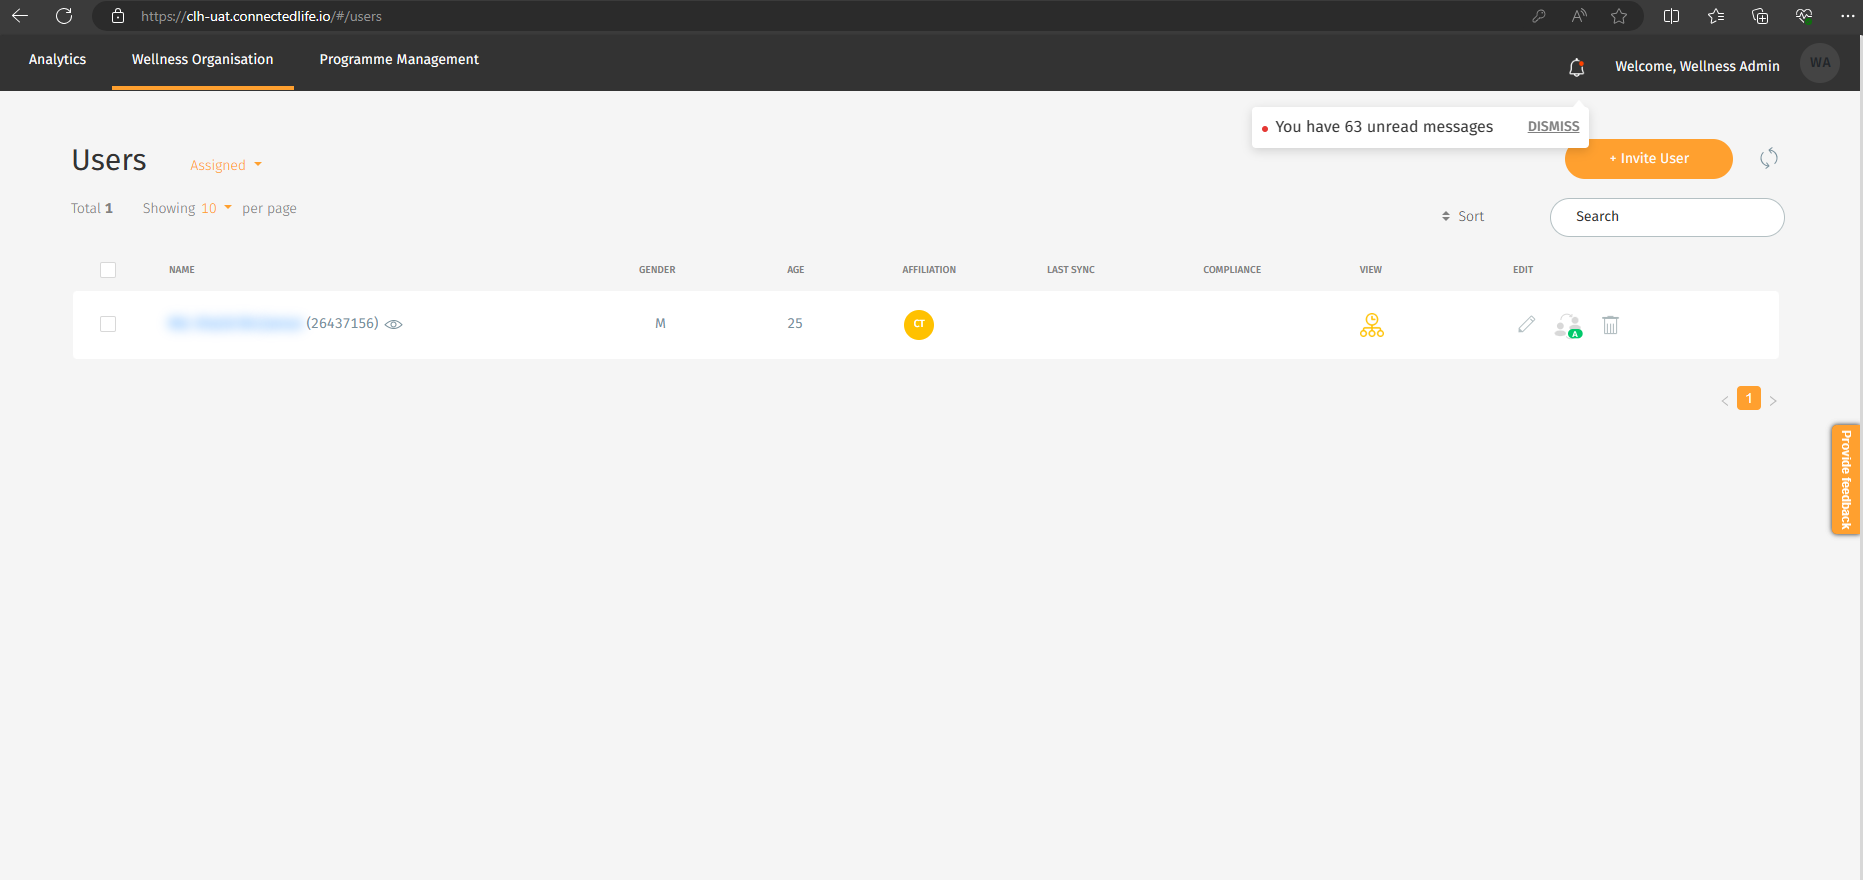
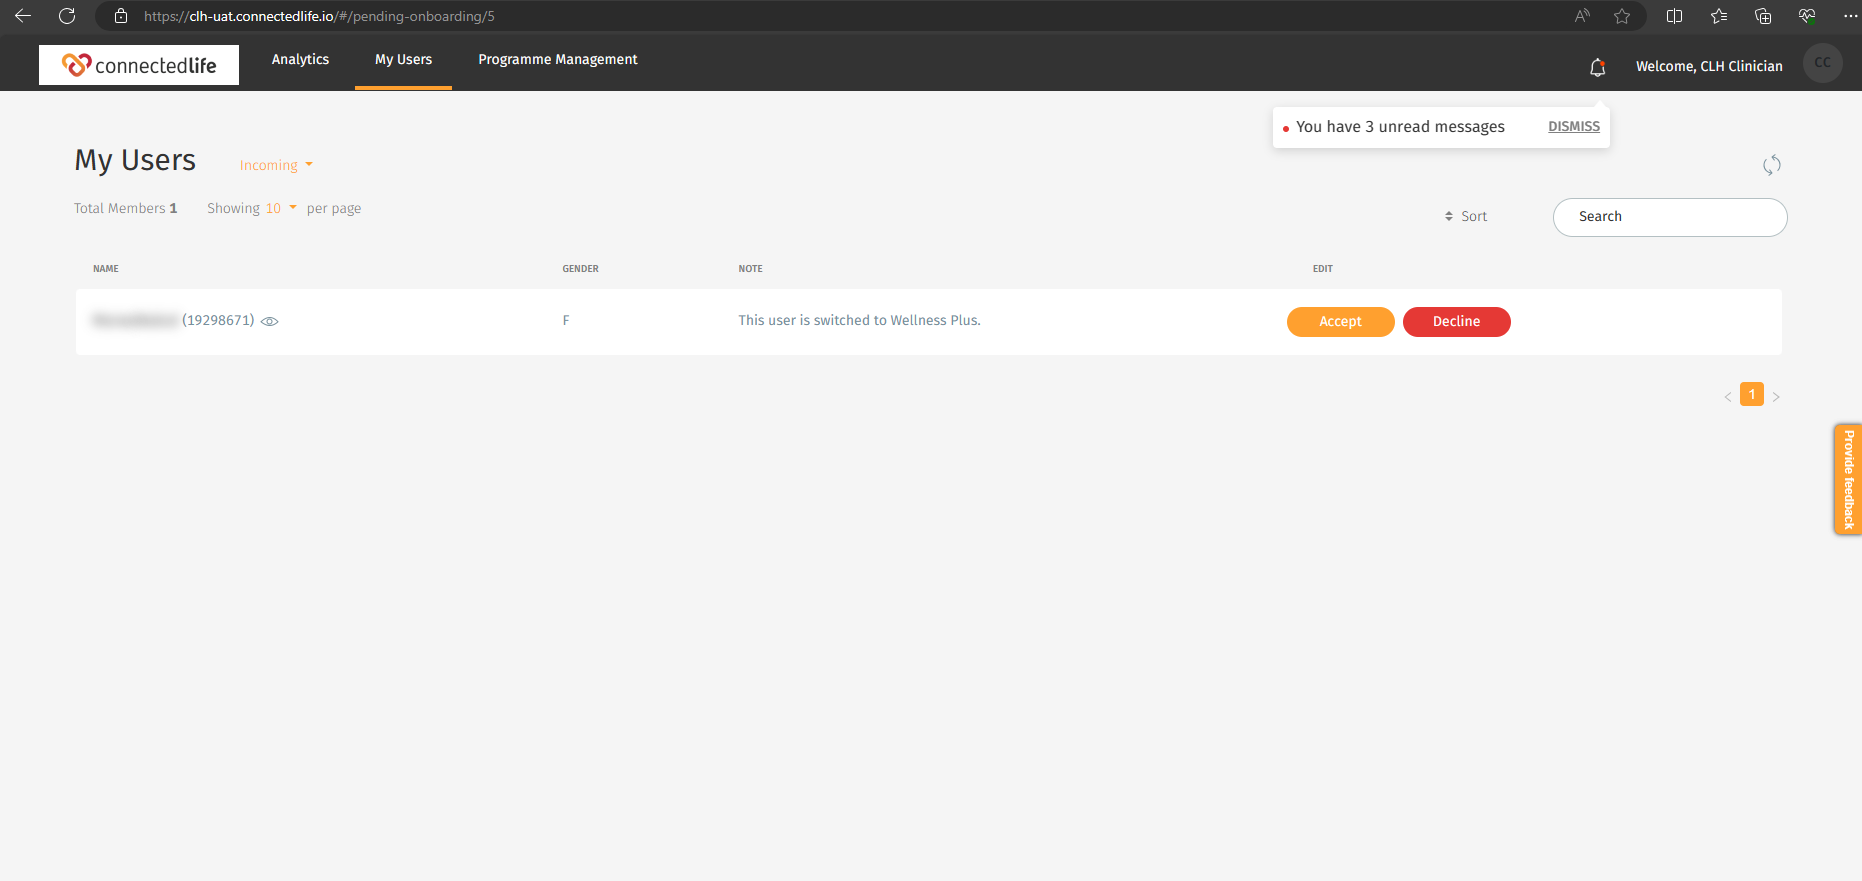
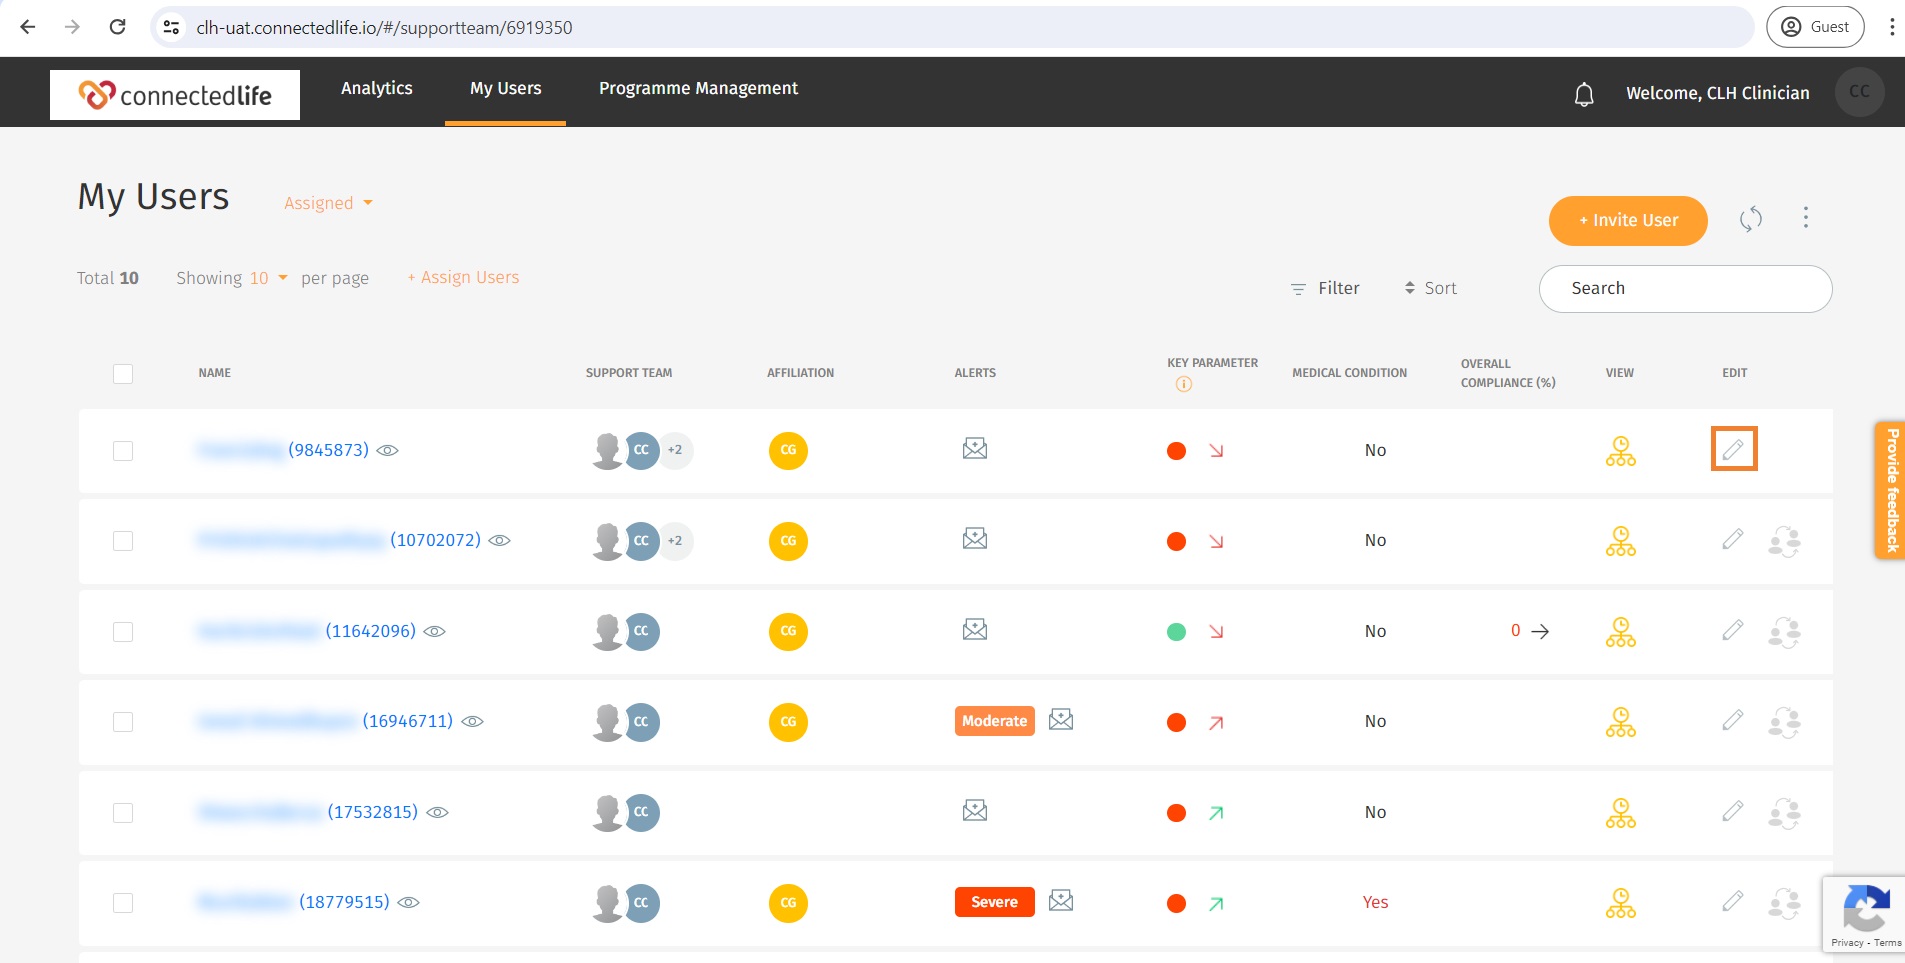
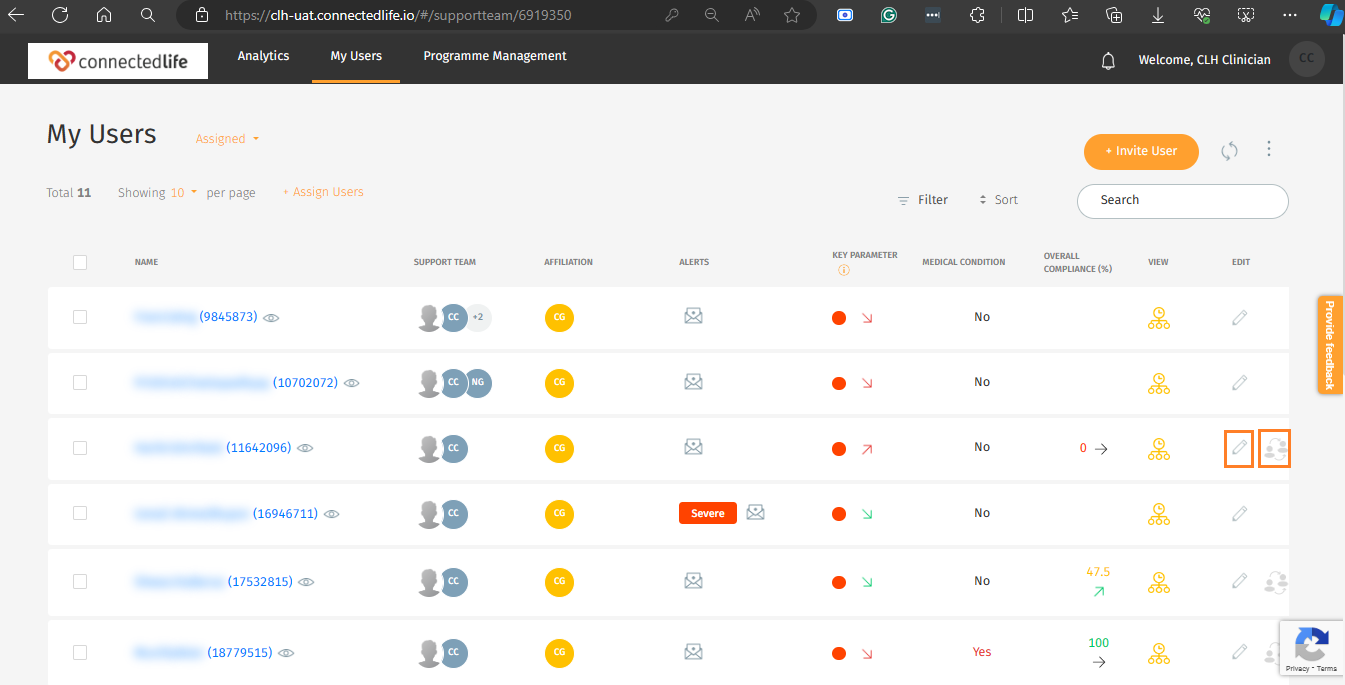
For Support Team Members:
- Sign in to your ConnectedLife Support Team Member account.
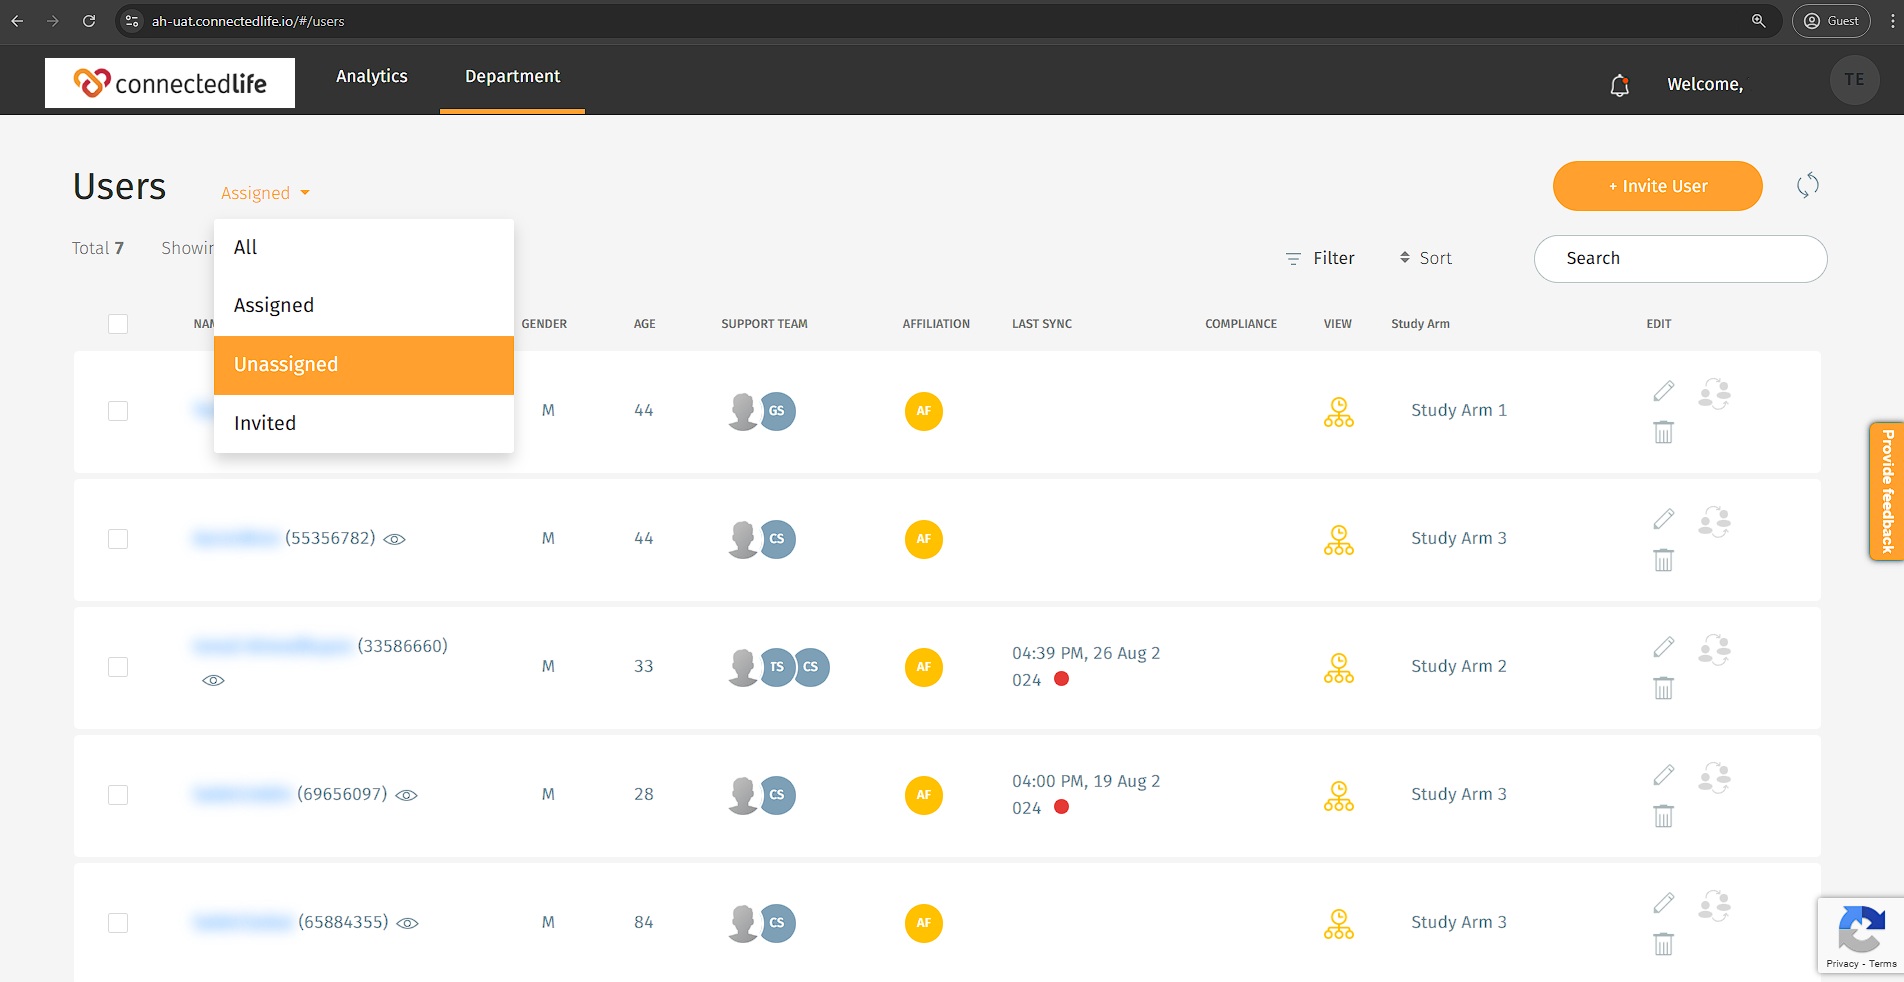
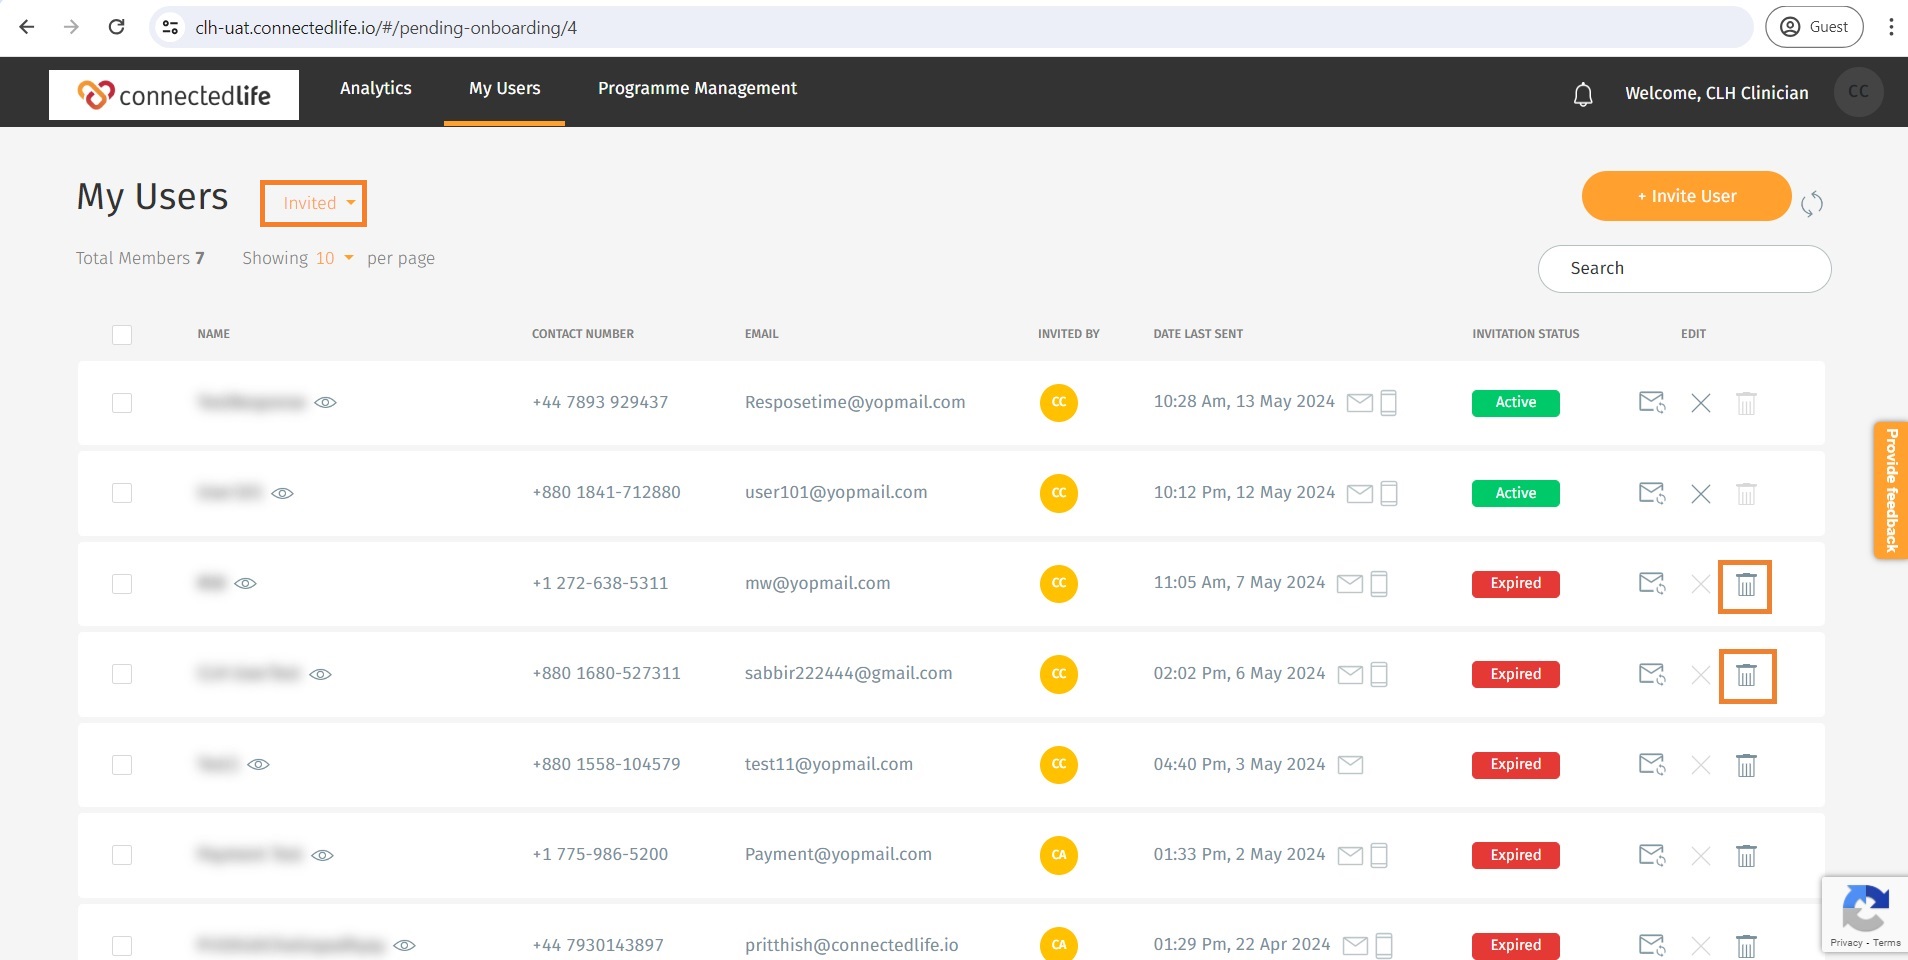
- Navigate to the “My Users” tab and select “Users.”
- Now click on the drop-down menu and select Pending Onboarding Users.

By following these steps, organisational roles can efficiently locate the Pending Onboarding Users, streamlining management and support processes.