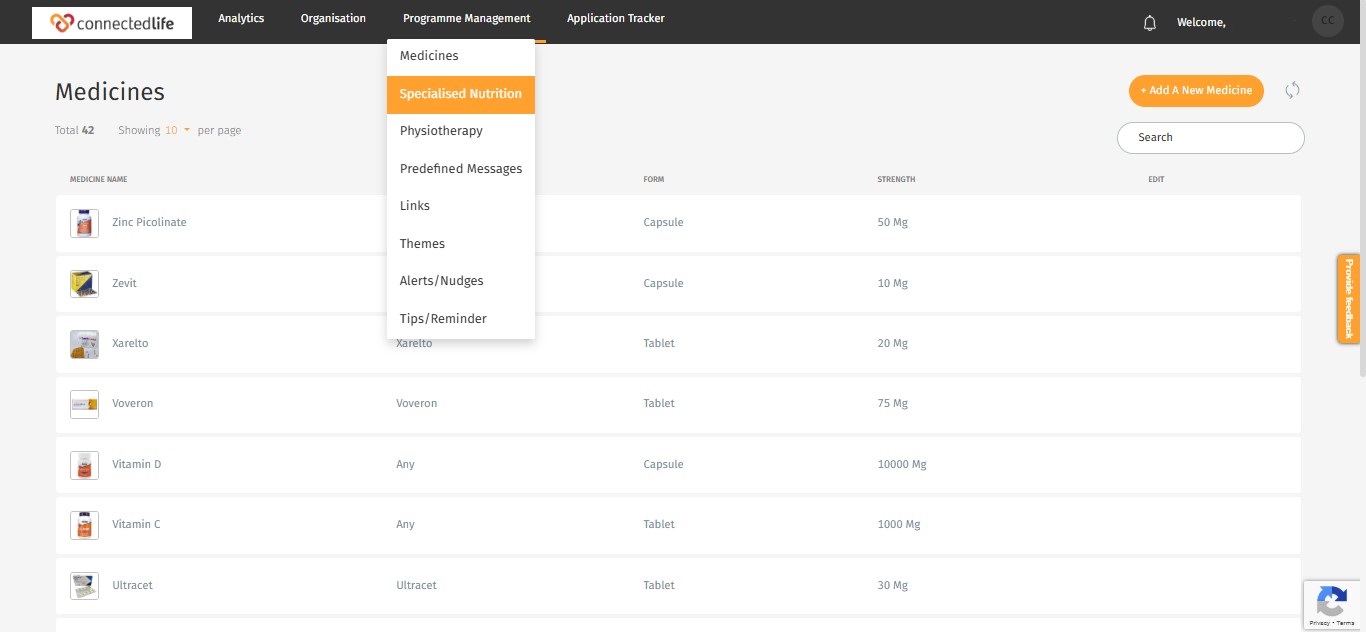
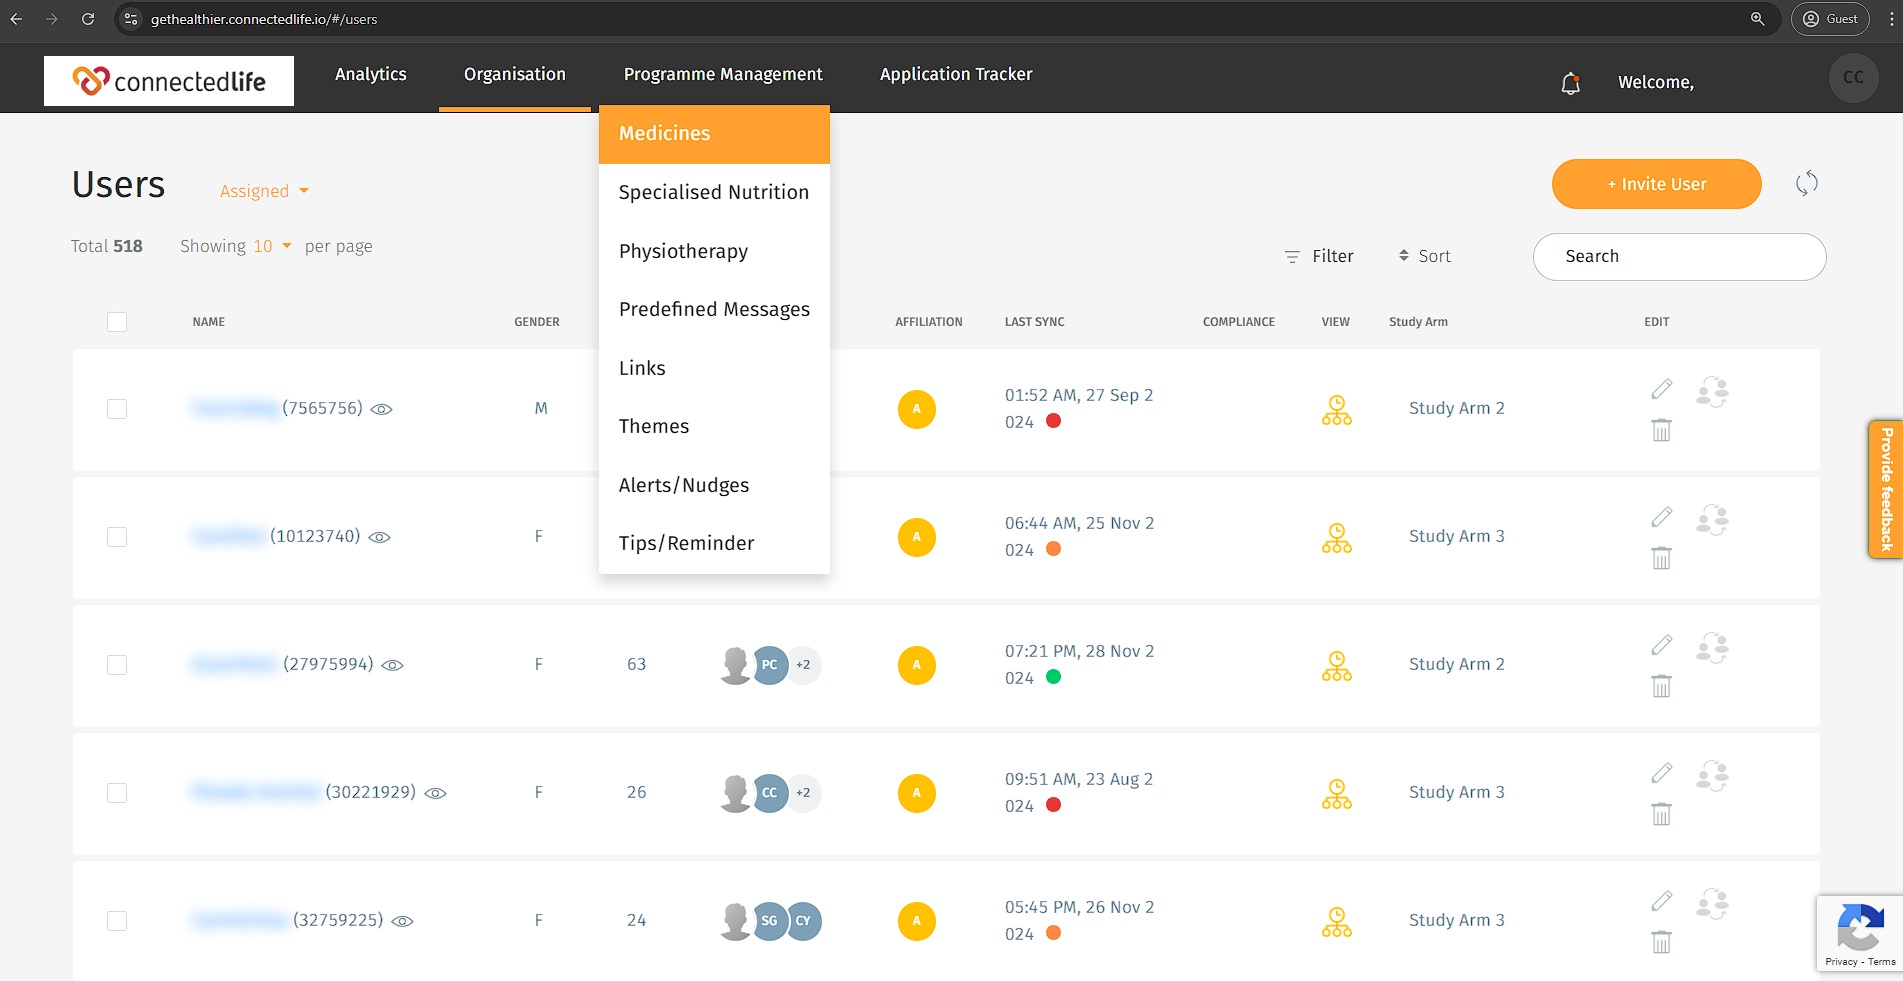
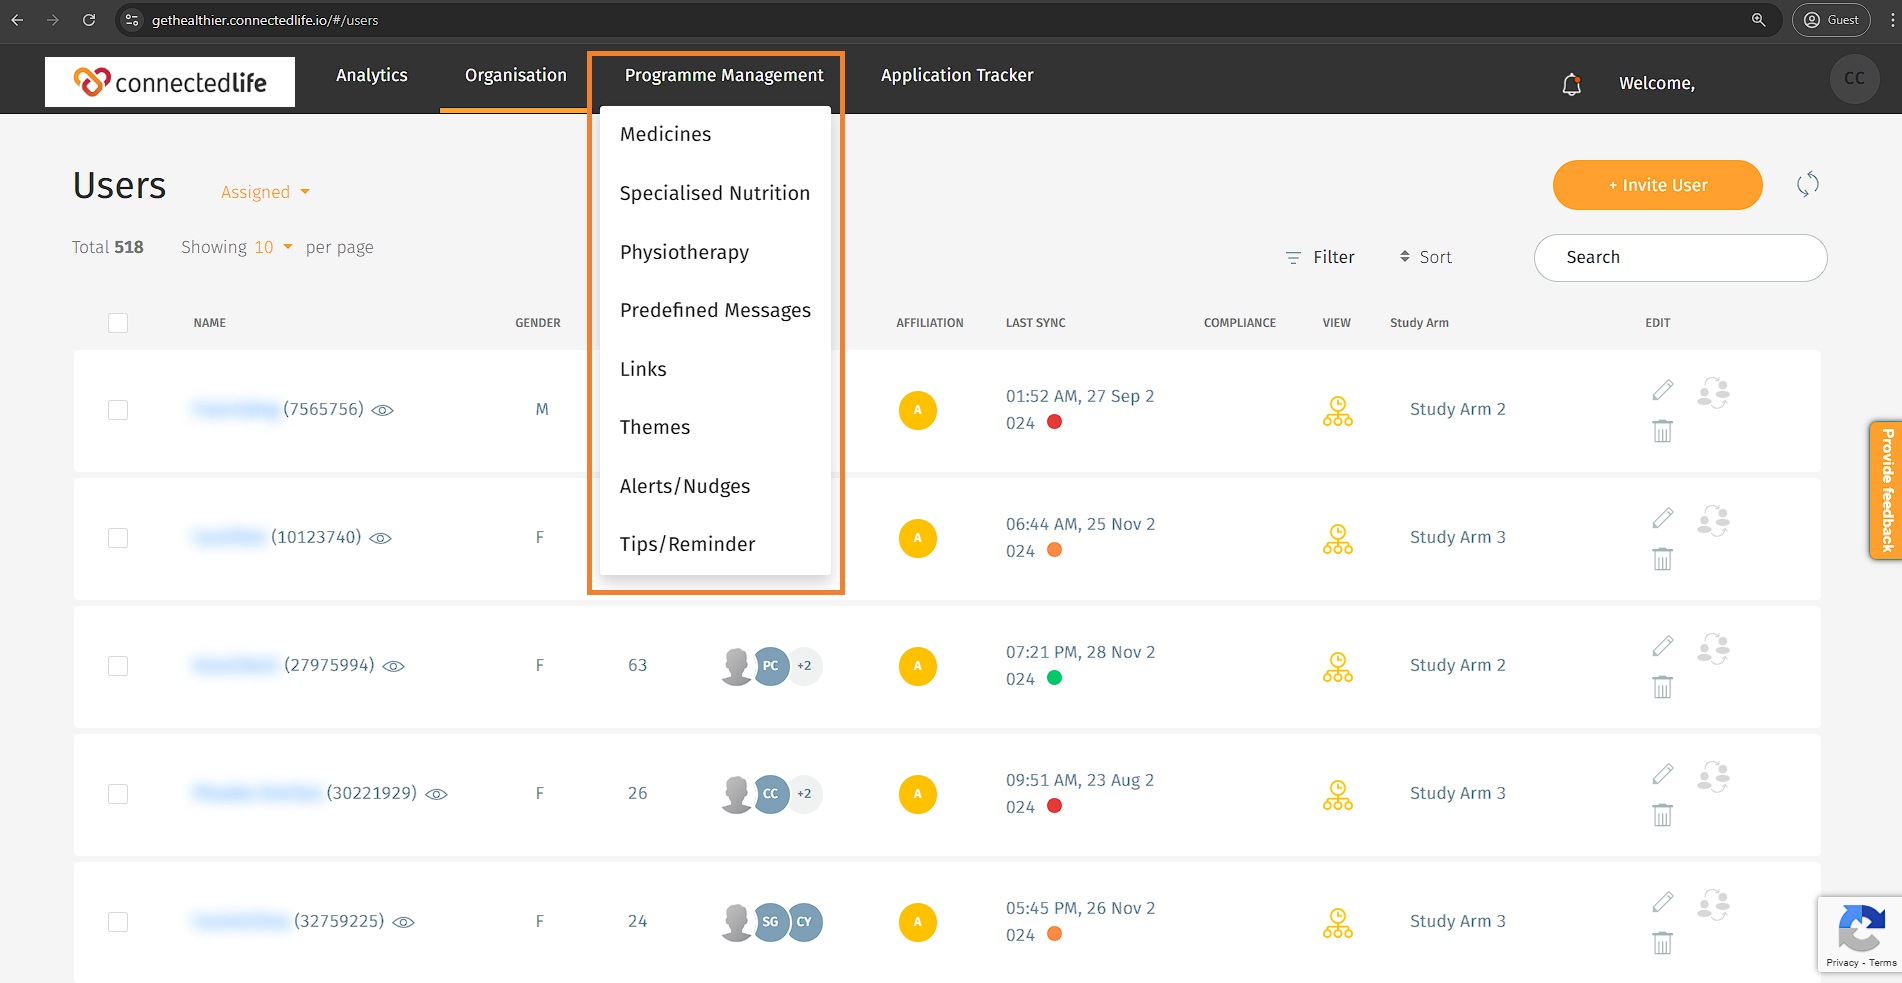
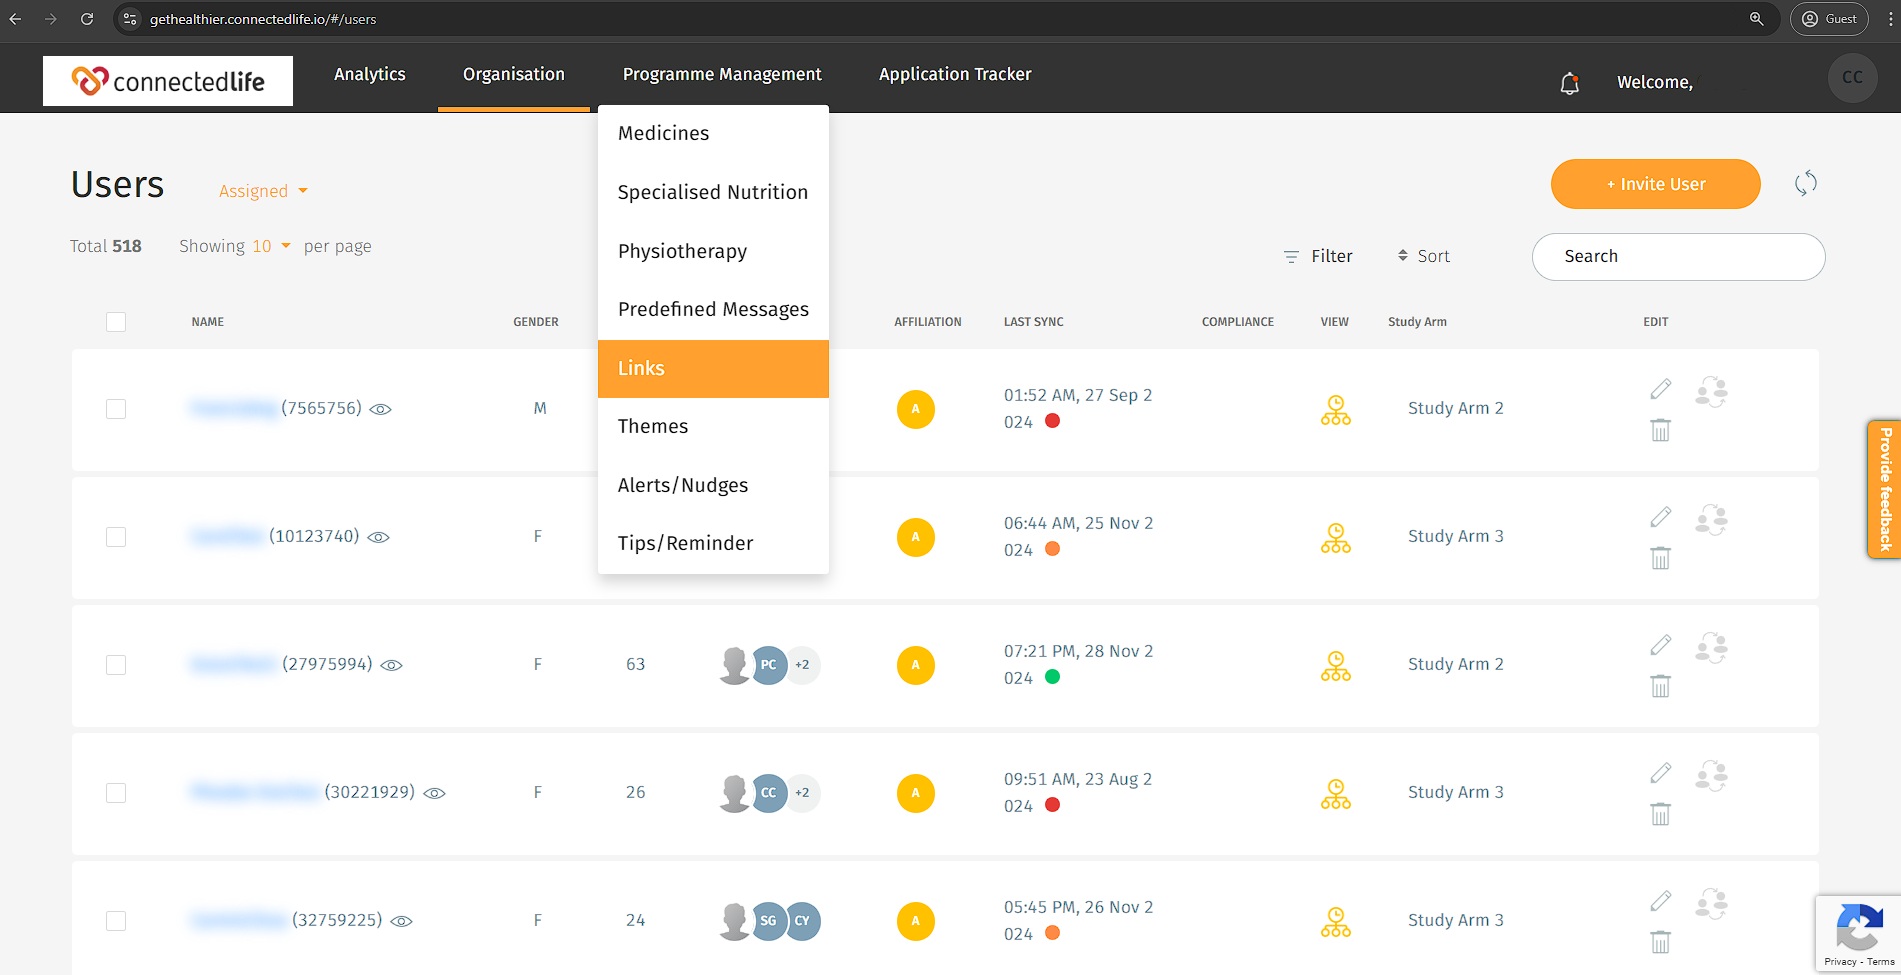
Programme Management is the list of features and functions that can be set by the Organisation Admin based on the user’s needs.
Under Programme Management, the Organisation Admin can add, edit, and delete content such as:
- Medicines
- Specialised Nutrition
- Physiotherapy
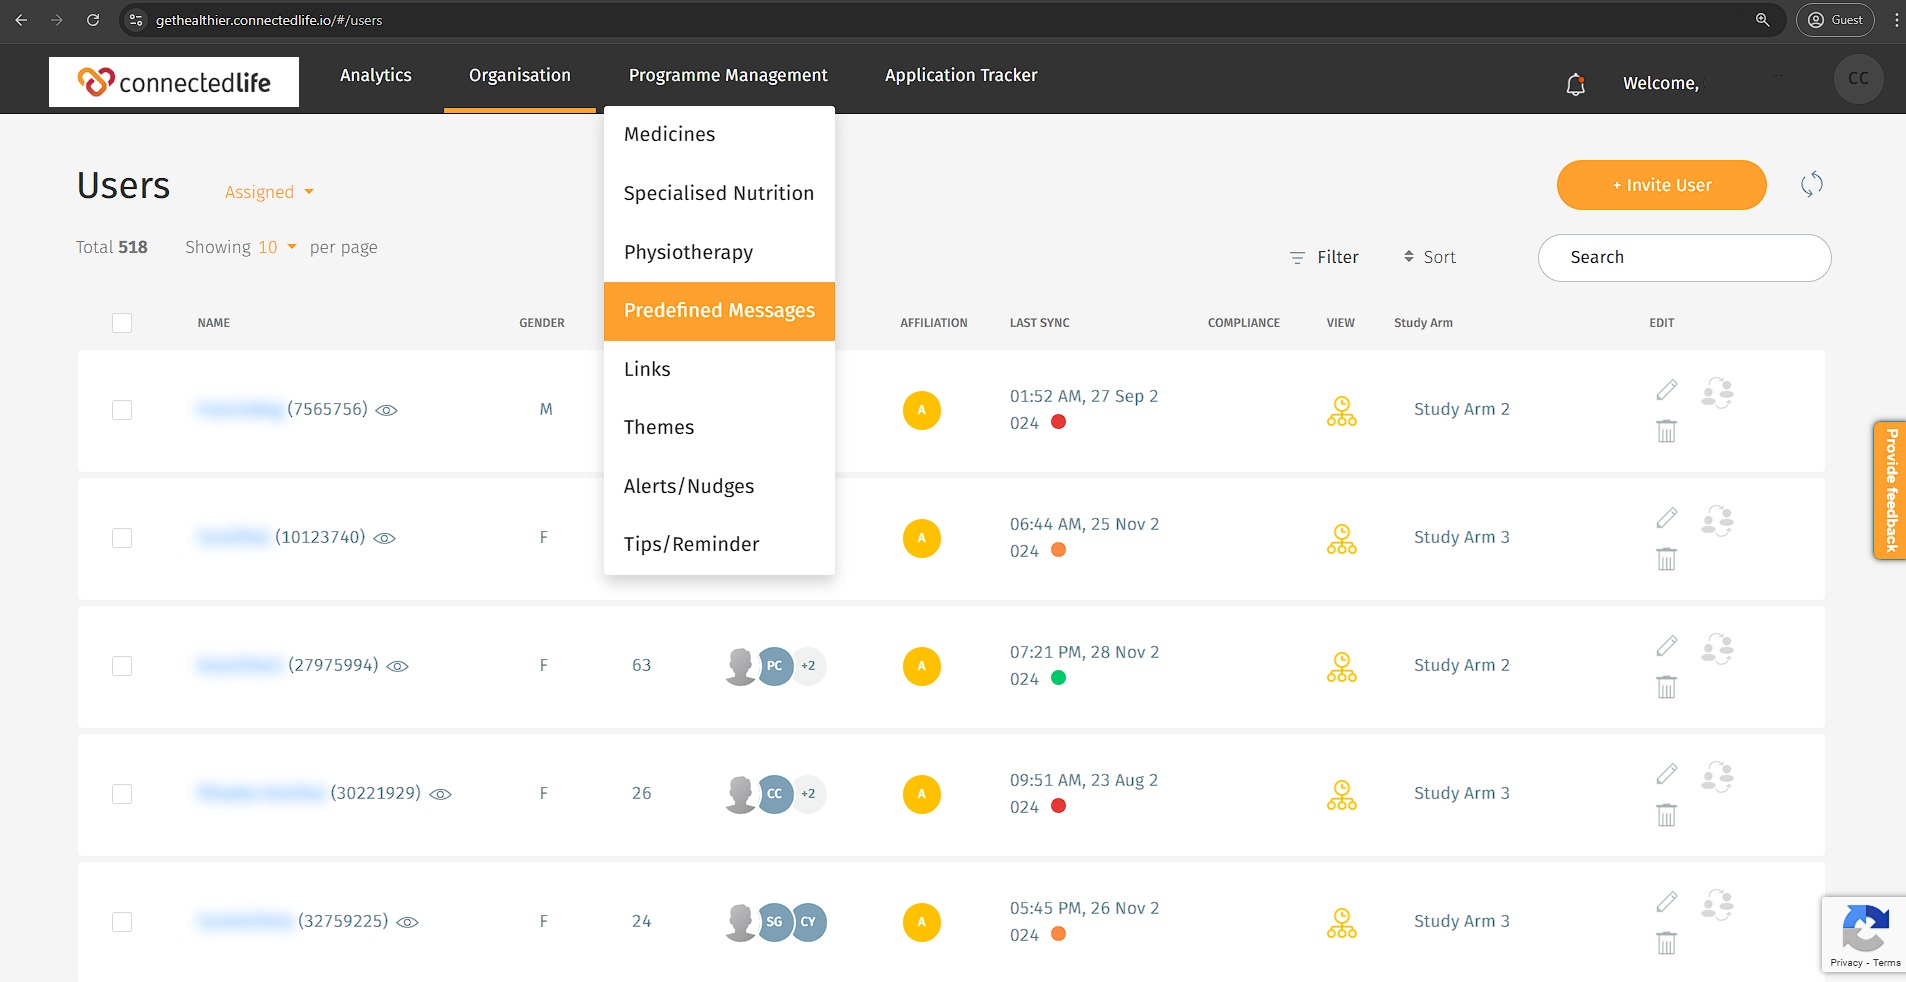
- Predefined Messages
- Links
- Themes
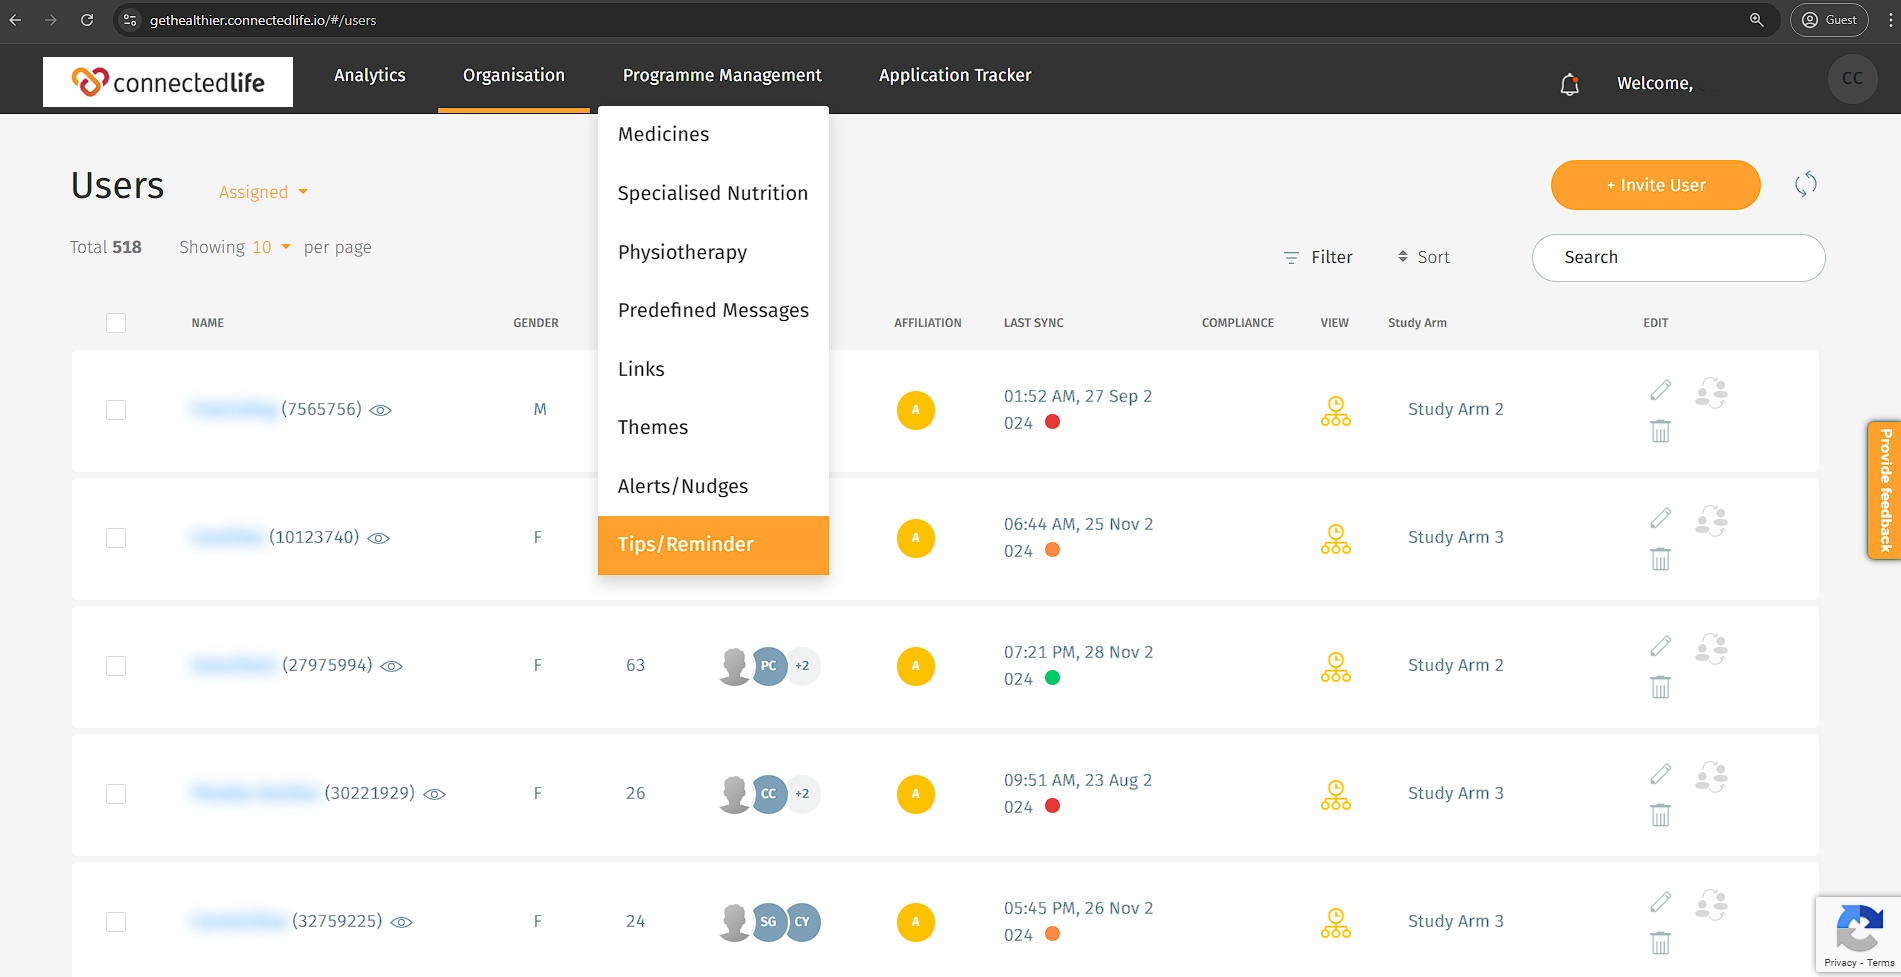
- Alerts/Nudges

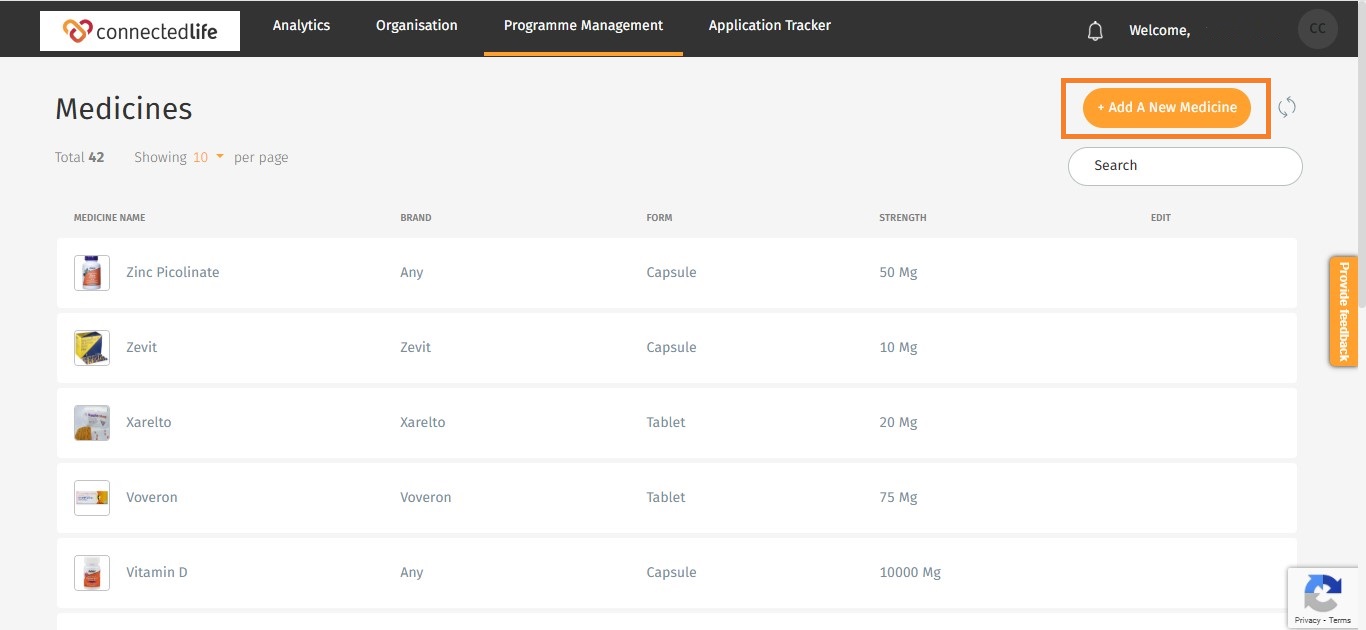
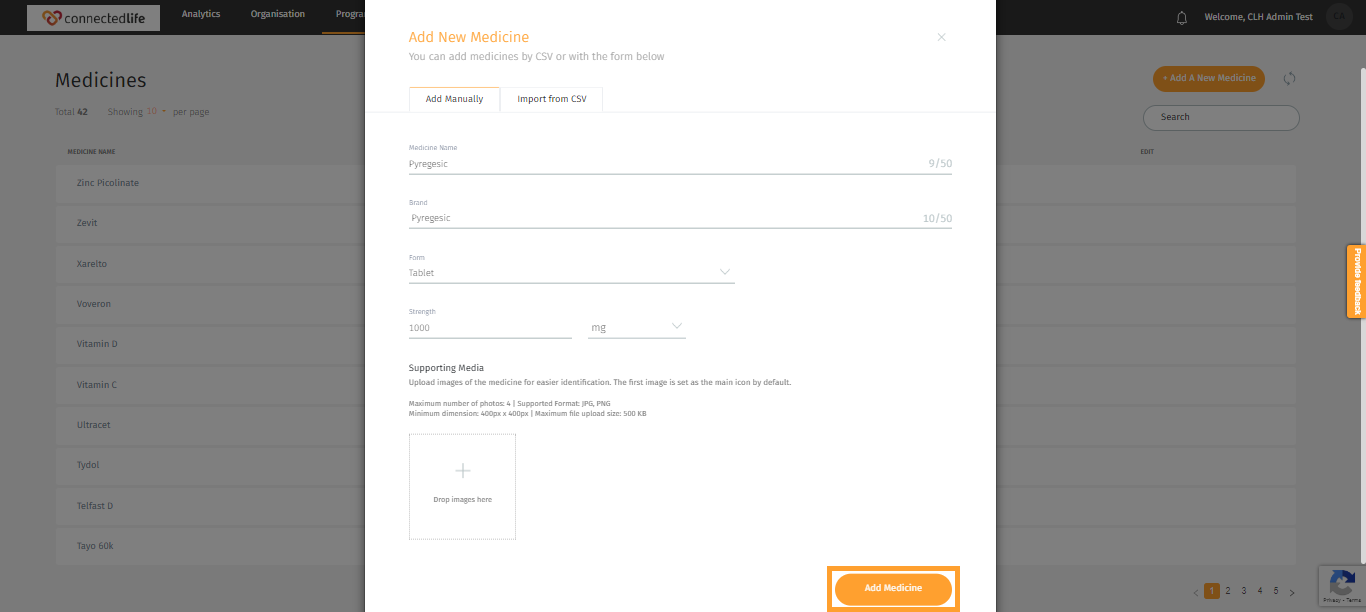
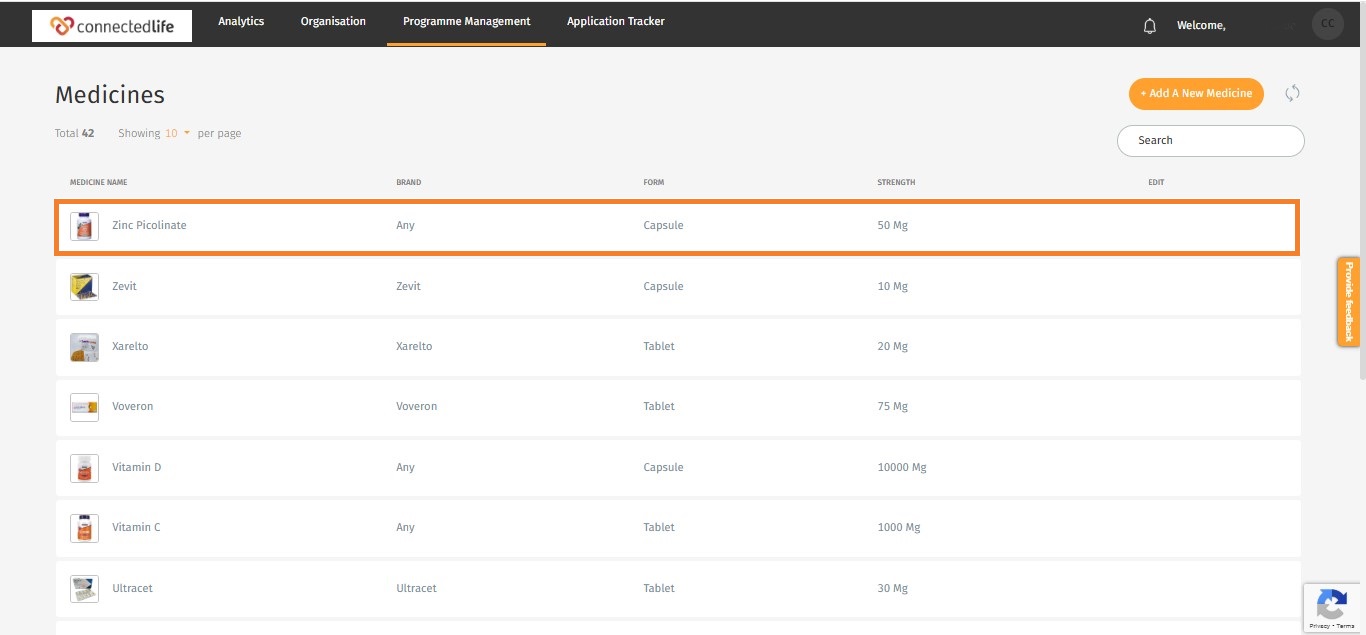
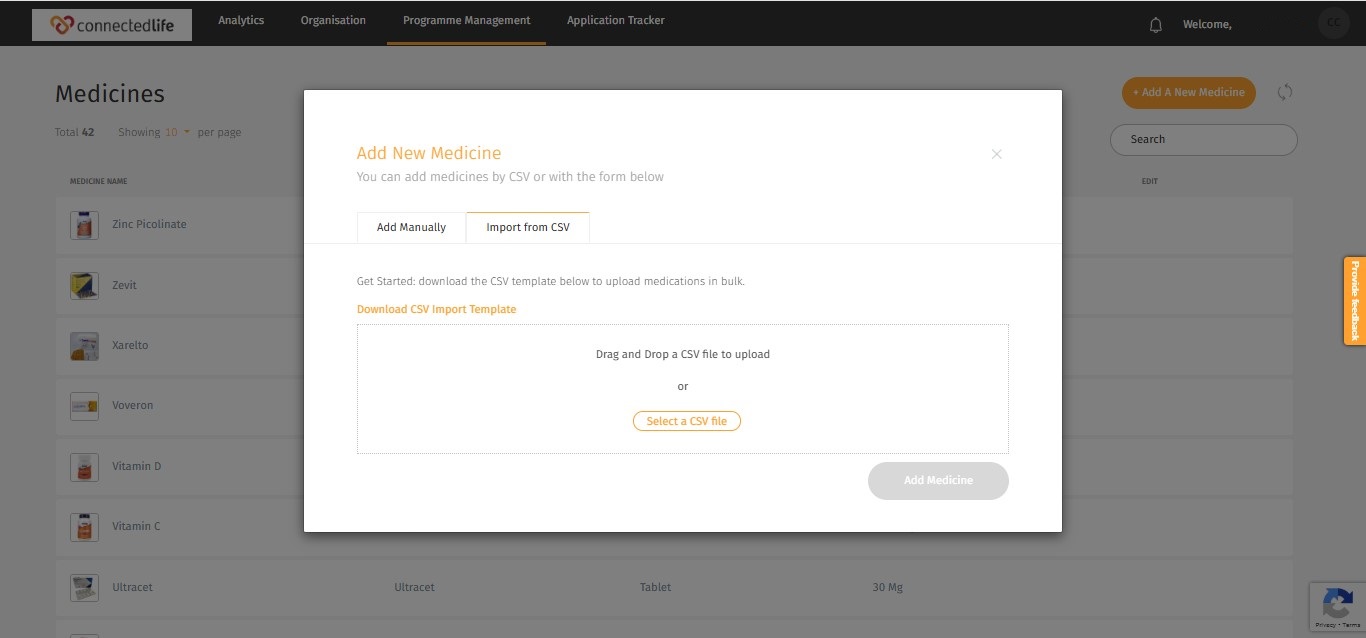
Medicines
The Medicines screen is a list of medications that can be prescribed for users for specific symptoms and conditions.
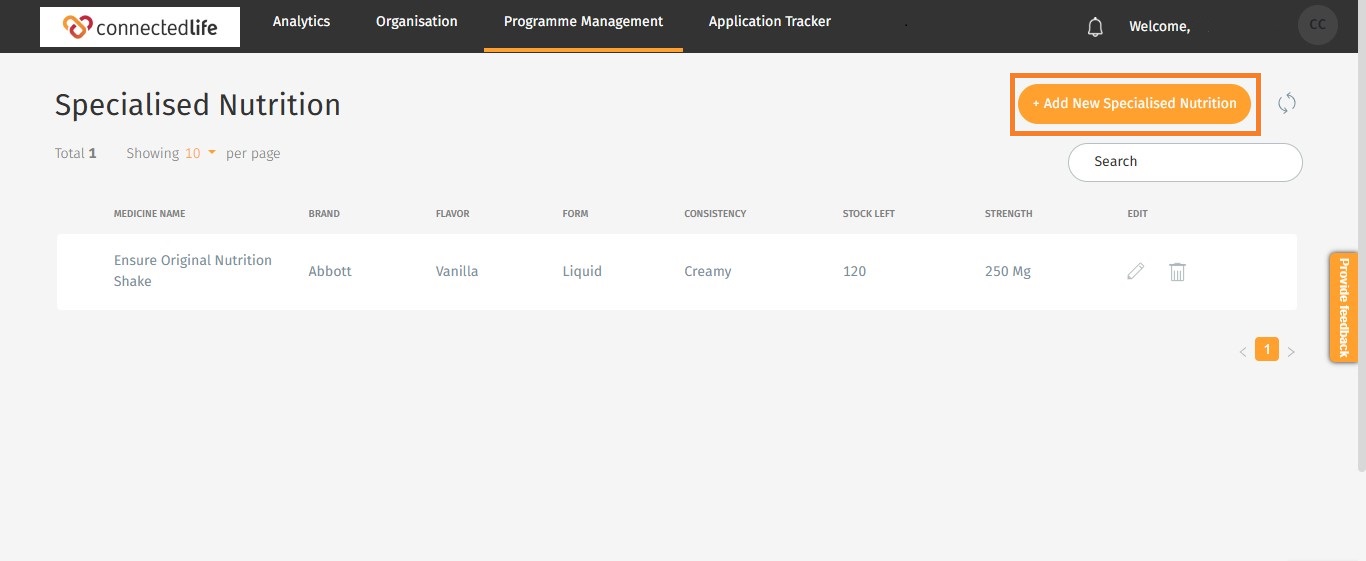
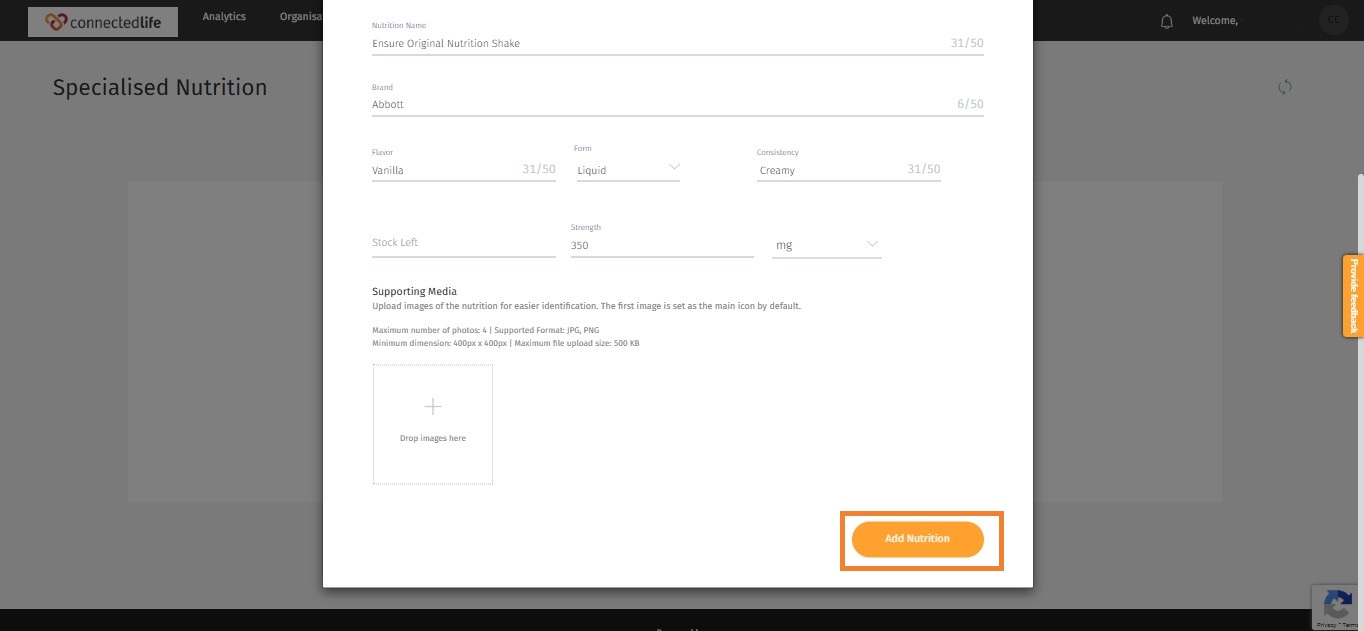
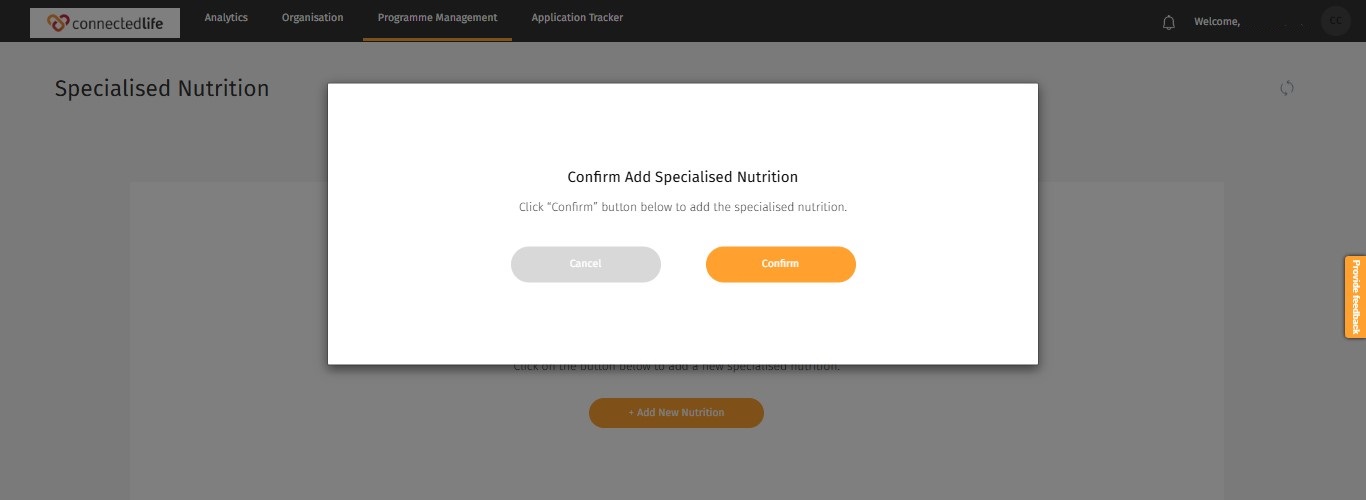
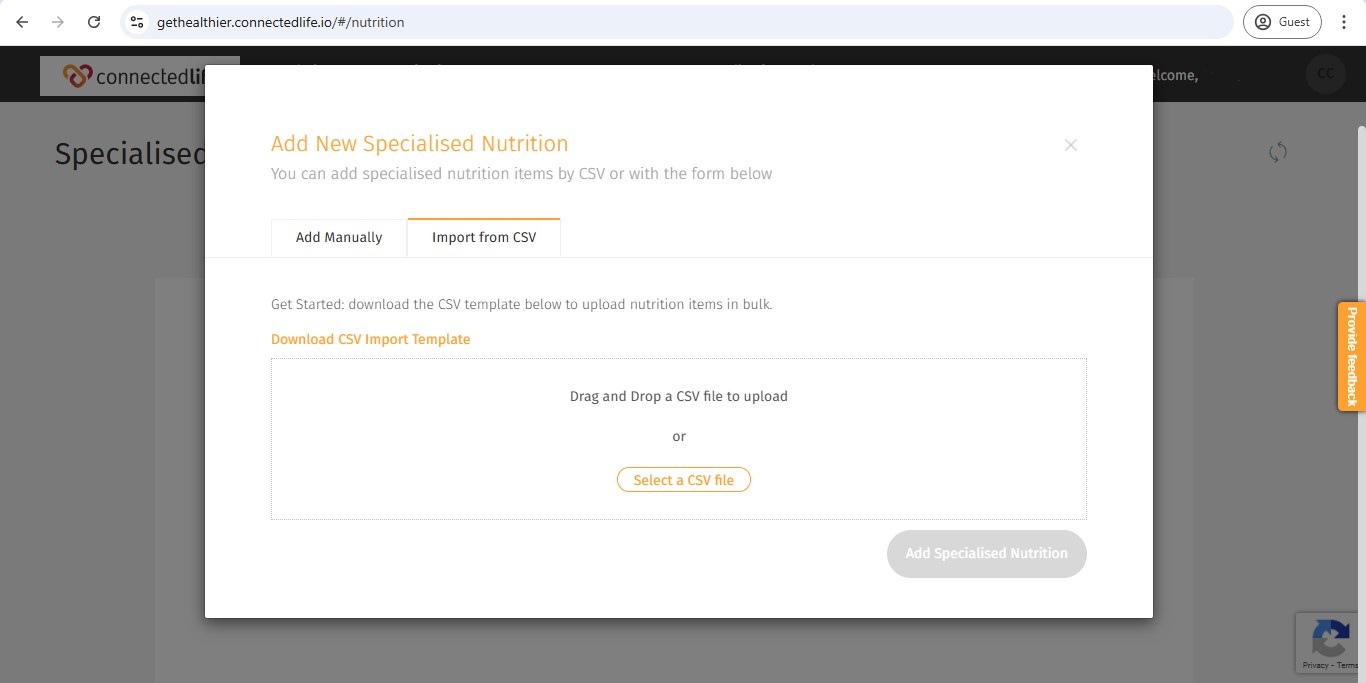
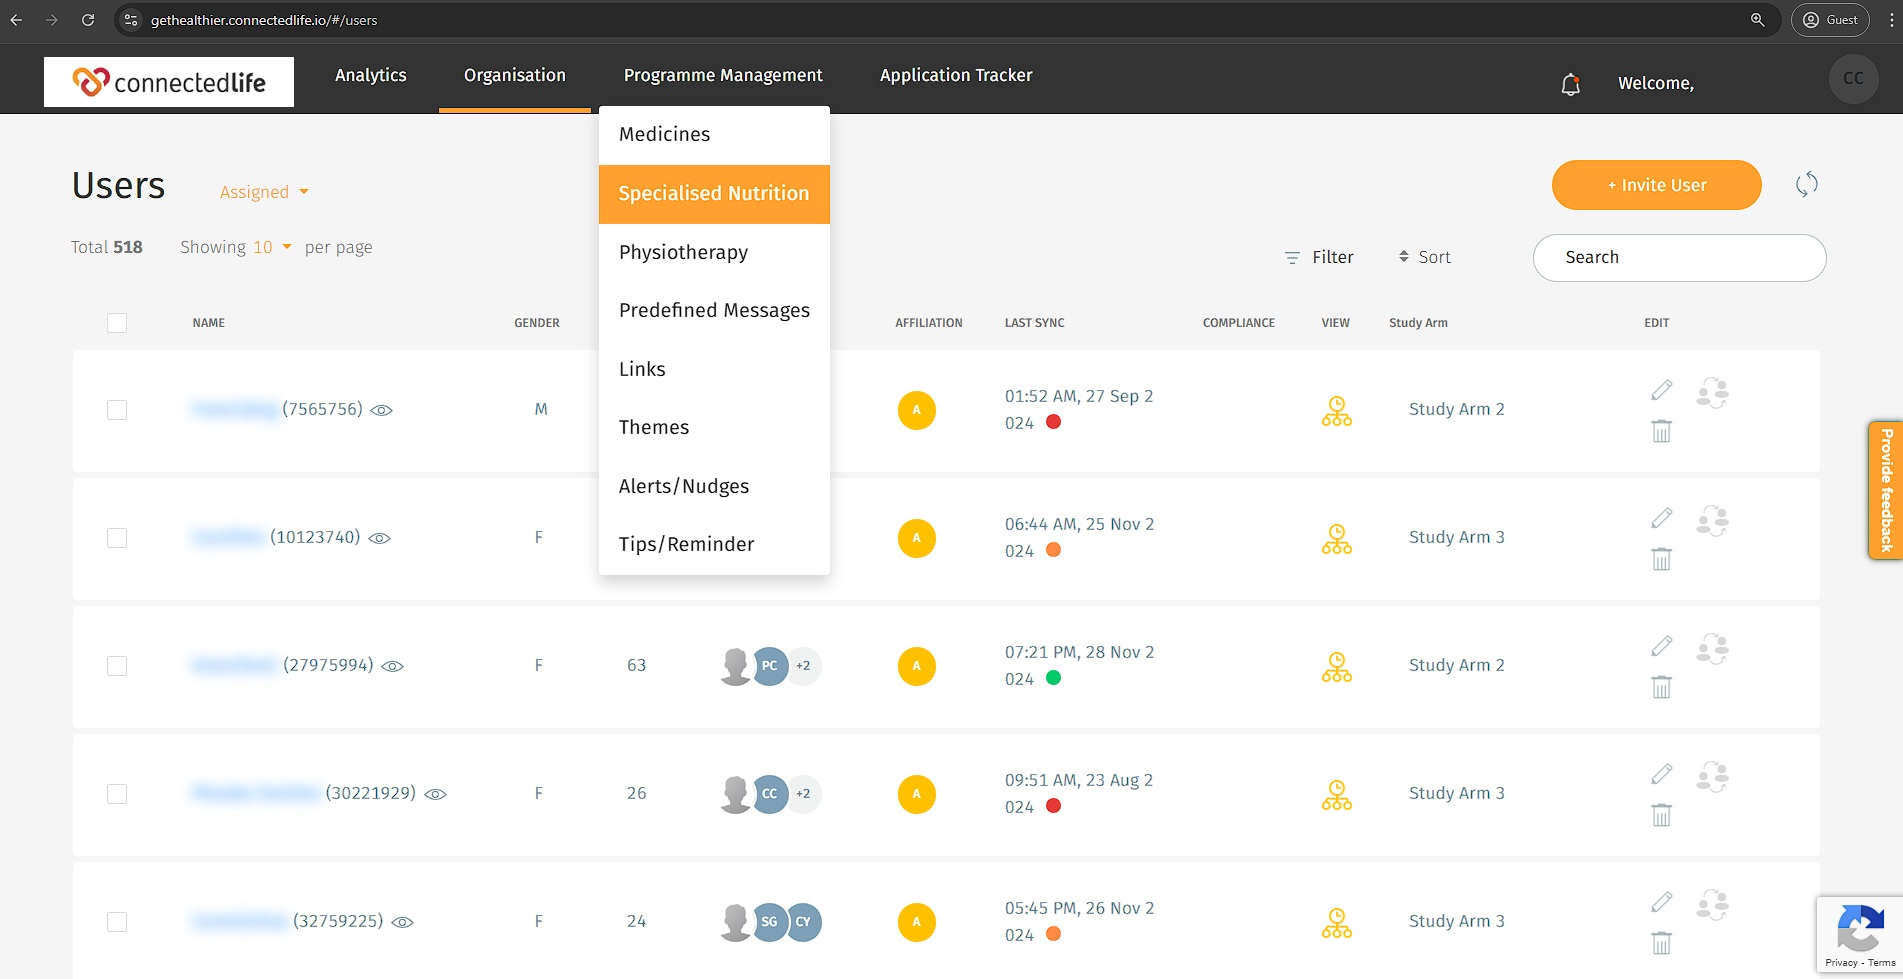
Specialised Nutrition
Specialised Nutrition is designed to meet the nutritional or dietary needs of patients living with a disease, disorder, or medical condition.
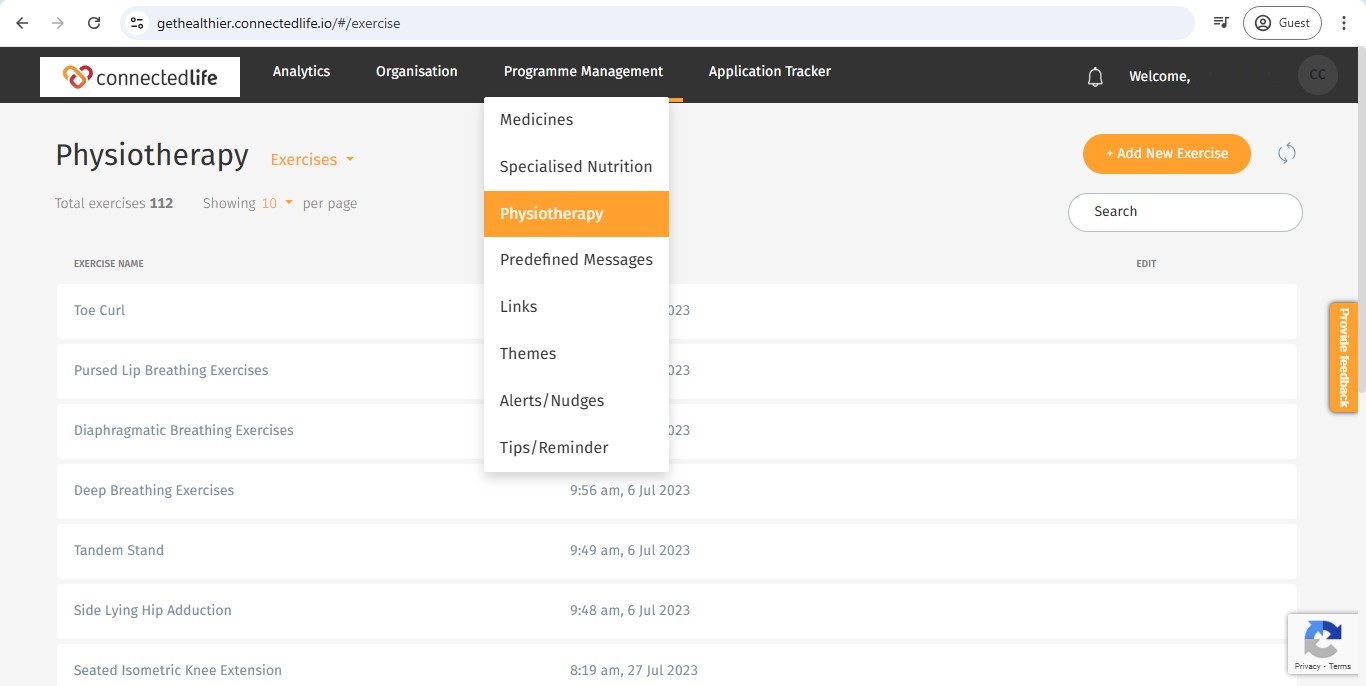
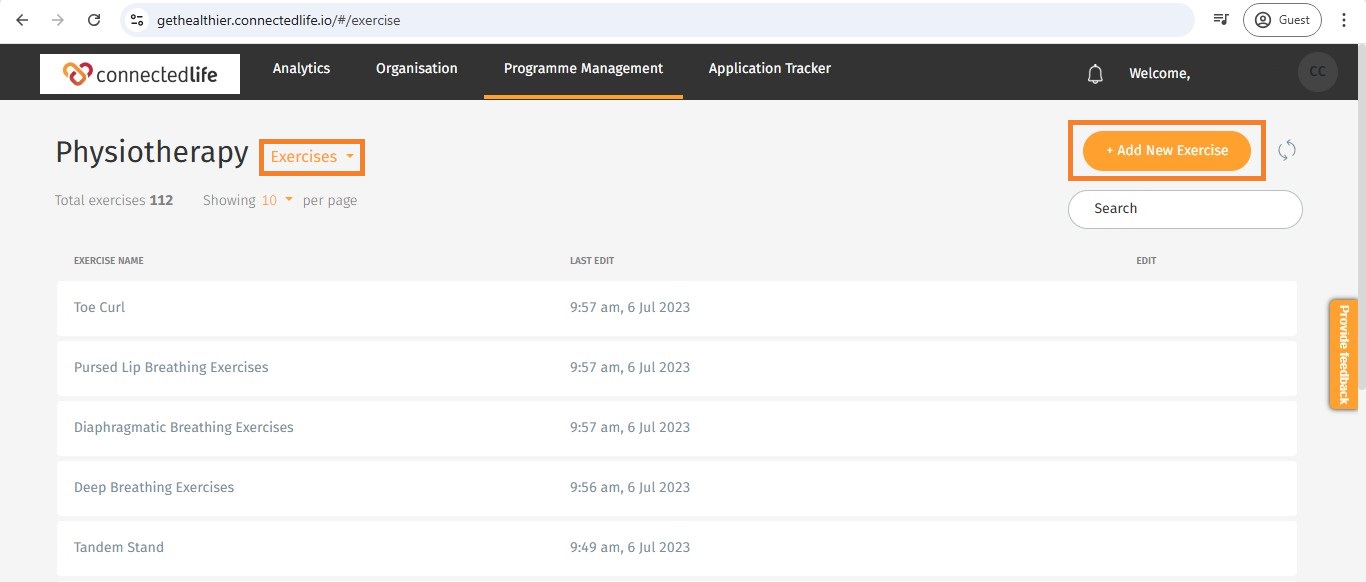
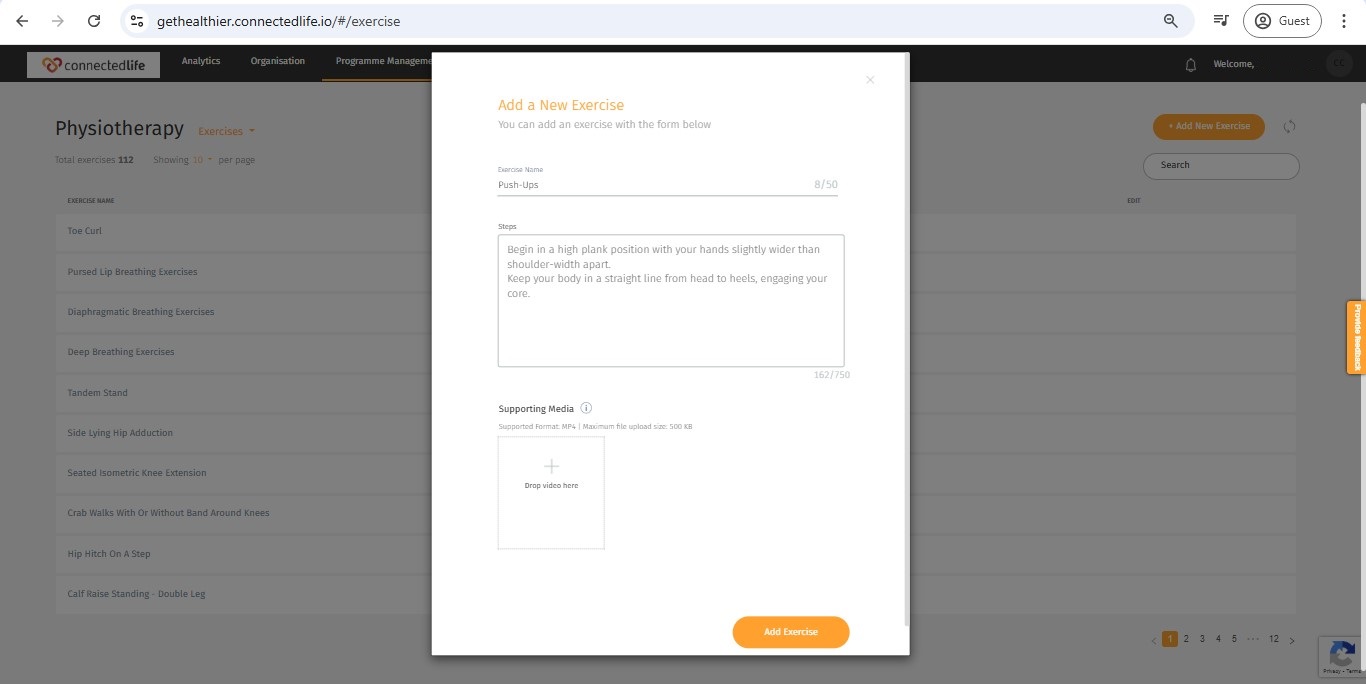
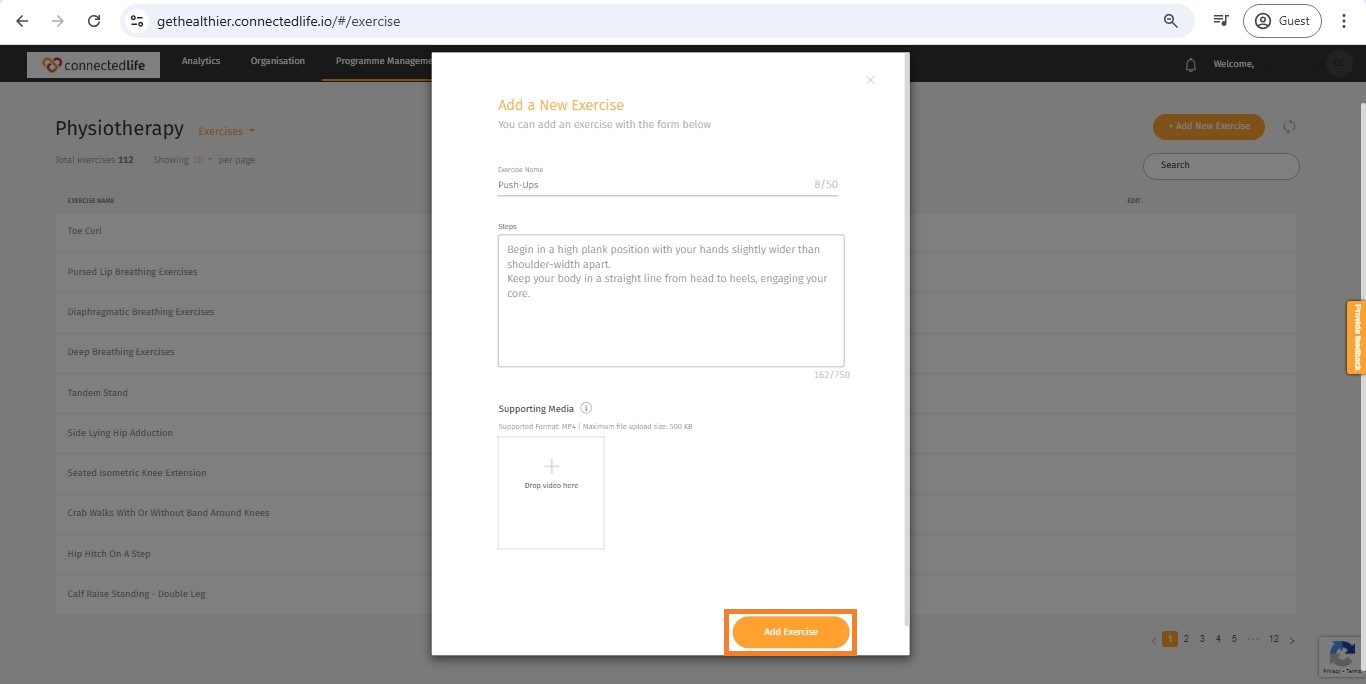
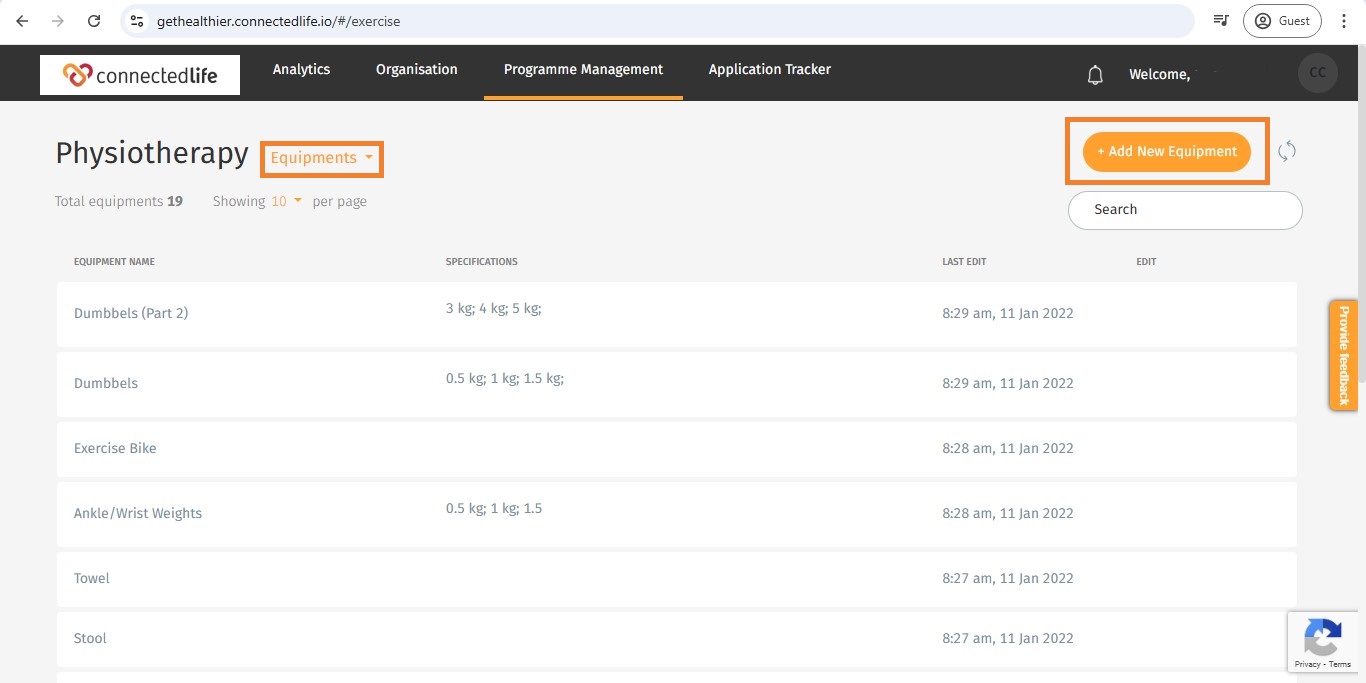
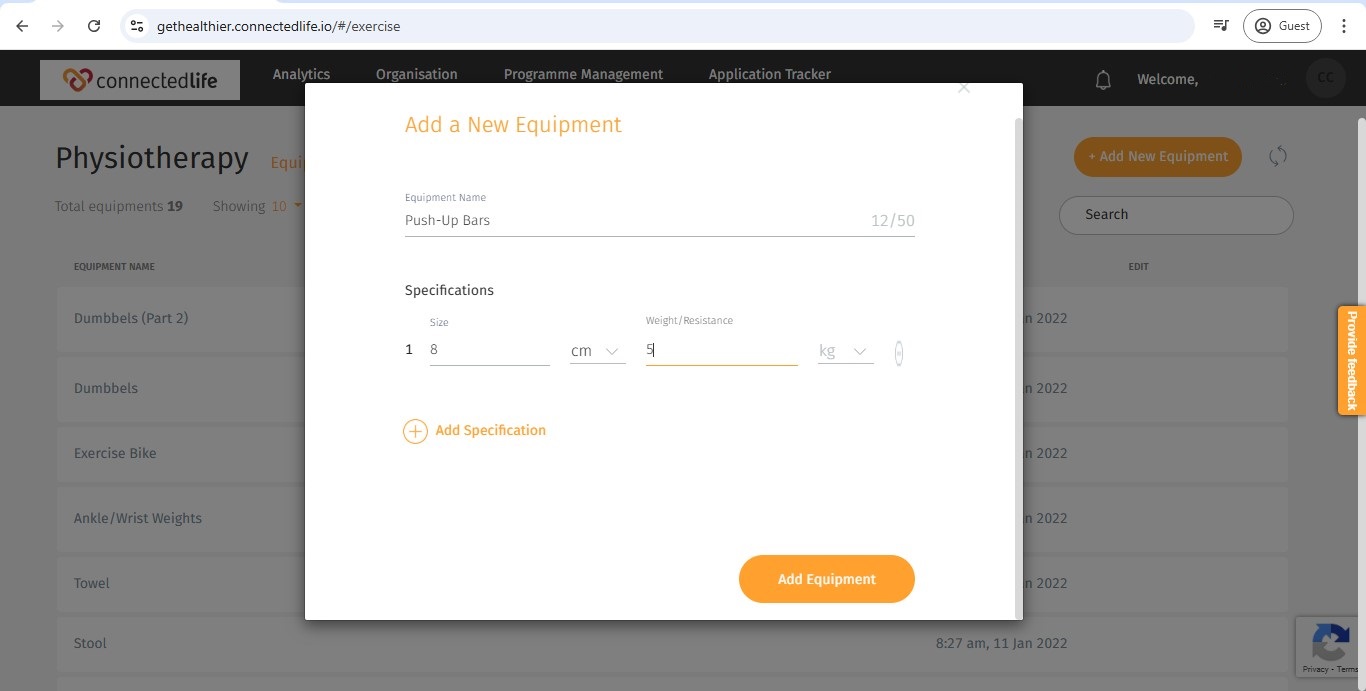
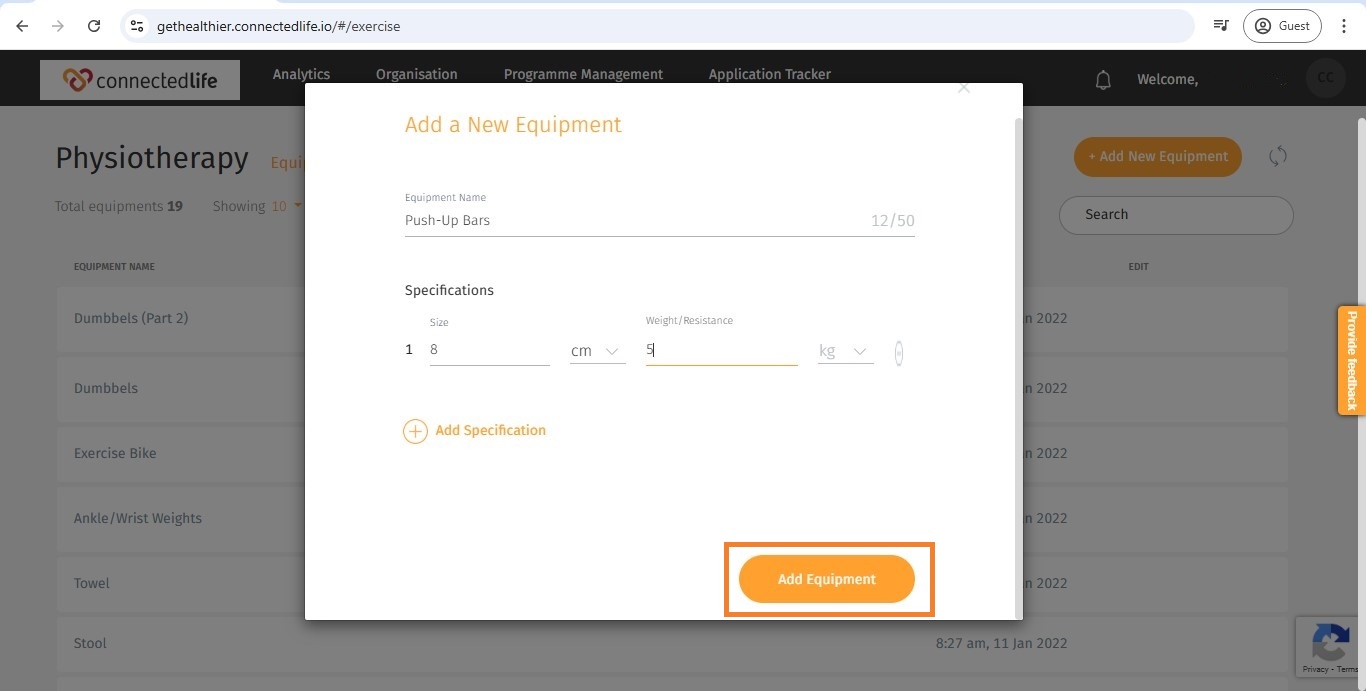
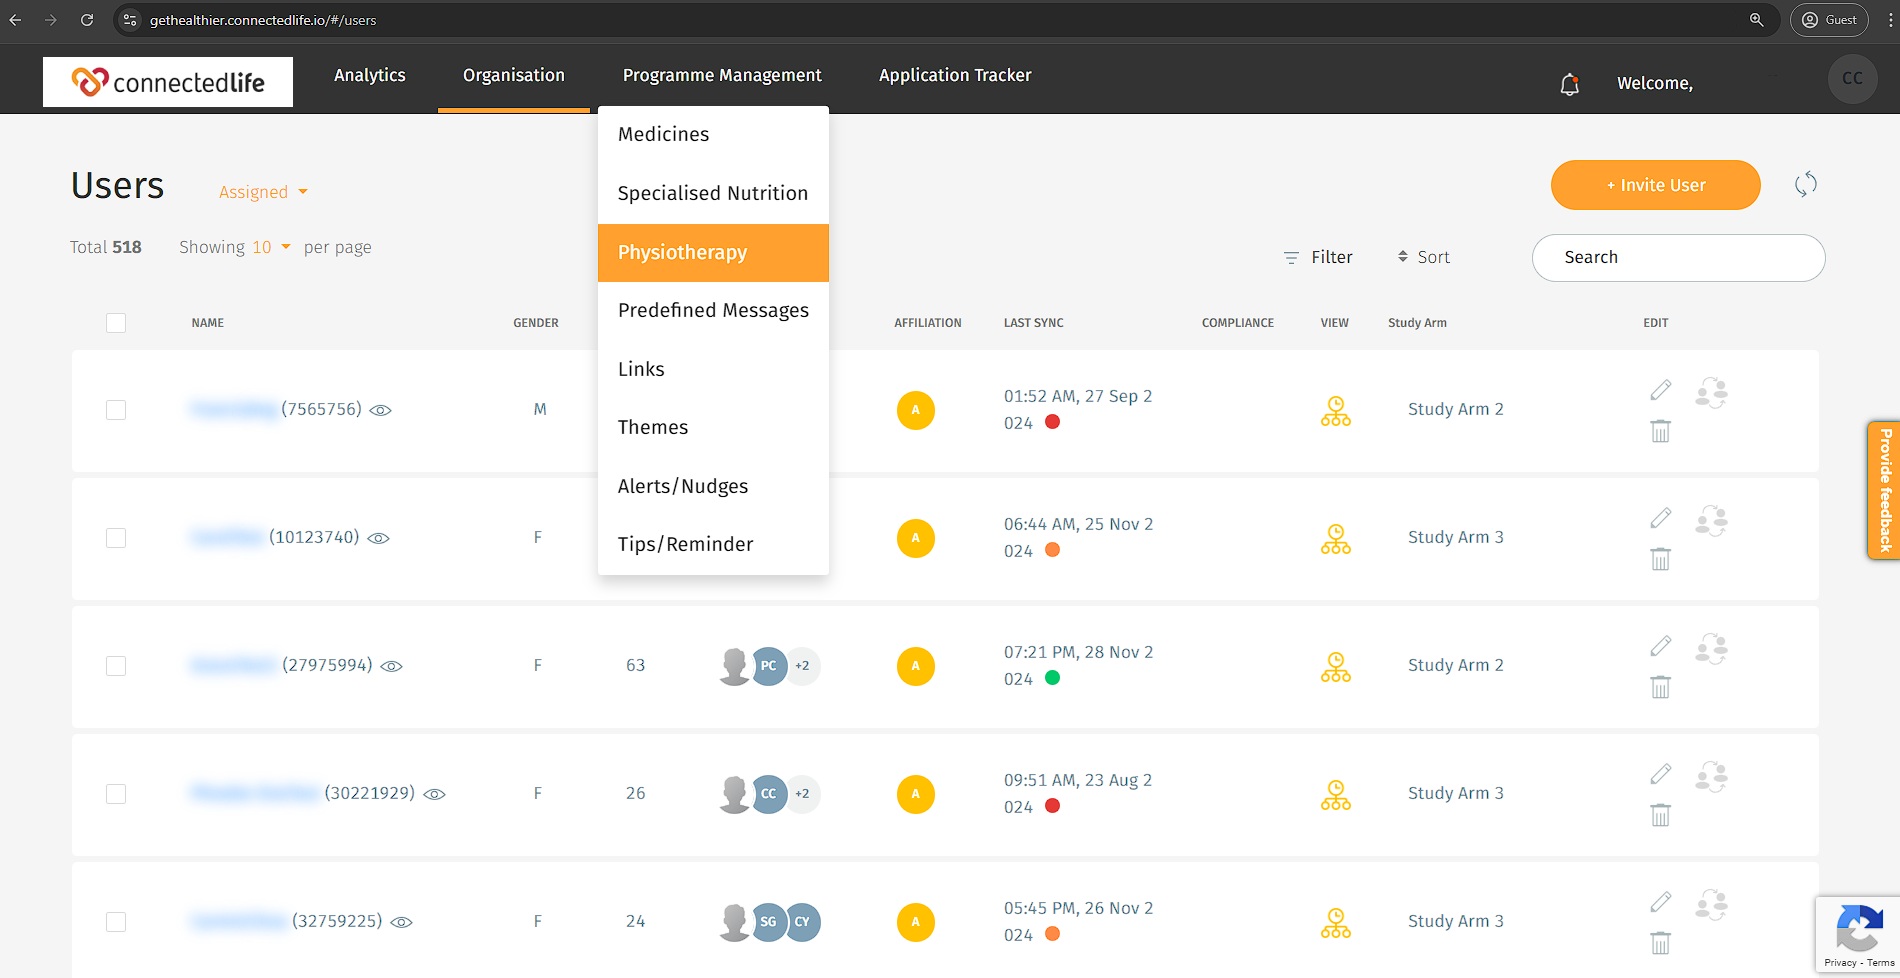
Physiotherapy
Physiotherapy is a list of exercises and equipment that can be assigned to the user’s condition.
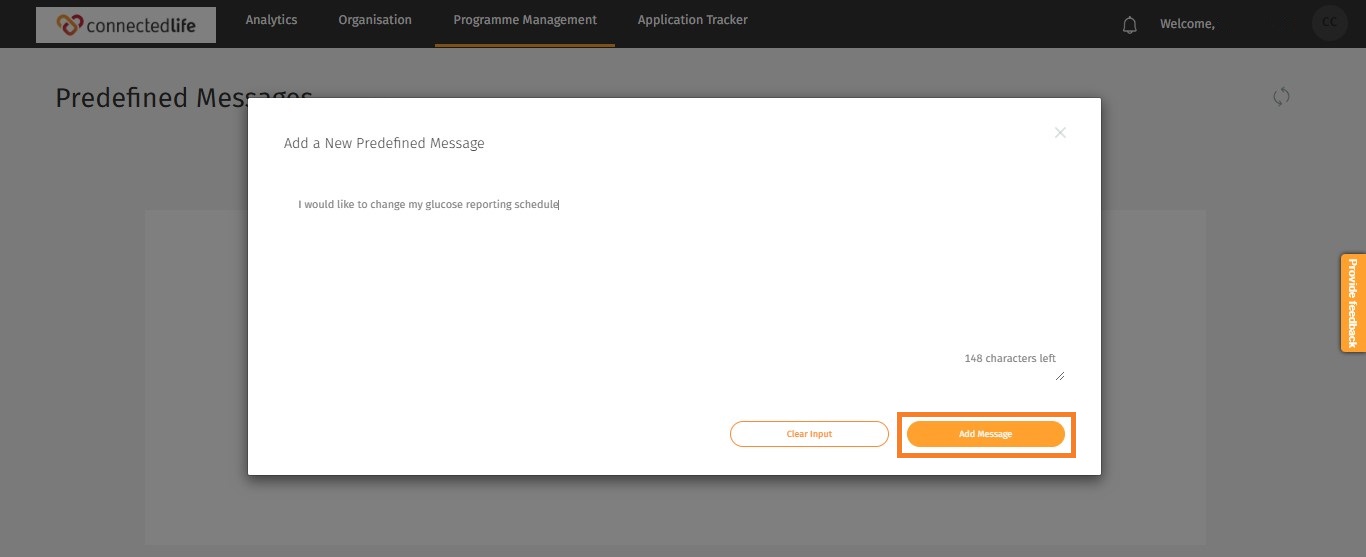
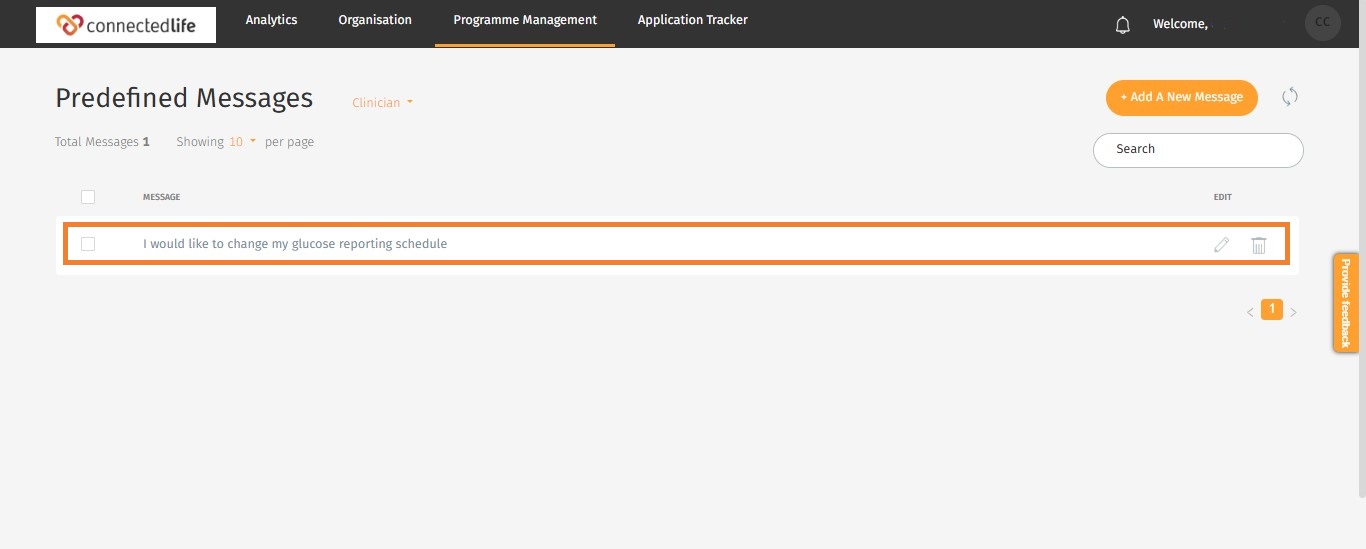
Predefined Messages
A predefined message is a pre-added message provided to customers from the Support team and also from the support team to customers. These messages can be set by the Organisation admin.

Links
The link is an eCOA survey questionnaire provided by the support team to users.

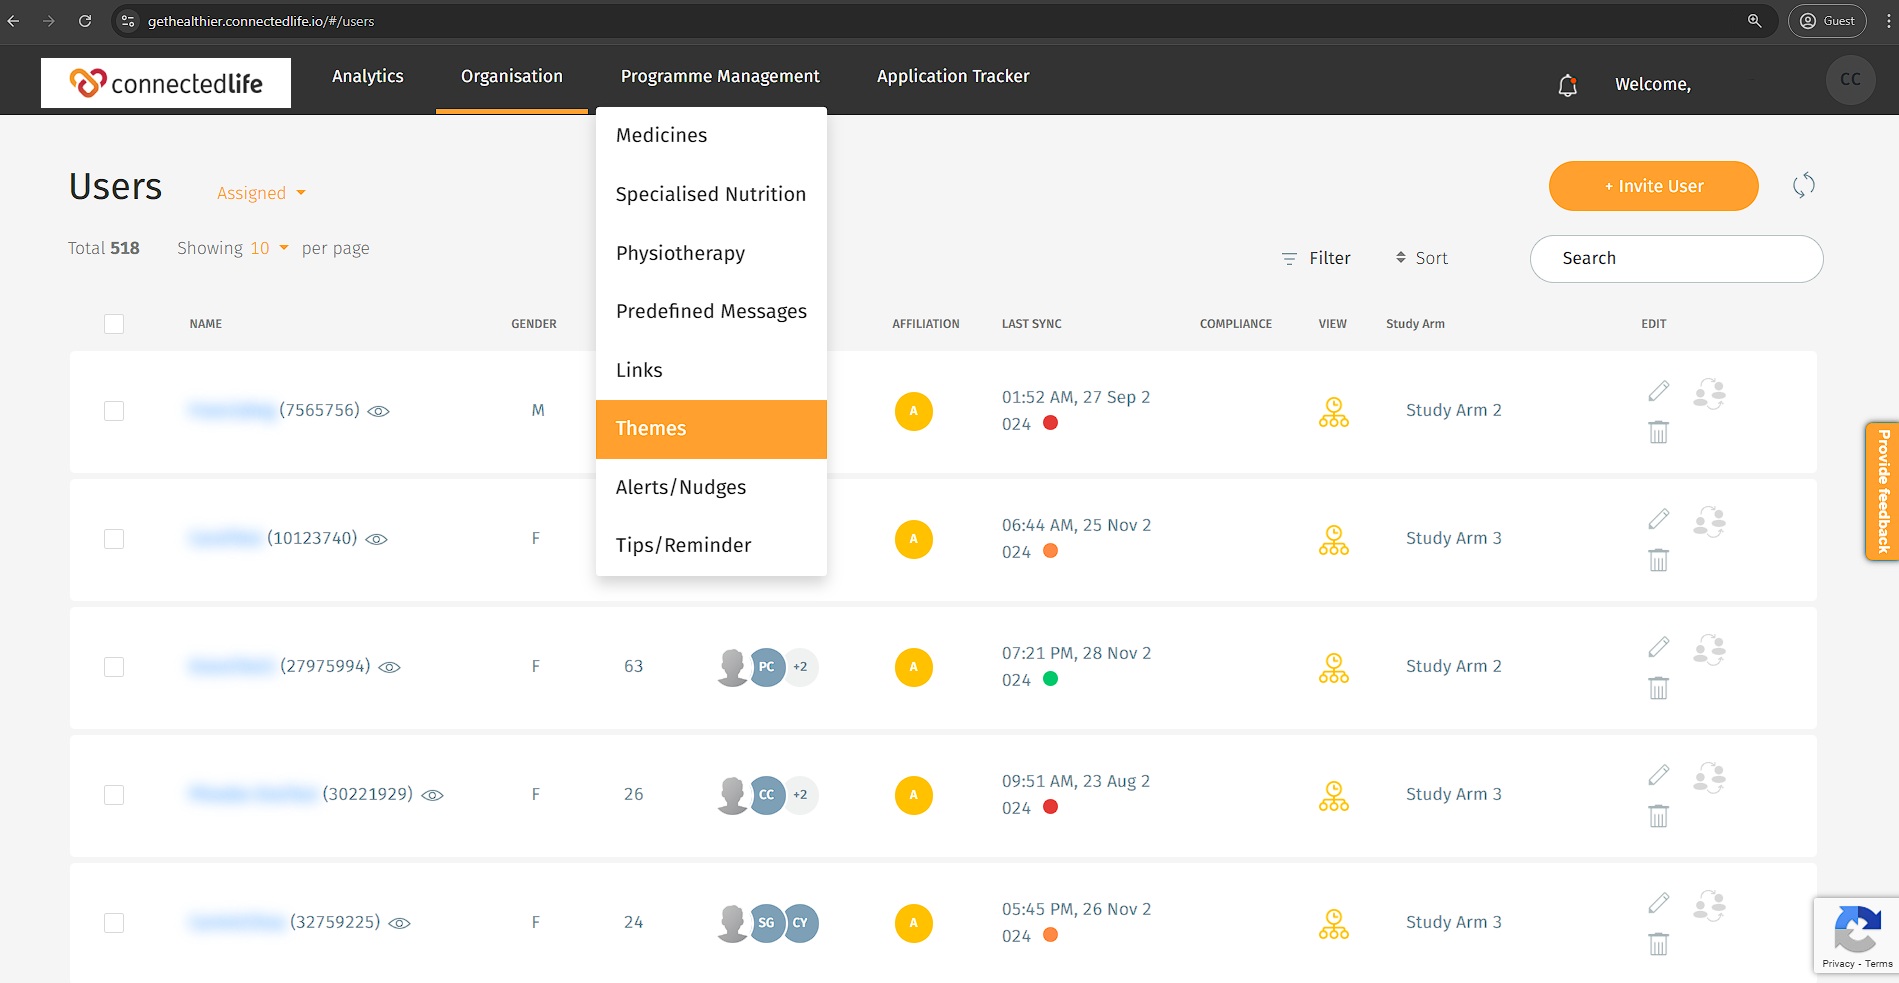
Themes
There is a feature whereby an Organisation can Customise their mobile app according to the desired styles.
Alerts/Nudges
Alerts/nudges are some kind of notification or reminder that users get based on a certain condition. Alerts can be sent from support team members and nudges are for the user.
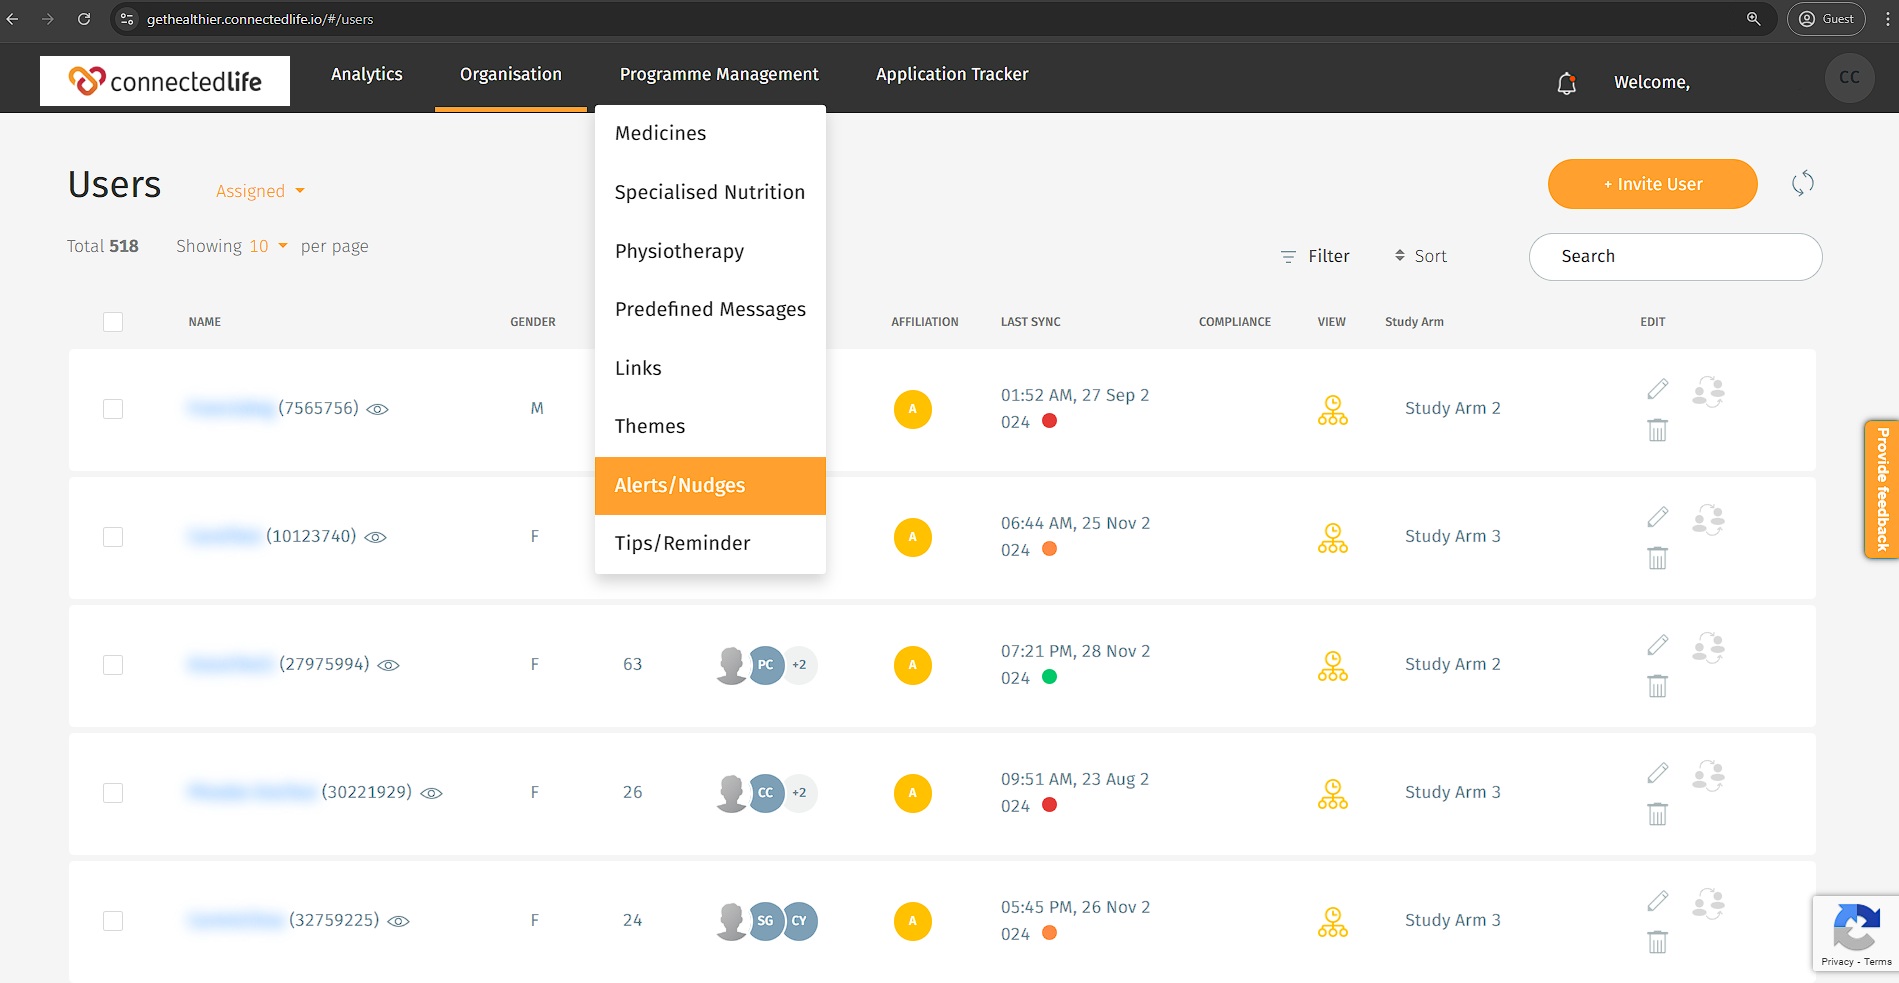
Note: Support Team Member (W+) can add Alerts / Nudges to the User profile, accessible through the Program Management tab feature within the clinician login view.
Programme Management is the list of features and functions that can be set by the Organisation Admin based on the user’s needs.
Under Programme Management, the Organisation Admin can add, edit, and delete content such as:
- Medicines
- Specialised Nutrition
- Physiotherapy
- Predefined Messages
- Links
- Themes
- Alerts/Nudges
Medicines
The Medicines screen is a list of medications that can be prescribed for users for specific symptoms and conditions.

Specialised Nutrition
Specialised Nutrition is designed to meet the nutritional or dietary needs of patients living with a disease, disorder, or medical condition.

Physiotherapy
Physiotherapy is a list of exercises and equipment that can be assigned to the user’s condition.

Predefined Messages
A predefined message is a pre-added message provided to customers from the Support team and also from the support team to customers. These messages can be set by the Organisation admin.
Links
The link is an eCOA survey questionnaire provided by the support team to users.
Themes
There is a feature whereby an Organisation can Customise their mobile app according to the desired styles.

Alerts/Nudges
Alerts/nudges are some kind of notification or reminder that users get based on a certain condition. Alerts can be sent from support team members and nudges are for the user.


Note: Support Team Member (W+) can add Alerts / Nudges to the User profile, accessible through the Program Management tab feature within the clinician login view.