How to Create a New Challenge from analytics?

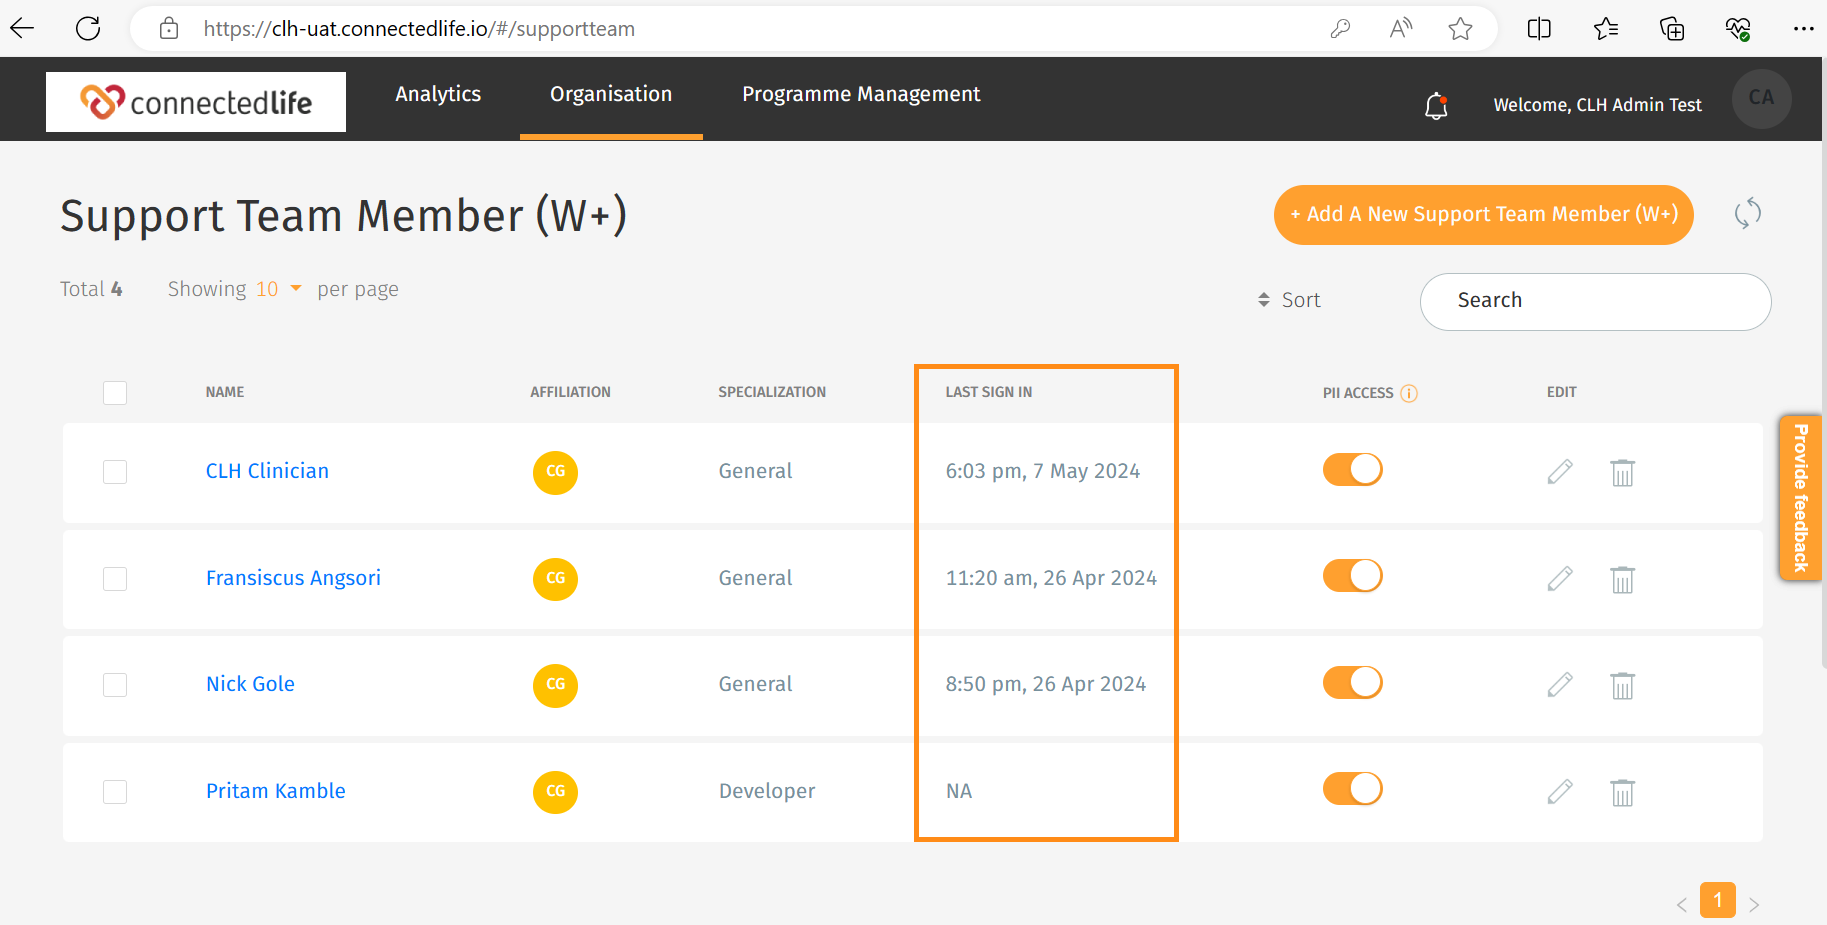
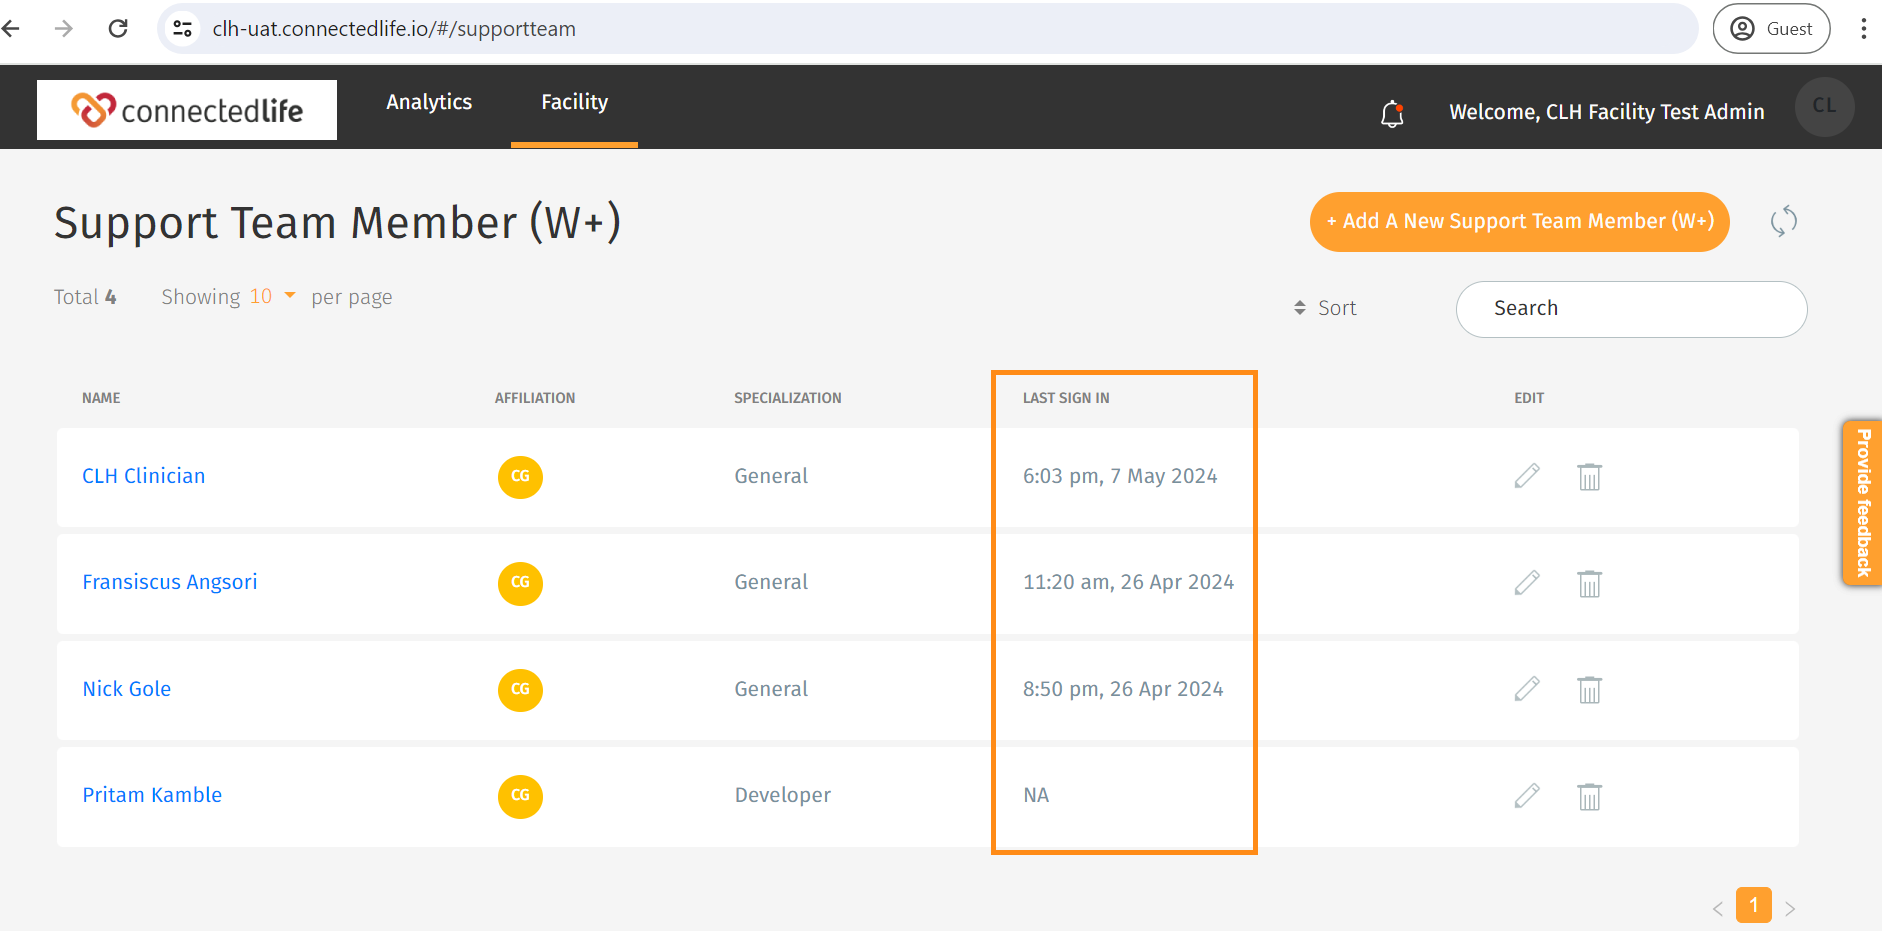
Support Team oversees users activities, invites, and assigns users the same as Support Team Member can also create challenges for users. This article outlines the step-by-step process for Create a new challenge from analytics.
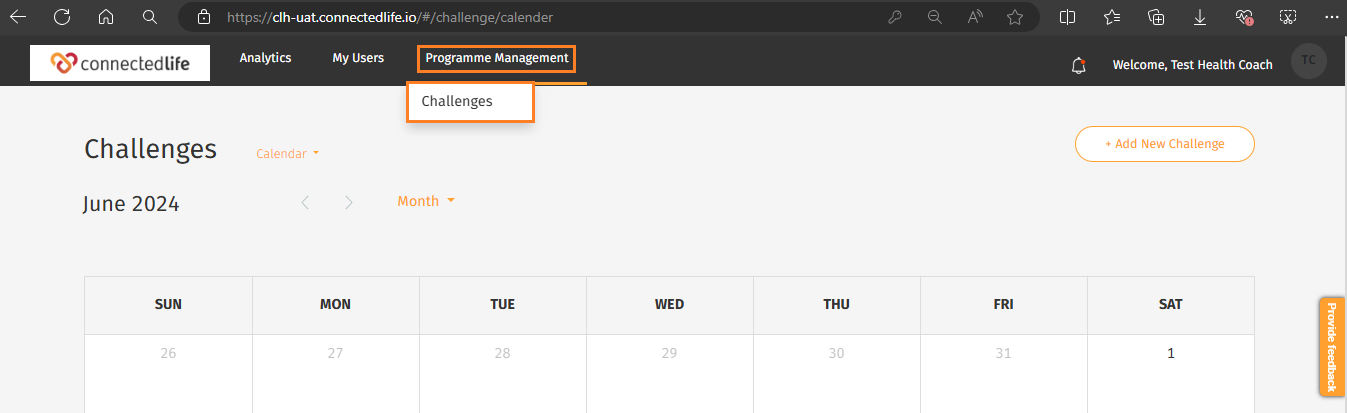
Challenges:

The Challenges section offers a systematic method for evaluating goals. It encompasses Ongoing Challenges, Personal Challenges, Past Challenges, Start Date, End Date, Participants, an All Goals Template, Challenge Analysis, Goals Contribution Distribution, and Participants Engagement. Through Challenge Analysis tools, users can assess the impact of initiatives and interventions, promoting ongoing enhancement.

This article will guide you through the process of how you can create a new challenge from analytics.

Step 1:

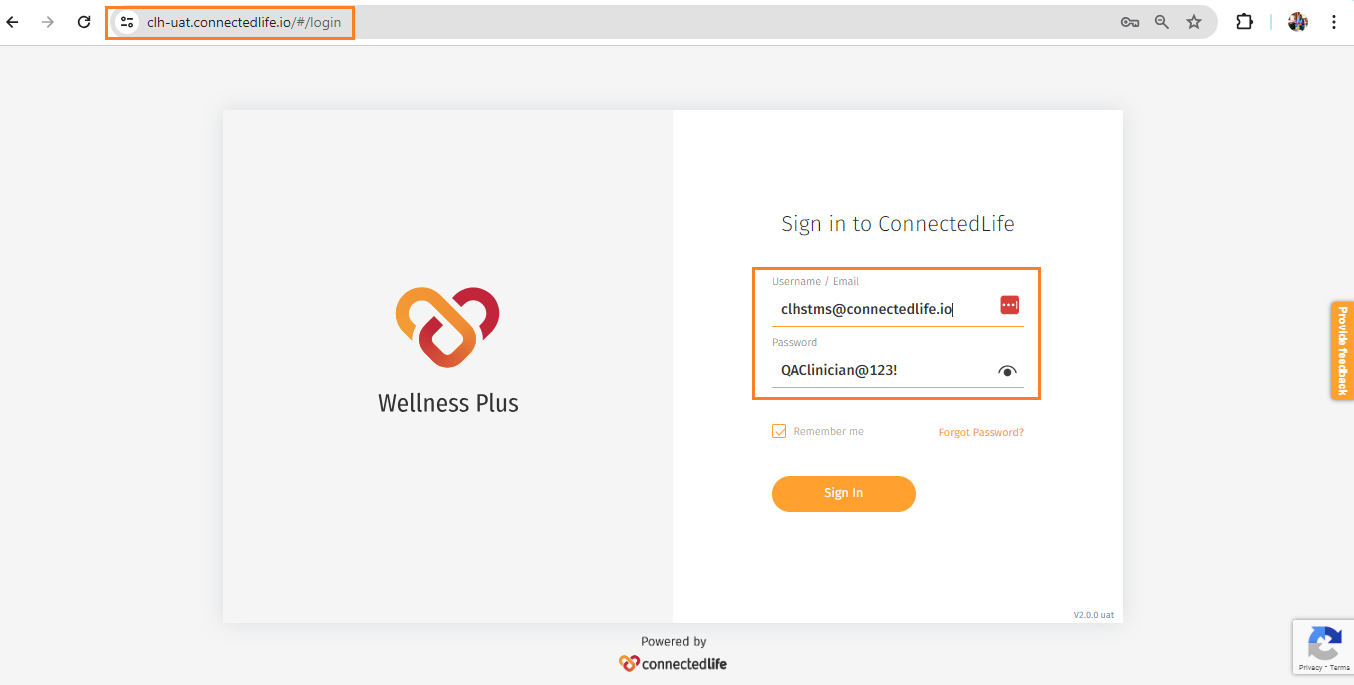
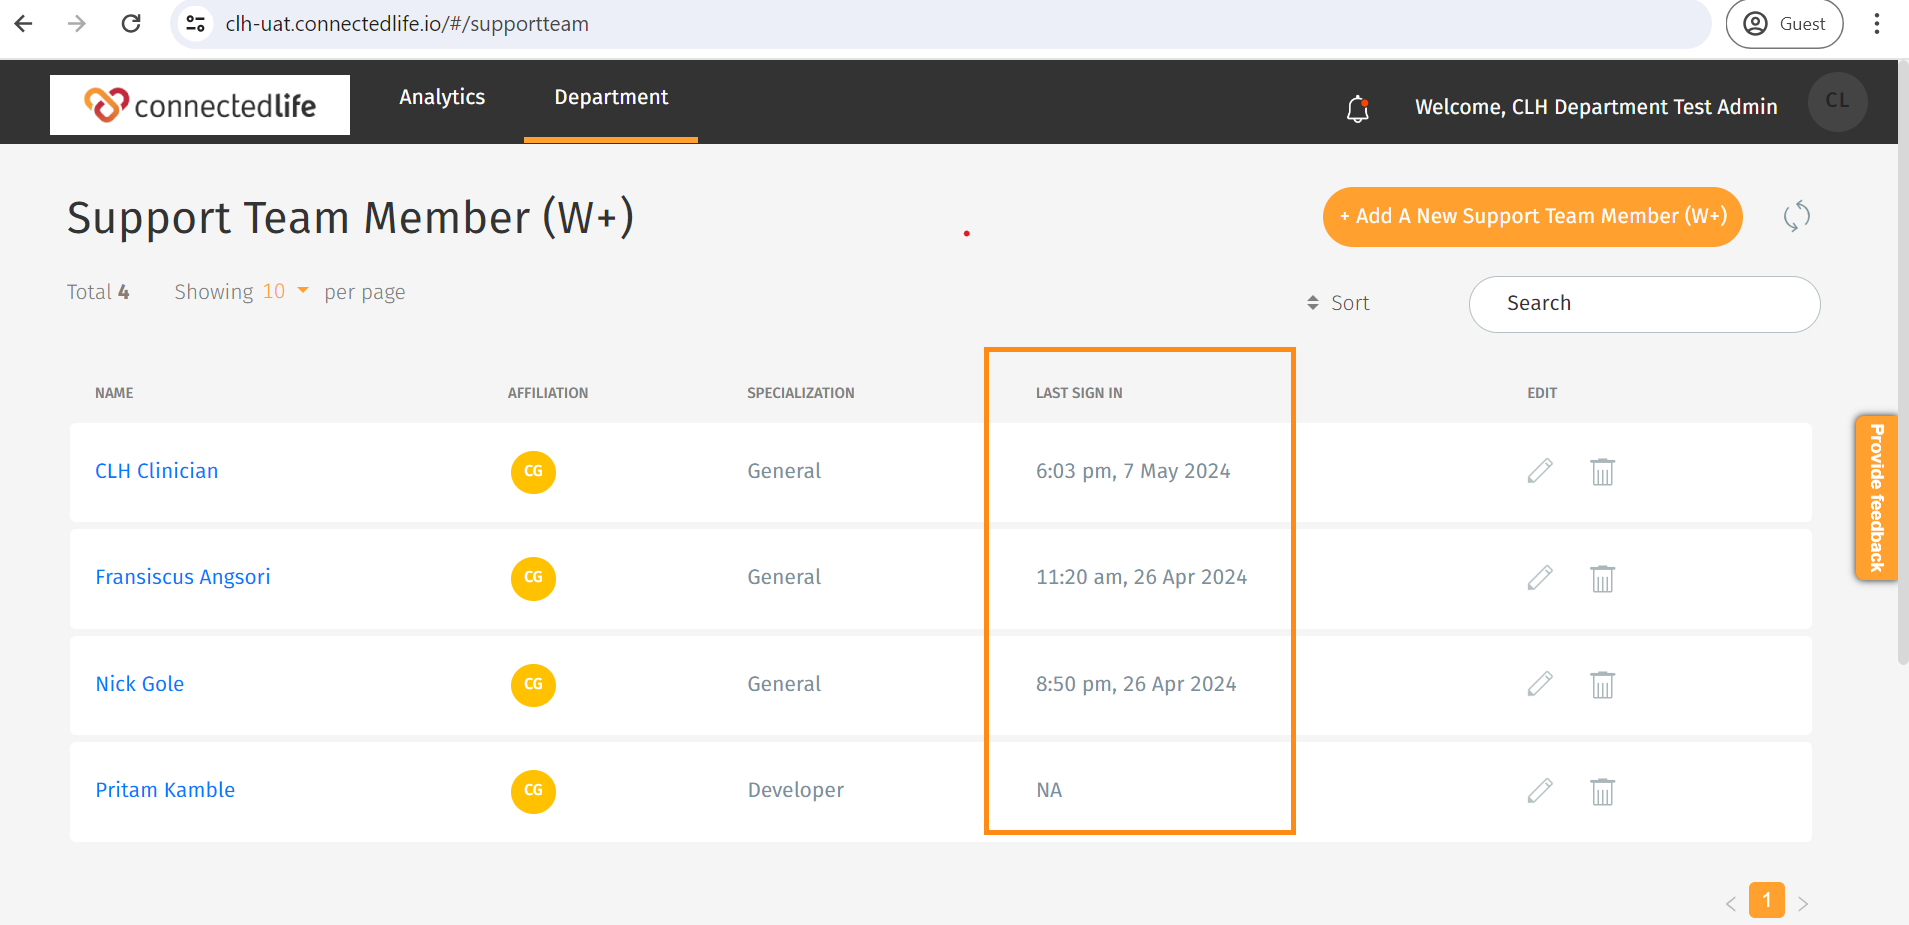
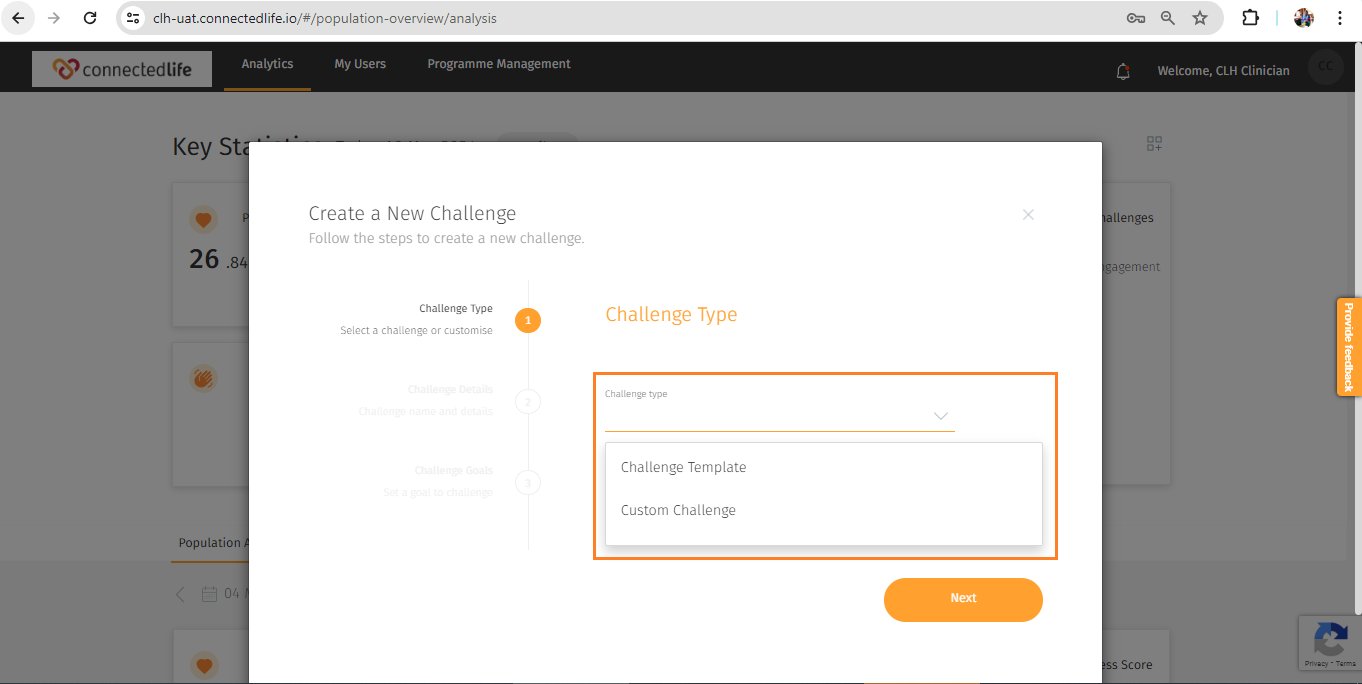
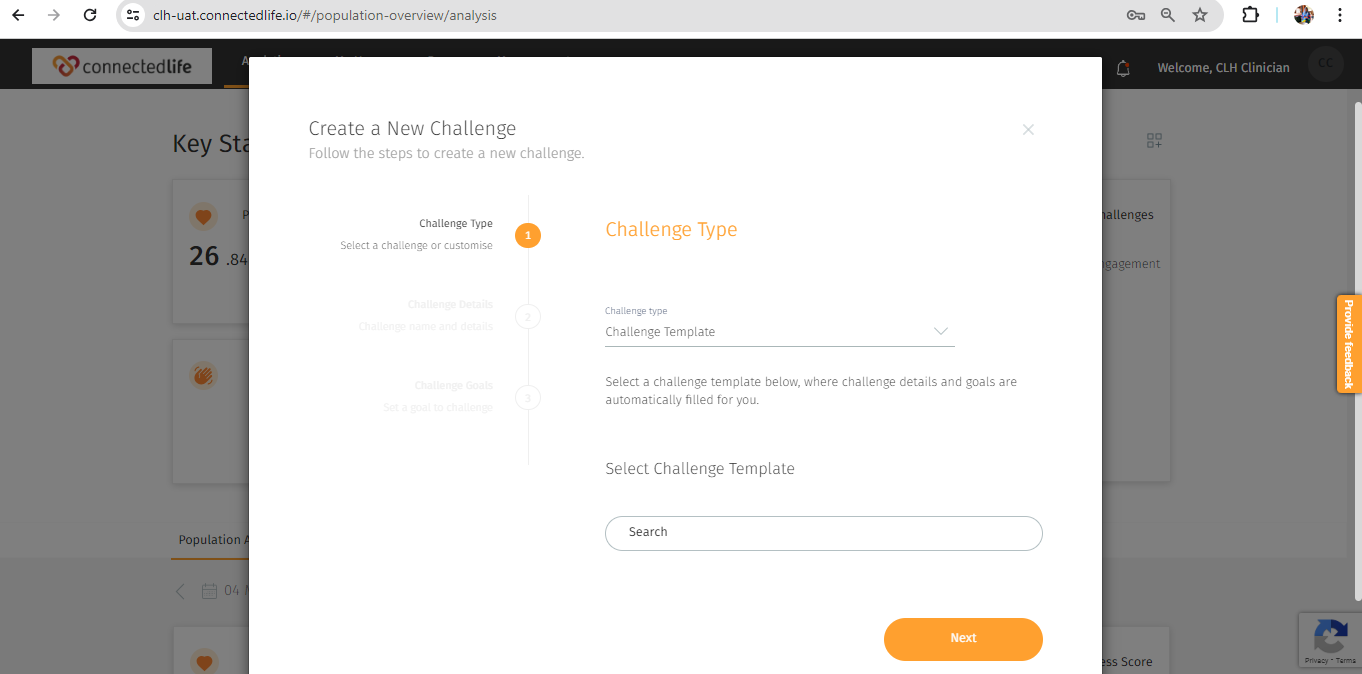
After signing in as a CLH Support Team Member (W+) account, from Analytics, right beside Key Statistics tap +Create a New Challenge.

Step 2:

Select Challenge type- Challenge Template or Custom Challenge.

Step 3:

After clicking the Challenge Template below you can see challenge details and goals are automatically filled for you. Select a challenge template from there then click Next.

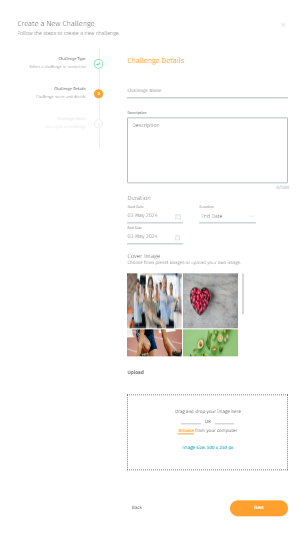
To develop a Custom template, you must include all of the necessary elements.

From Challenge Details you can edit/custom-

  • Challenge Name and Description
  • Duration- Select Start Date, Duration and End Date. Duration can be count as start date, end date, number of days, number of weeks, number of months.
  • Cover Image- From cover image you can choose from the present image or can upload from your computer. Image size needs to be 500 x 250 px. Then click Next.

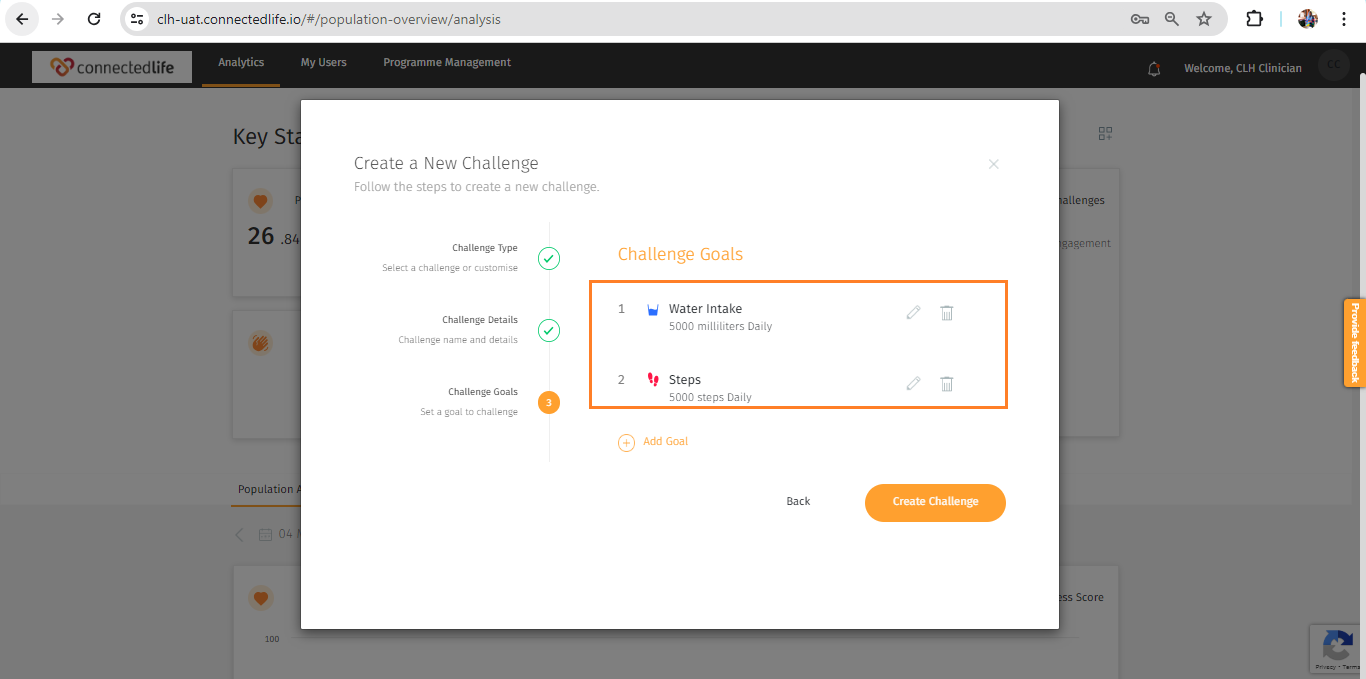
Step 4: From Challenge Goals- you can edit, delete and add Goal.

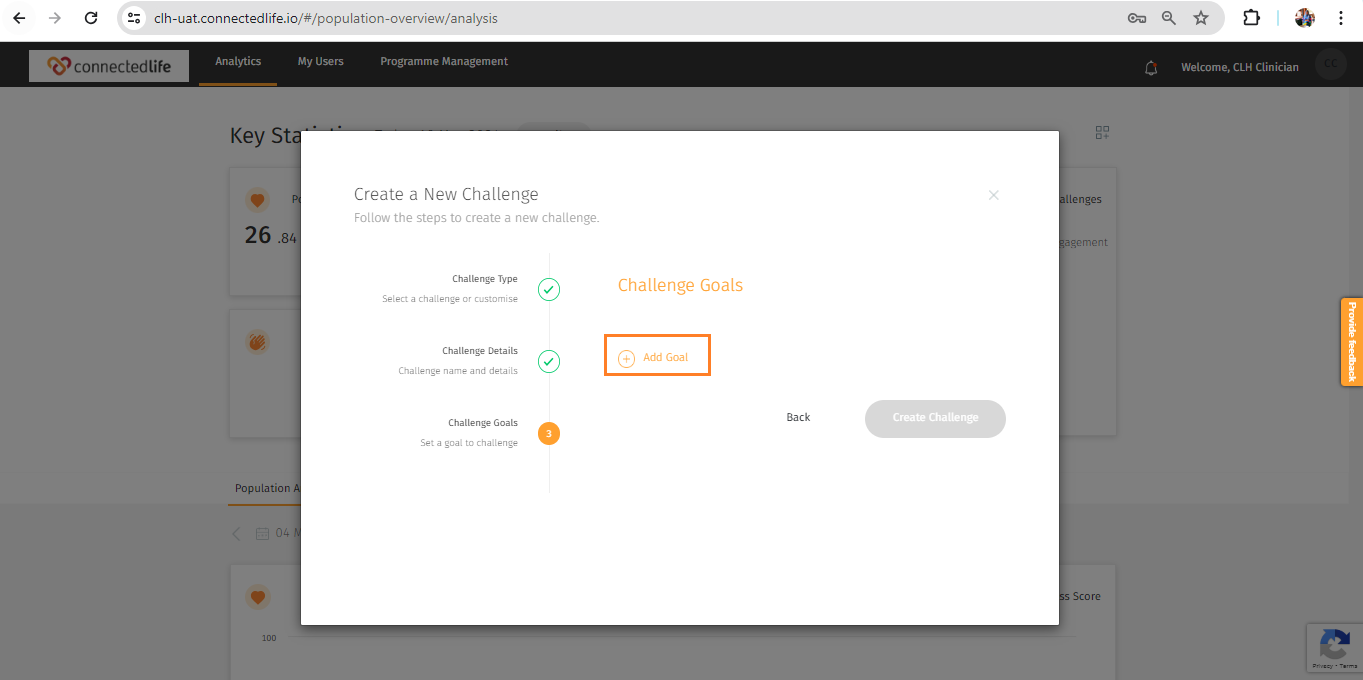
Step 5: You need to select Challenge goals Category, activity and other details to create a new challenge.

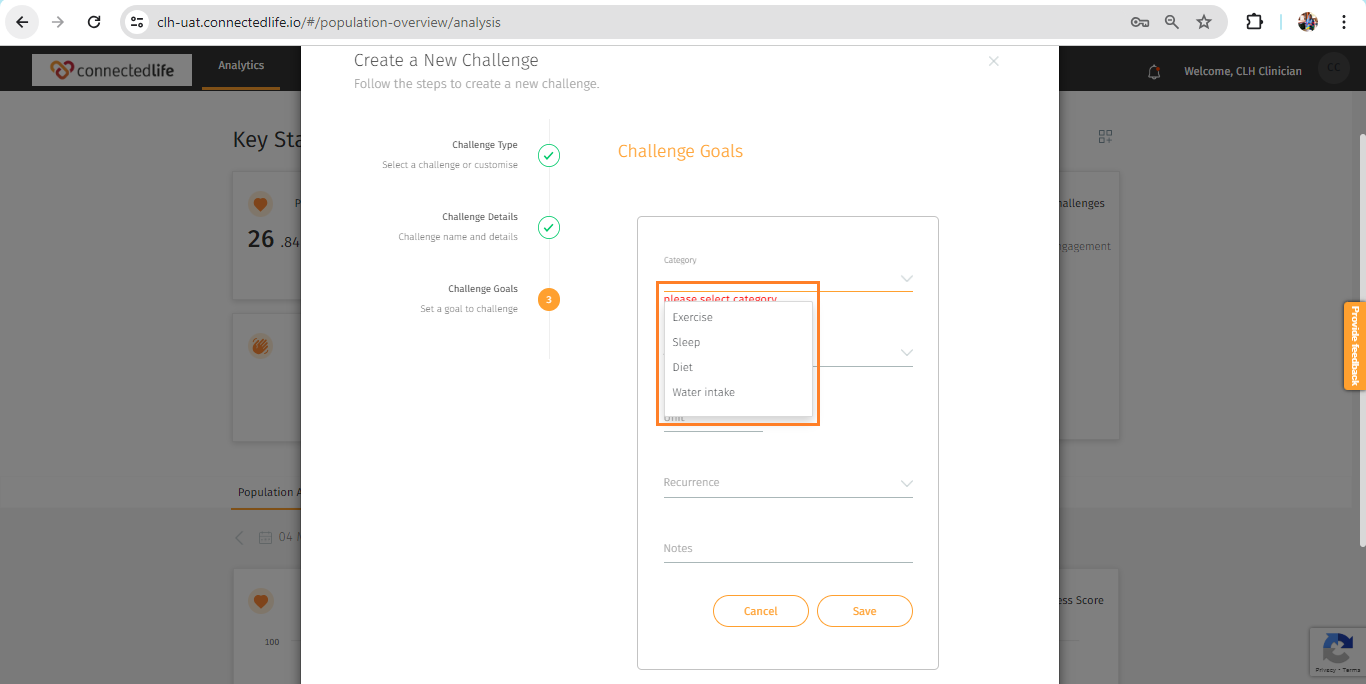
Step 6: after inputting all details click Save and your Challenge goal will be created.

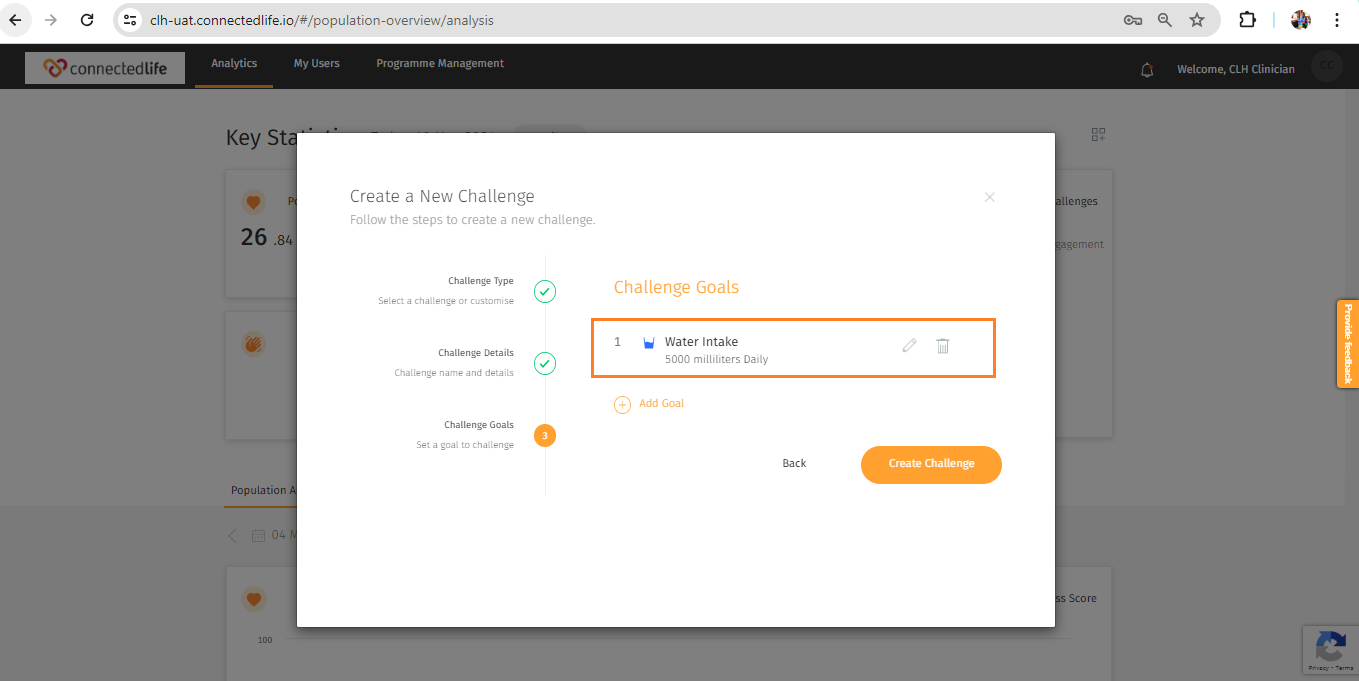
You can add multiple goals at the same time.

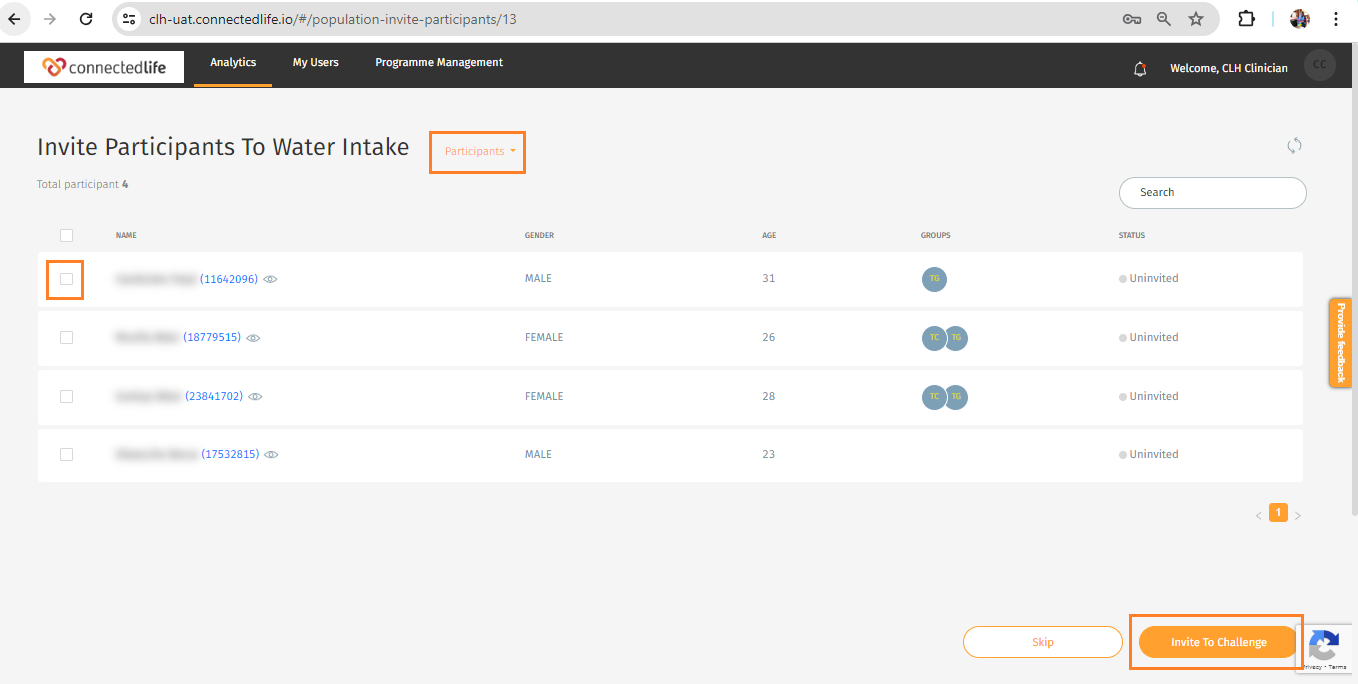
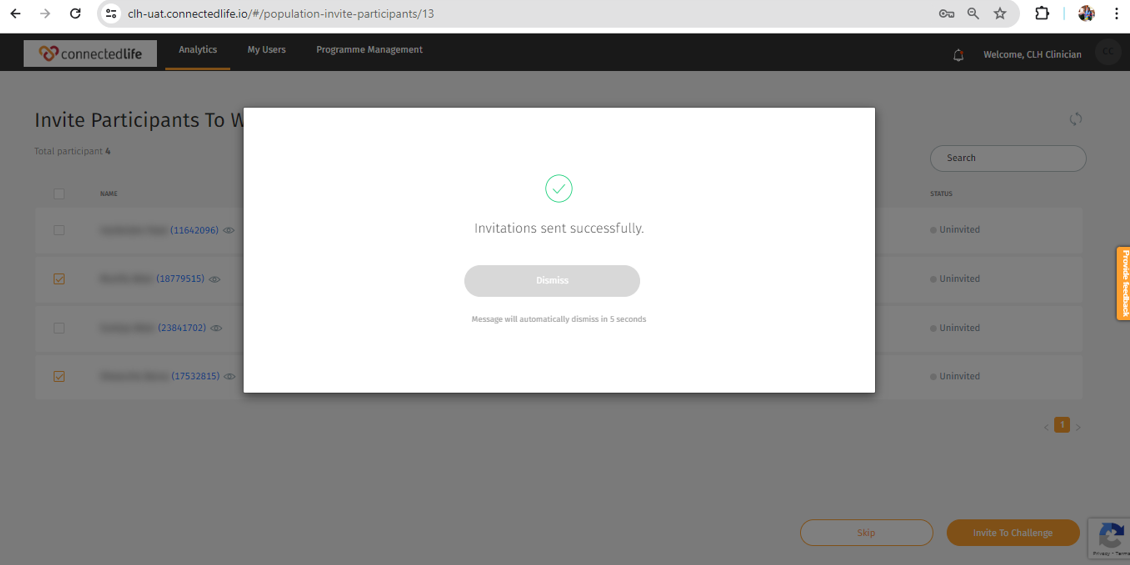
Step 7: After tapping on create challenge your need to invite participants/users for Invite to challenge or can skip the part as well.

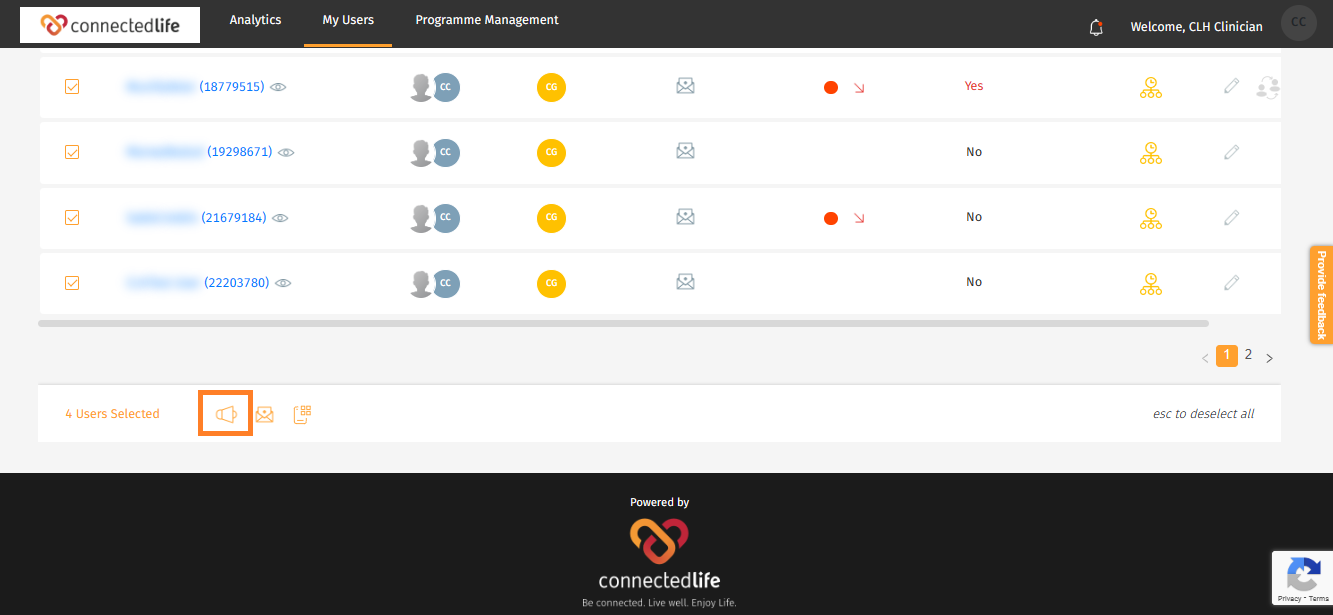
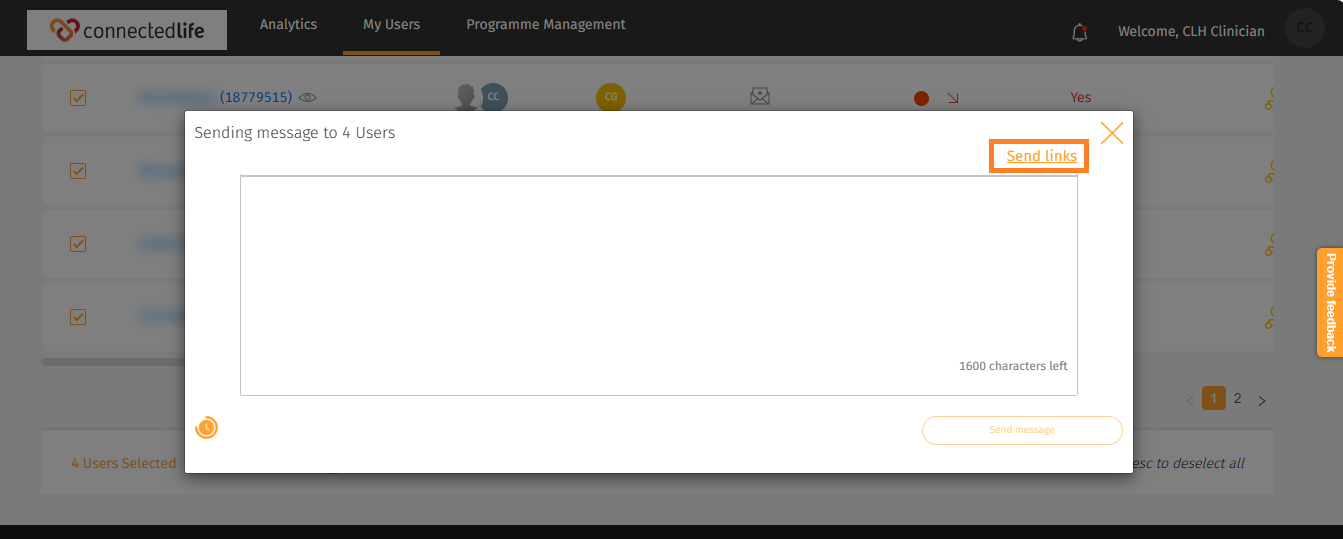
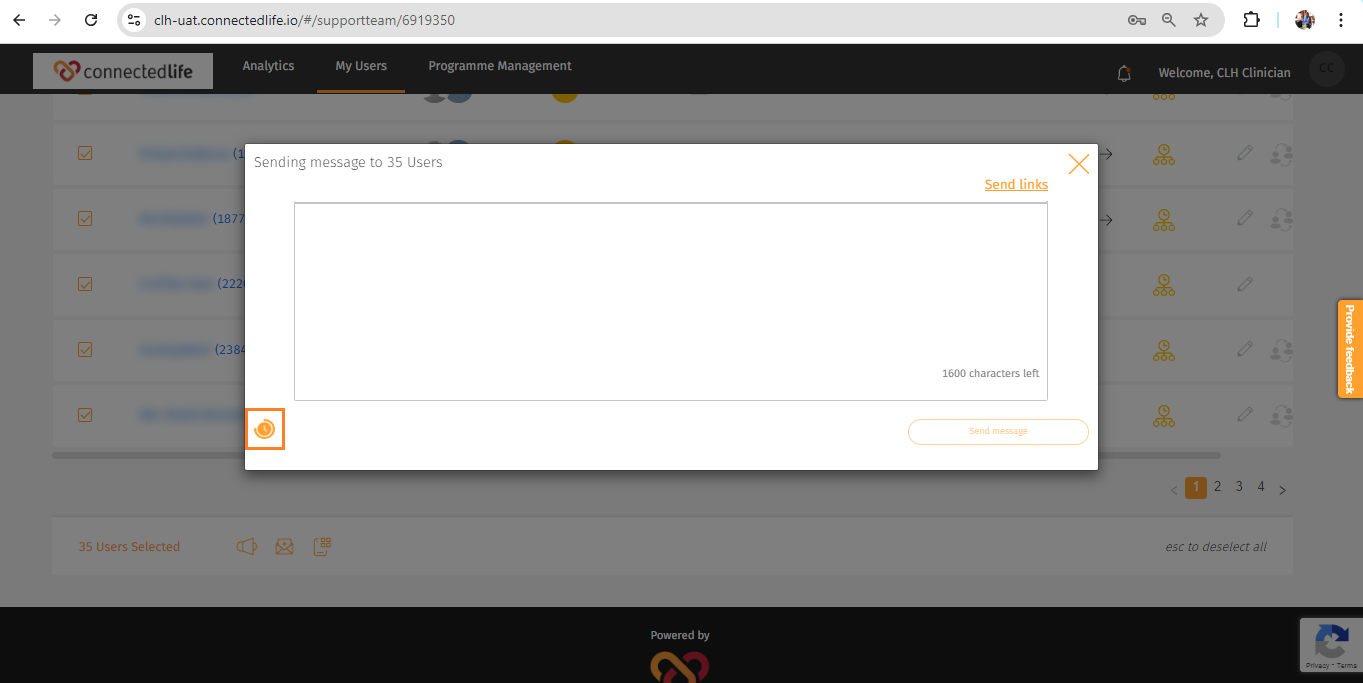
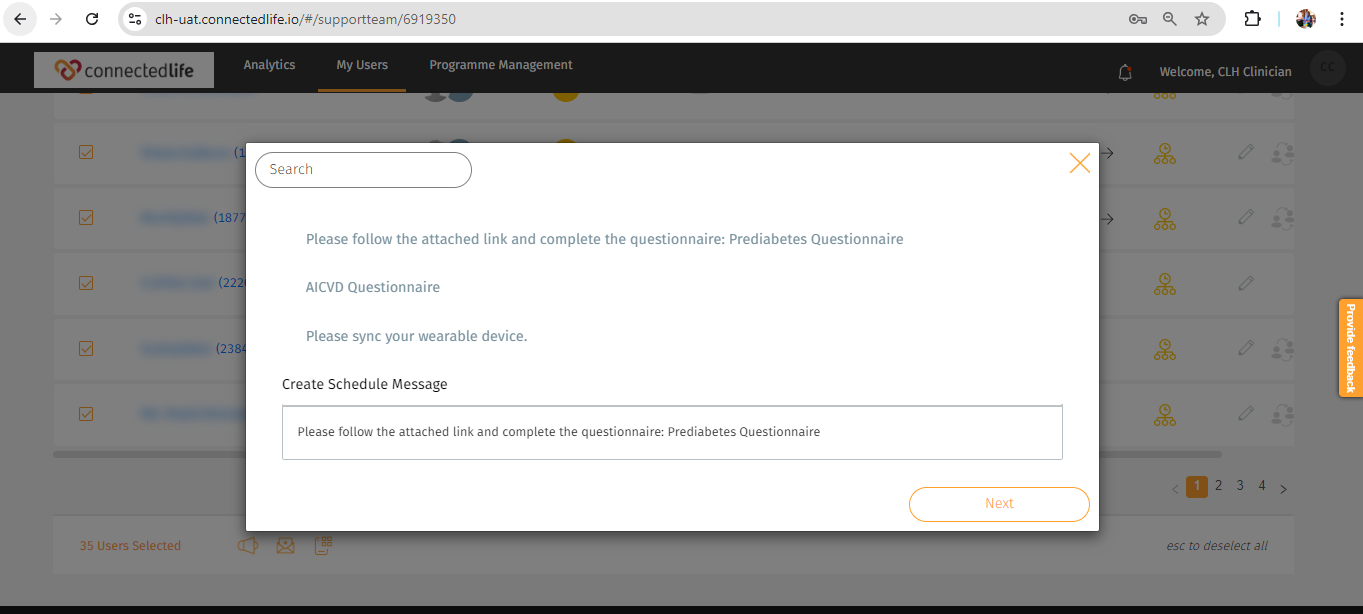
Or you can invite group of users as well.

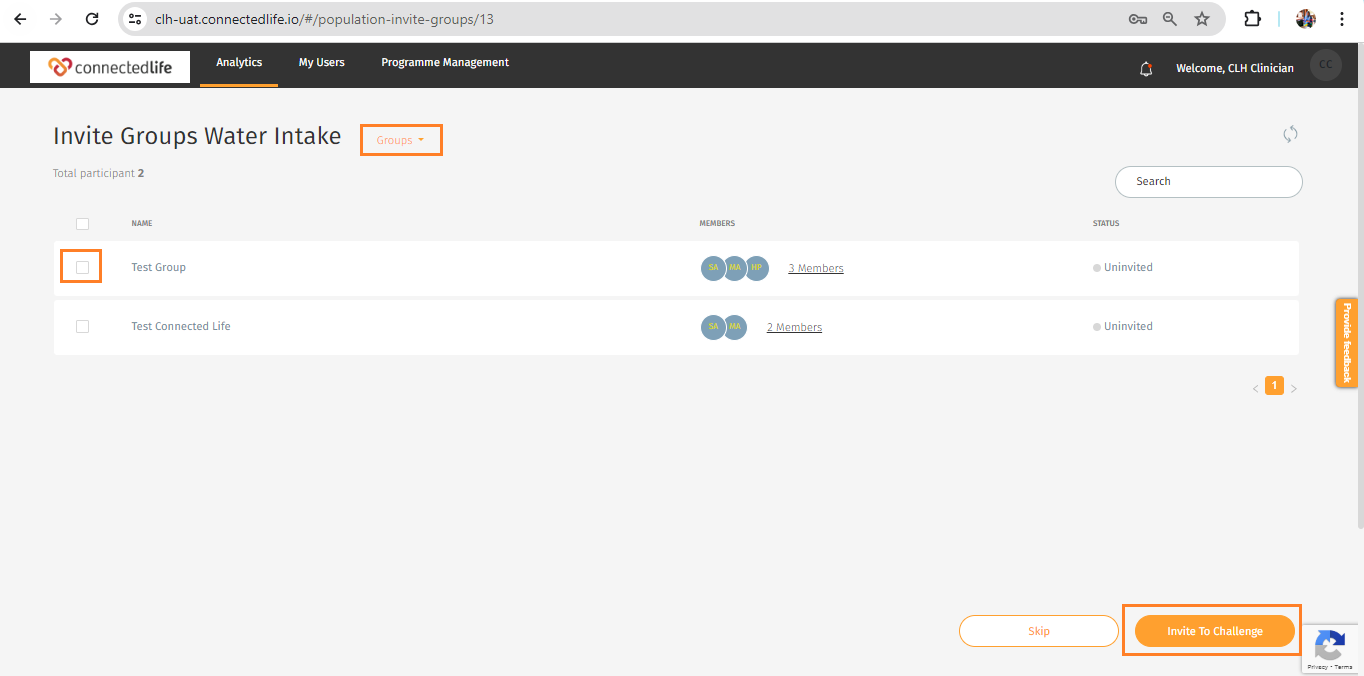
Step 8: After Sending an invitation a notification will pop-up that the invitations were sent successfully.

This is how support team member can create a new challenge from analytics.

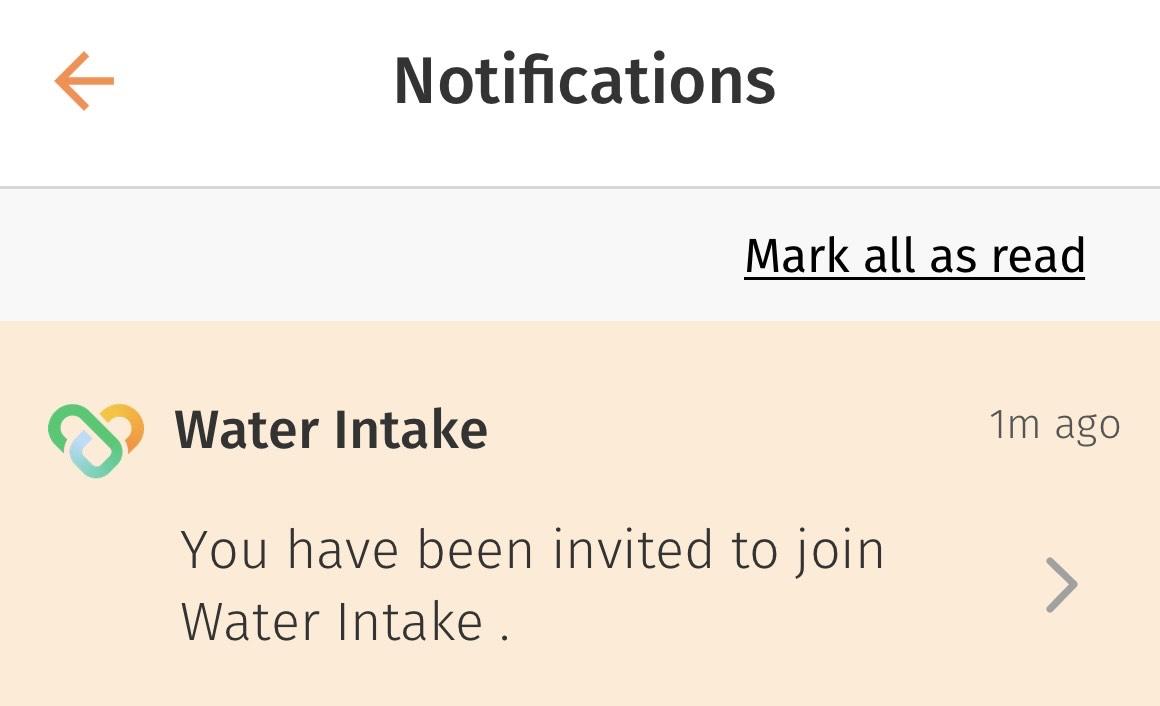
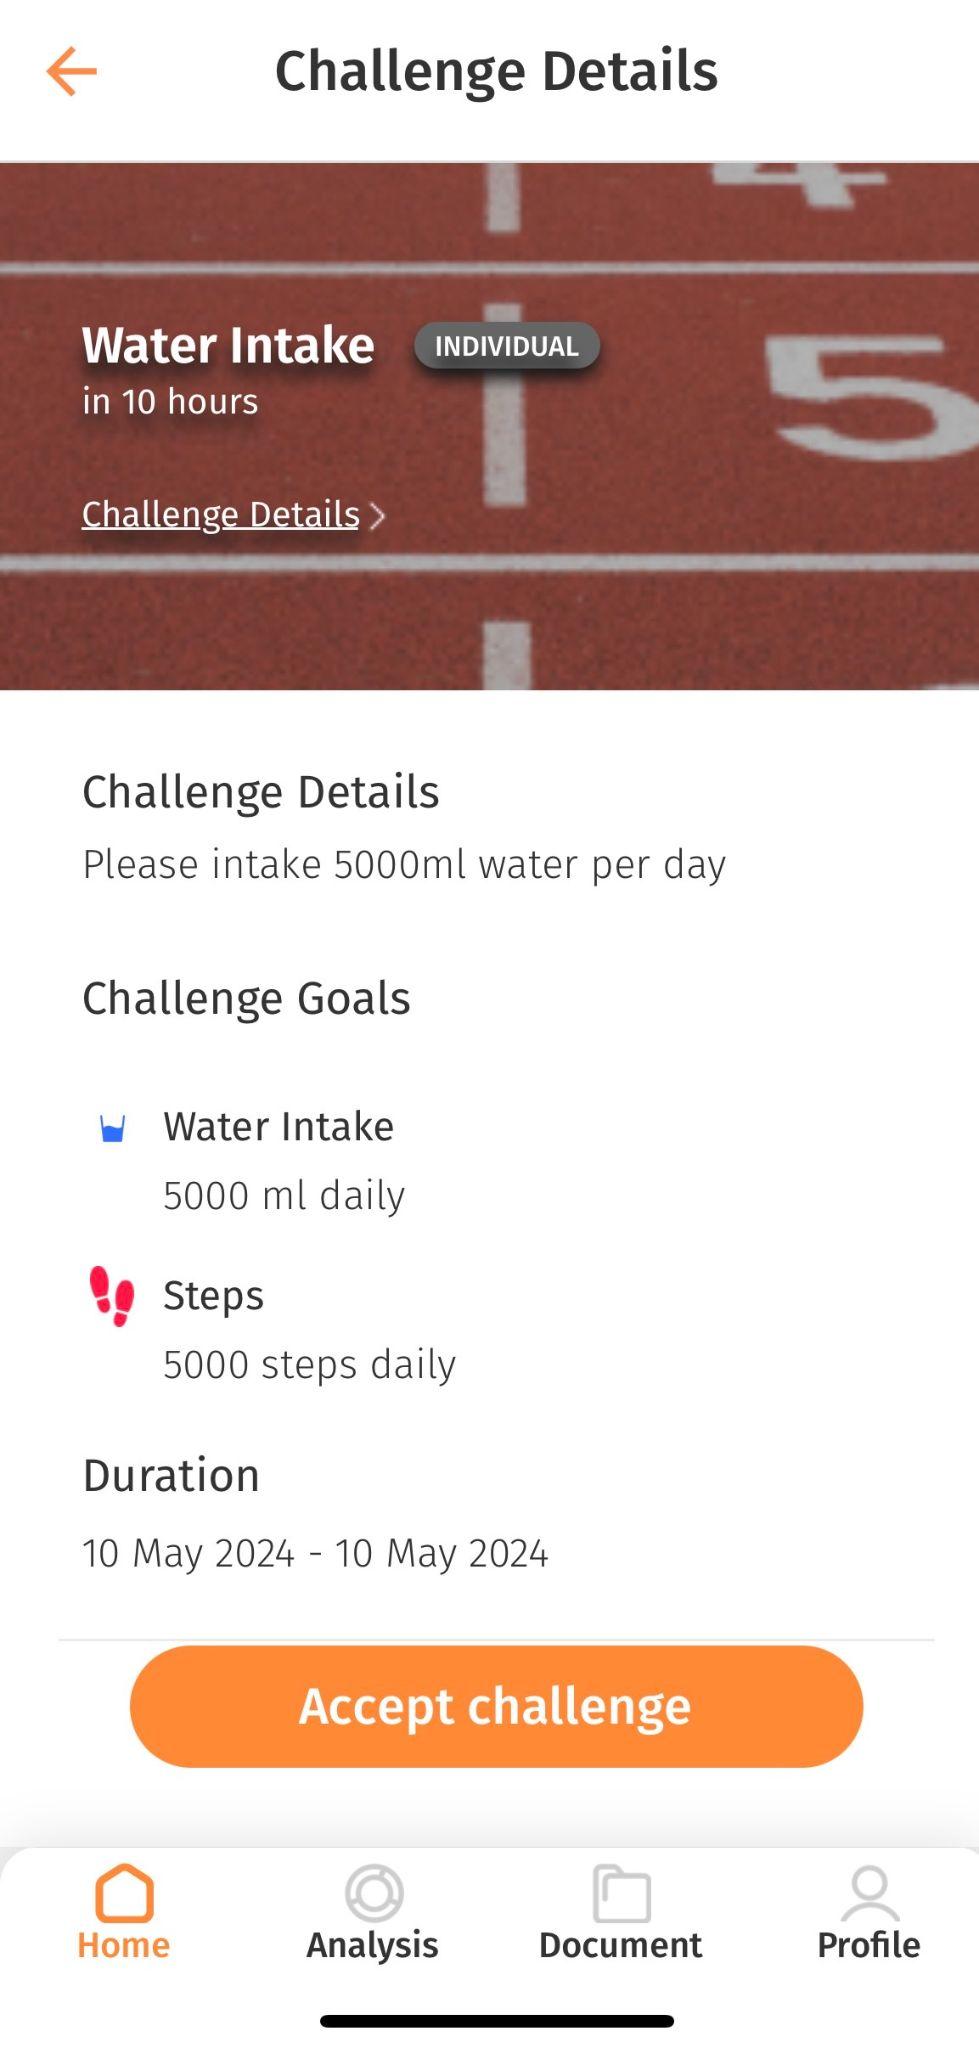
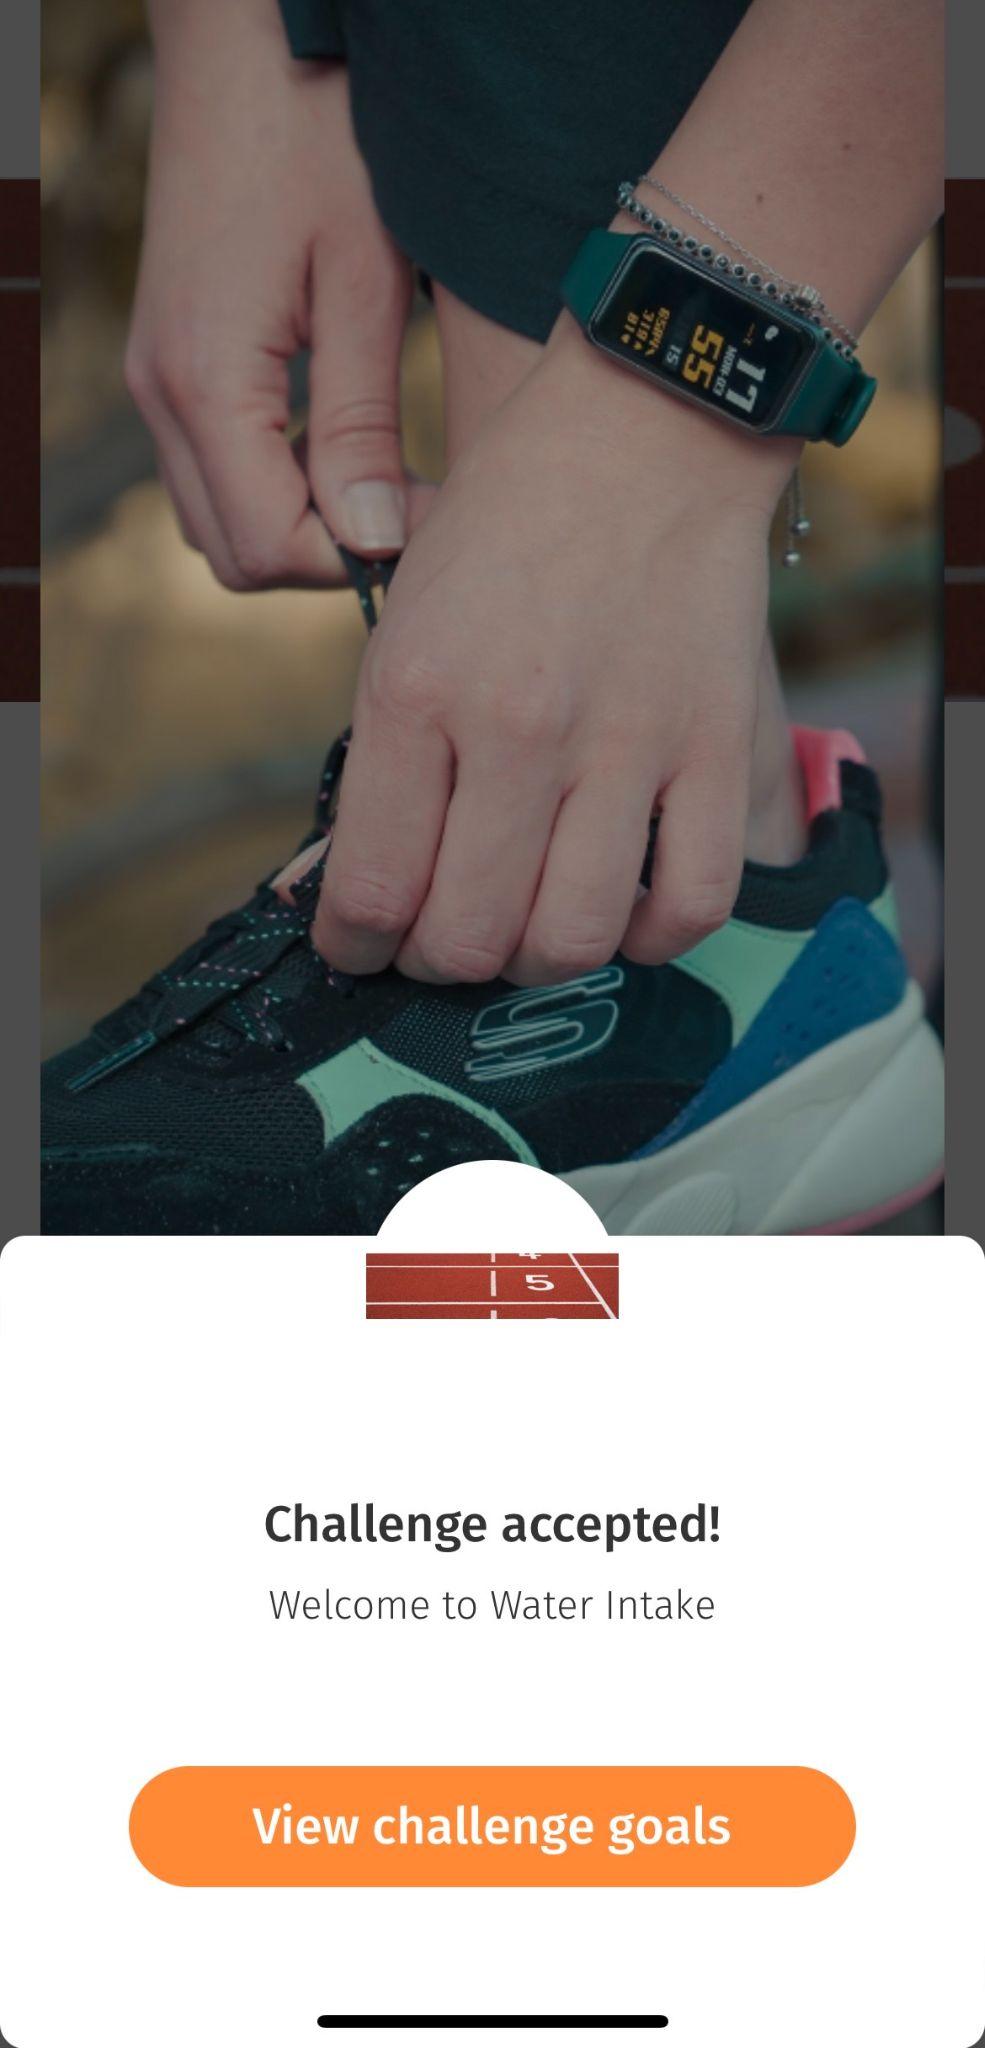
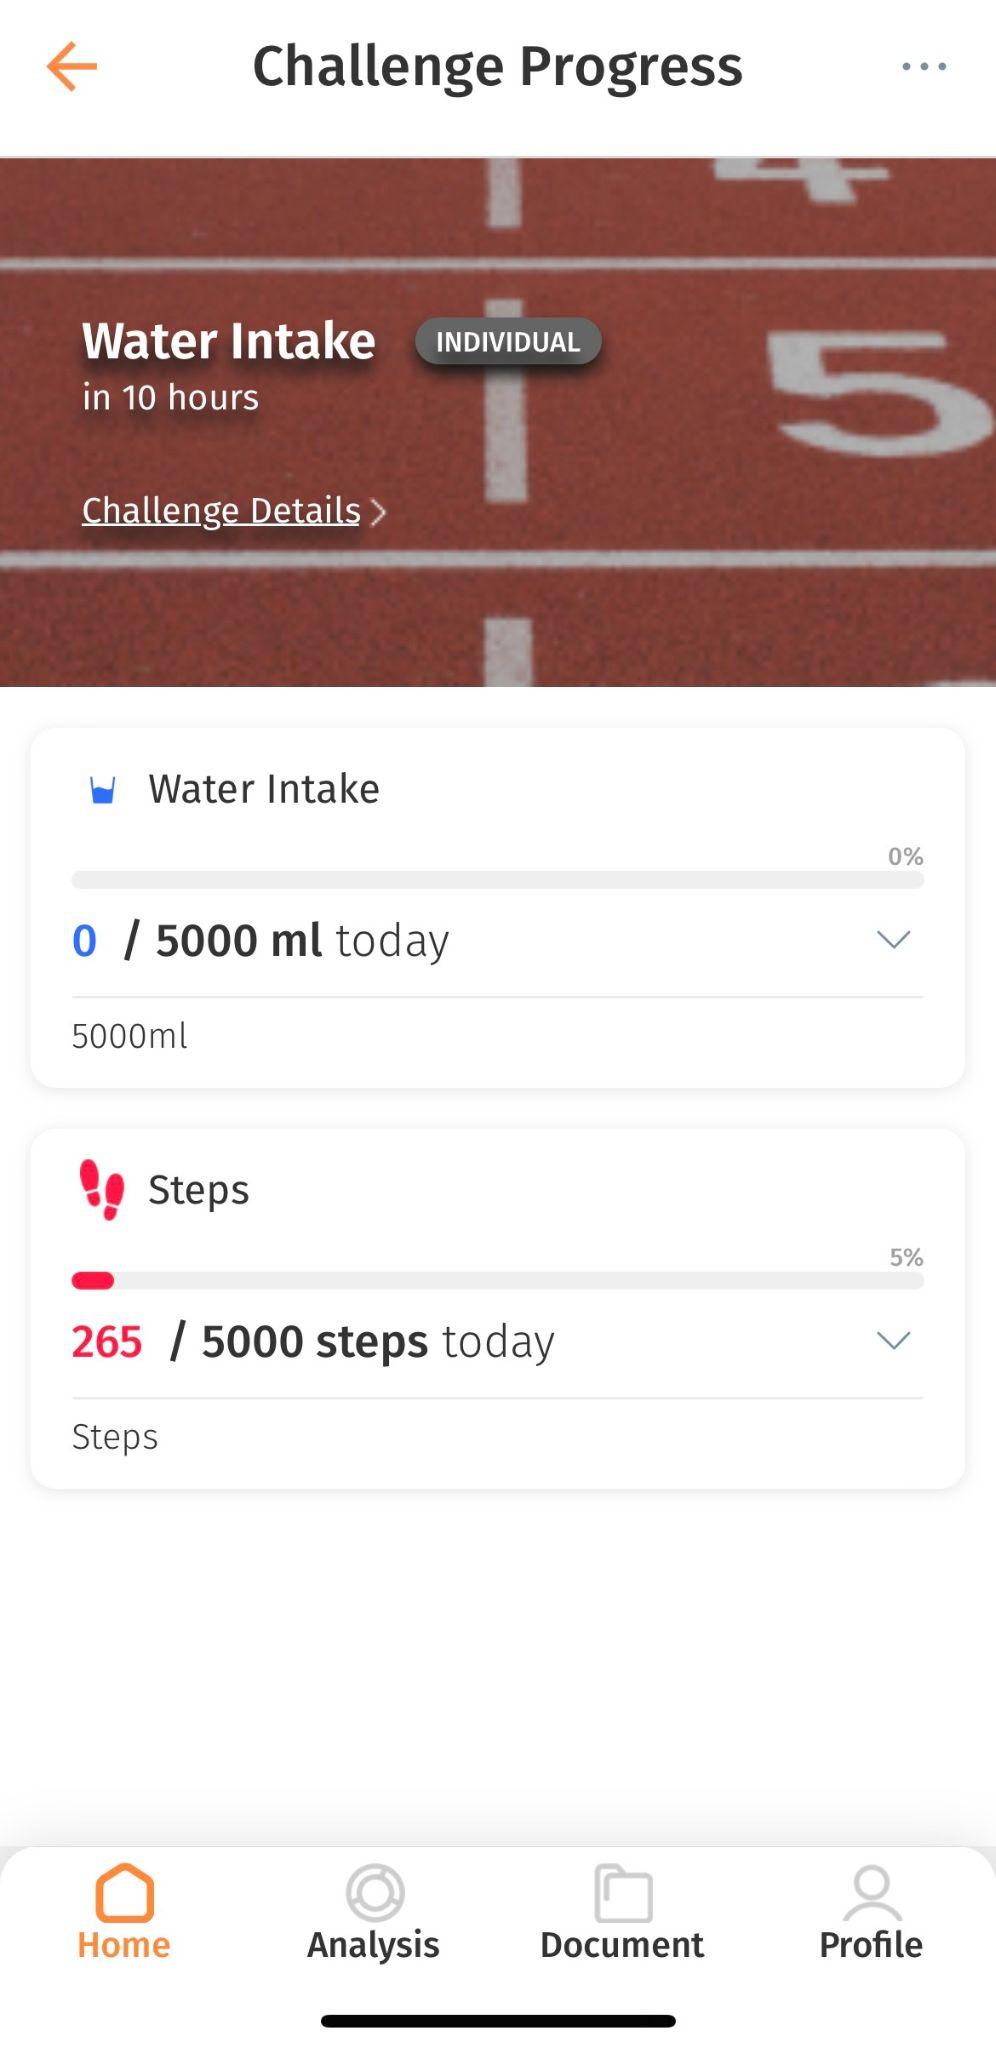
After sending challenges to users, the app will send them a challenge notification. After accepting the challenge, the user can view the challenges and the challenge progresses as well.

Tips:

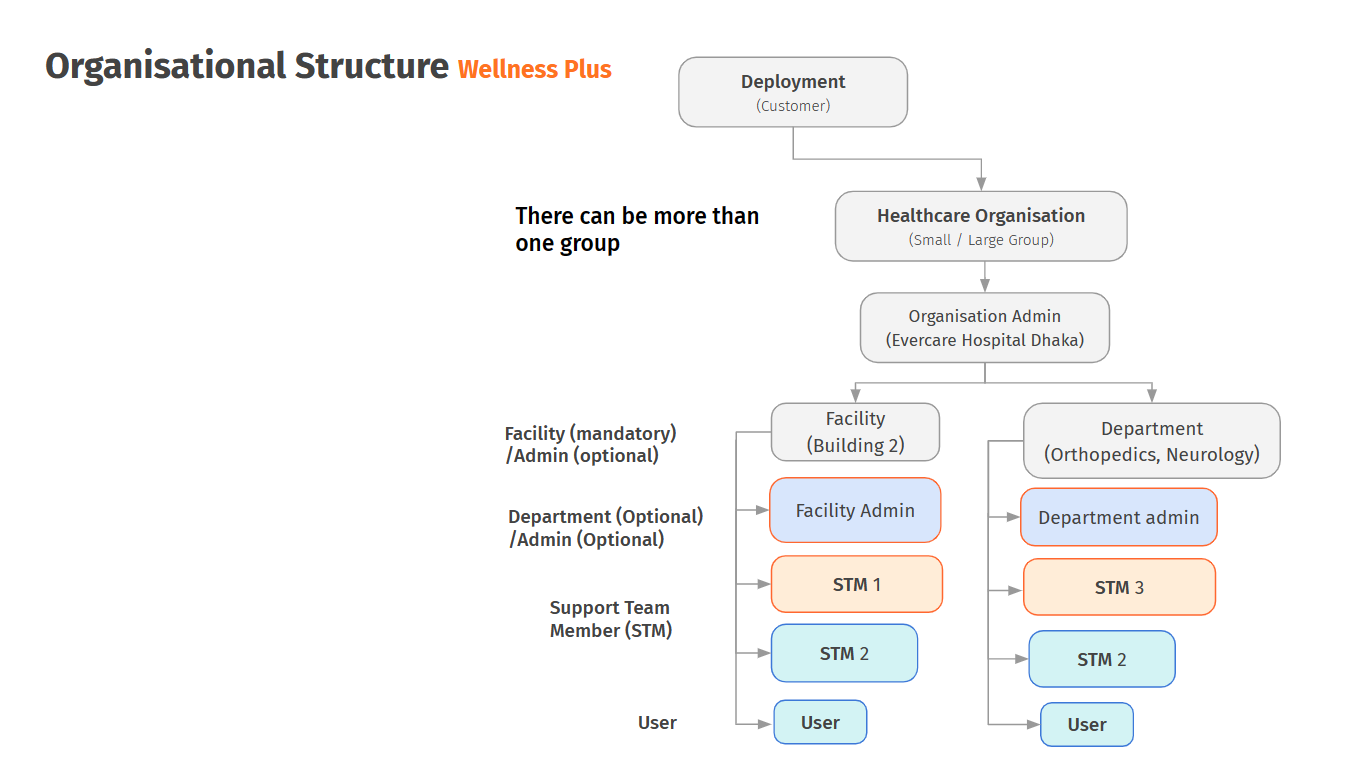
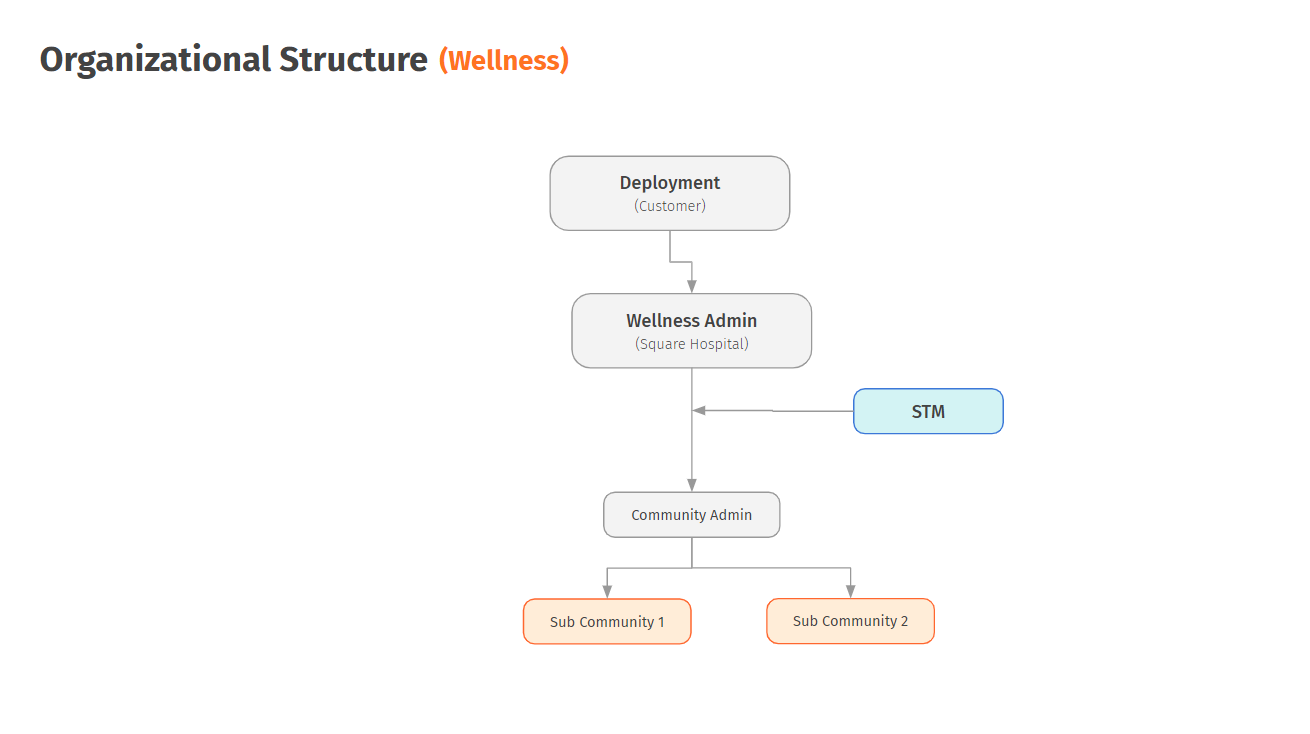
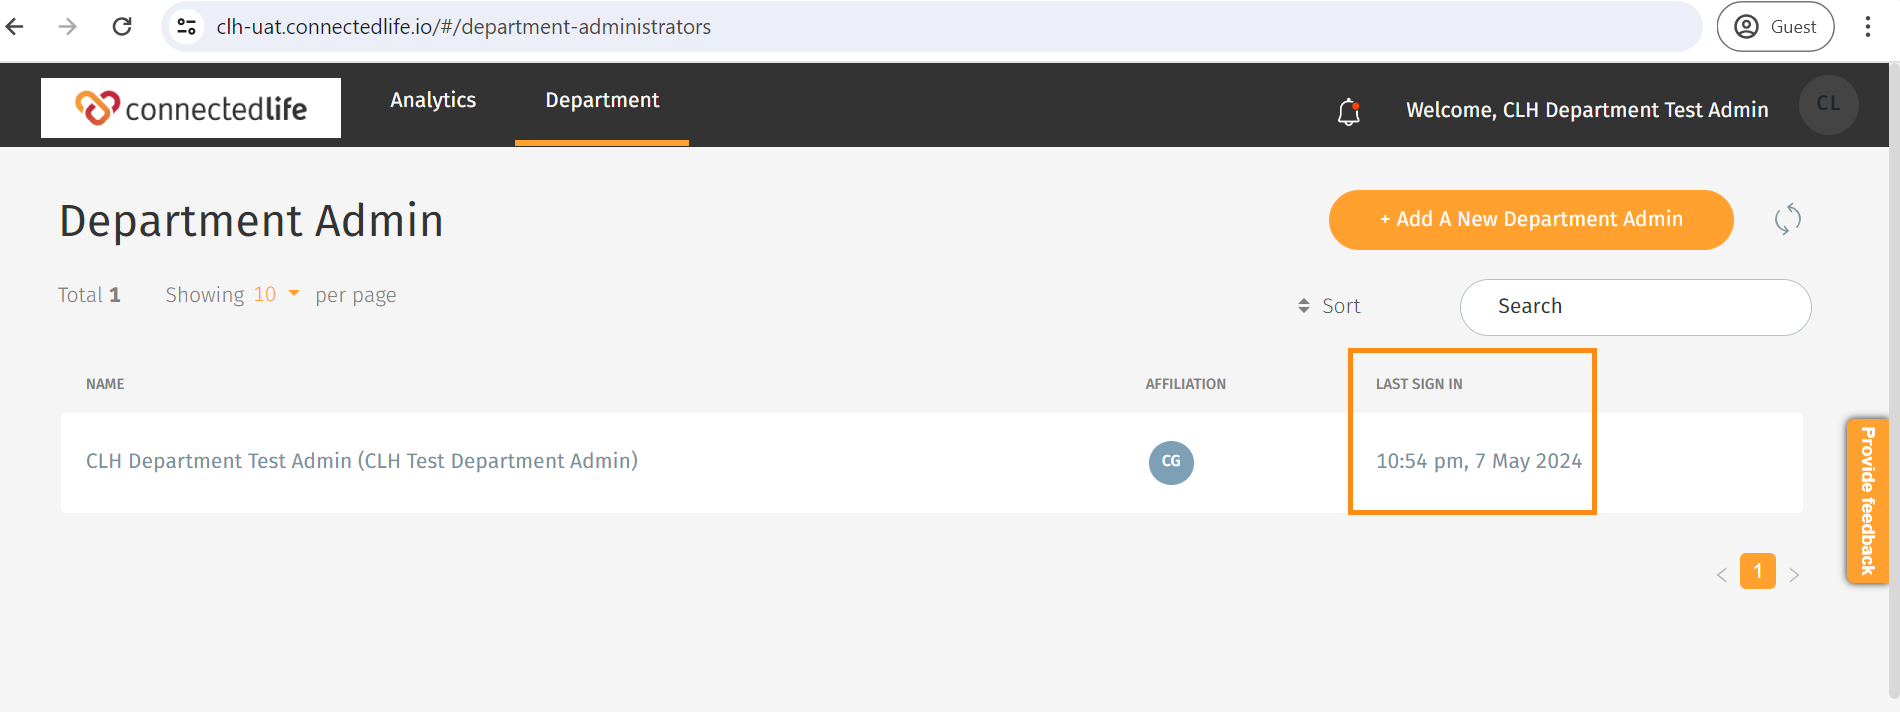
Within the ConnectedLife platform, organizational roles like Organization Admin, Facility Admin, Department Admin, and Support Team Member can access the “Ongoing Challenges” functionality under the Analytics section.

Log in to the dashboard as a Support Team Member (W+)

Support Team oversees user activities, invites, and assigns users. Support Team Member is also known as STM. There are primary and secondary Support Team Member (W+). Support Team roles and responsibilities involve managing patient lists, schedules, and documents and monitoring patient health parameters and compliance.

This article outlines the step-by-step process for healthcare professionals, to ensure a smooth login experience.

Step 1: Accessing the Correct URL

In your browser’s address bar, input the accurate login URL provided for ConnectedLife. Then Input your valid email address and password associated with your ConnectedLife account.

Step 2: Input PIN

Following successful credential input, you’ll be prompted to enter the PIN that has been set up.

Step 3: Completing the Sign-In

Click on the ‘Submit’ button to finalise the login process.


Tips:

  • If you forget your password, don’t worry. Simply use the ‘Forgot Password’ option on the dashboard.
  • Ensure there are no extra spaces when entering your password.
  • Opt to tick the ‘Remember Me’ option for future seamless logins.

What is the difference between wellness and wellness platform in the dashboard

This article provides an overview of the differences between the Wellness and Wellness Plus Platforms on the Dashboard.

The ConnectedLife Health platform offers two main plans: the “Wellness Platform” and the “Wellness Plus Platform.” These two platforms differ in several aspects on the Dashboard.

What is the Wellness Plus Platform?

The Wellness Plus Platform is a comprehensive solution for chronic condition management, utilising AI and cognitive behavioral science. It delivers a customisable and complete wellness program, supports primary care users from early-stage through chronic health conditions, and provides risk assessment and 24/7 monitoring of wellness data by a cross-functional support team. It is also known as V2.0.

What is the Wellness Platform?

The Wellness Platform is designed to enhance the health and well-being of employees, customers, and businesses by combining health data with innovative technology. It fosters engagement through challenges, real-time feedback, and a data-driven approach to wellness.

Organizational Structure:

The structure of the Wellness Plus platform is more pioneering compared to the Wellness platform.

For the Wellness platform:

Programme Management (Org Admin / Wellness Admin view):

Wellness Plus platform has more features in the Programme Management section.

While Wellness platform has only two features.

Programme Management (Support Team Member view):

STM also has more facilities on the Wellness Plus platform.

Here, STM has only one facility on the Wellness platform.


Health Parameter

Wellness plus platform has more detailed monitoring of health parameters.

On the other hand, Wellness platform’s STM has fewer monitoring health parameters.

User Profile:

The Wellness Plus platform has a broad way to track a patient’s health, give reminders, and encourage them to follow a healthy diet.

And the Wellness platform has four options to track a patient’s health.

Note: The Facility Admin and Department Admin have similar interfaces on both the Wellness and Wellness Plus platforms.

What is PII ACCESS, and how to turn it on?

This article will help you to understand “What is PII ACCESS, and how to turn it on.”.

Personal Identifiable Information refers to any data that enables identification of an individual for example their first and last name.
By disabling PII access your admin will not be able to see users’ names in their users list. Also, by disabling PII access from the Organization Admin, the Support Team Member cannot receive the edit and affiliation change option.

PII access can be turned on by toggling on.

PII can be accessed through three admin channels: facility admin, department admin, and Support team member (W+).

Facility Admin: By turning off PII access, the Facility admin cannot see the user’s first or last name details. Also, the facility admin cannot access the edit option.

Click Confirm to disable PII access.

After disabling PII access a pop up message will be displayed.

After that, you cannot see users and the Edit pencil icon. View icon to display user details.

Department Admin: By turning off PII access, department admin cannot see the user’s first or last name details also edit option same as facility admin.

Support Team Member (W+): By turning off PII access, Support Team Member (W+) cannot see the user’s first or last name details same as facility/department admin. Also, Support Team Member (W+) does not offer access edit and affiliation options for users.

Also, by disabling PII access Support Team Member (W+) can not determine the owner of a specific health information.

Furthermore, enabling PII access is crucial for all Organisational roles to obtain all users name, edit, affiliation and, health data information.

What is Last Sign-in from the dashboard?

In this article, we delve into the significance of the sign-in feature on the dashboard, shedding light on its functionality and accessibility.

At the core of this dashboard feature lies the last sign-in field, a pivotal element that serves as a timestamp for the most recent access by any specific entity. This essential information provides valuable insights into user activities within the dashboard.

Primarily designed for the Organisation and Facility Admin, this feature empowers these key roles with the ability to monitor and track the sign-in patterns of various entities associated with the dashboard such as Facility Admin, Department Admin, and Support Team.

View from Organisation Admin

Step 1:

Please log in to the ConnectedLife Organisation Admin account to get access.

To see the Facility Admin’s last sign-in time, go for the Organisation tab list section and click Facility Admin From the list section, you will be able to view the LAST SIGN-IN of the Facility Admins.

To see Department Admin’s last sign-in time, go for the Organisation tab list section and click Department Administrators From the list section, you will be able to view the LAST SIGN IN of the Department Admins.

To see the support team’s last sign-in time. Go for Support Team you will be able to view the LAST SIGN-IN of Support Team Members.

View from Facility Admin:

Step 1:

Please log in to the ConnectedLife Facility Admin account to get access.

To see the Facility Admin’s last sign-in time, go for the Facility tab list section and click Facility Admin From the list section, you will be able to view the LAST SIGN-IN of the Facility Admins.

To see Department Admin’s last sign-in time, go for the Organisation tab list section and click Department Administrators from the list section, you will be able to view the LAST SIGN IN of the Department Admins.

To see the support team’s last sign-in time. Go for Support Team you will be able to view the LAST SIGN-IN of Support Team Members.

View from Department Admin:

Step 1:

Please log in to the ConnectedLife Department Admin account to get access.

To see the Department Admin’s last sign-in time, go for the Department tab list section and click Department Administrators From the list section, you will be able to view the LAST SIGN-IN of the Department Admins.

To see the support team’s last sign-in time. Go for Support Team you will be able to view the LAST SIGN-IN of Support Team Members.

Tips:

  • The Last Sign-In field precisely records the exact moment when a specific entity accesses the dashboard. This level of detail aids in comprehensive audit trails and enhances security measures.
  • By offering a transparent record of sign-ins, the dashboard ensures accountability among users. This accountability is crucial in organisational settings, providing administrators with the necessary tools to manage access effectively.
  • This feature not only benefits individual users but also provides Organisational insights. Admins can analyze sign-in patterns to identify trends, potential issues, or irregularities, contributing to strategic decision-making.
  • In summary, the Last Sign-In field on the dashboard stands as a powerful tool for administrators, enabling them to stay informed about user activities, enhance security measures, and gain valuable Organisational insights. This feature is a cornerstone in fostering a secure and accountable environment within the dashboard ecosystem.

What is Last Sync in the dashboard?

Understanding “Last Sync” in the Dashboard.

“Last Sync” denotes a vital communication mechanism devised to streamline the exchange of current health data between wearable devices and mobile applications. This synchronization transpires when the devices are linked via Bluetooth and have access to a reliable internet connection. The process ensures the seamless transfer and updating of the most recent health-related information between the wearable device and the mobile app, thus enhancing the accuracy and comprehensiveness of the data available to users.

This feature is accessible through the ConnectedLife Platform for Organisation Admins, Facility Admins, Department Admins, and Support Team Members:

Organisation Admin View:

Step 1: Log in to the ConnectedLife Organisation Admin account.

Step 2: Access the “User” option to view the “Last Sync” from the users list section.

Facility Admin View:

Step 1: Log in to the ConnectedLife Facility Admin account.

Step 2: Navigate to the user option to observe the “Users last Sync.”

Department Admin View:

Step 1: Log in to the ConnectedLife Department Admin account.

Step 2: Within the user’s section, view their respective “Last Sync.”

Support Team Member View:

Process 1:

Step 1: Log in to the ConnectedLife Support Team Member account.

Step 2: Search for the user using their user ID or name.

Step 3: Access the user’s profile to view the last sync data and time associated with the wearable device.

Process 2:

Step 1: After logging in, click on the three dots (⁝) in the ConnectedLife Support Team Member account.

Step 2: Select “Columns” and choose “Last Sync” to enable its visibility.

Tips:

  • Proper syncing is crucial for accurate user data reflection on the dashboard.
  • Regular syncing of smartwatches is recommended for maintaining data integrity.
  • Users should promptly sync their devices for ConnectedLife schedule management alerts.
  • Consistent pairing of devices with smartphones via Bluetooth is essential for receiving regular notifications like ConnectedLife Nudges and Messages.
  • Stable internet connectivity is necessary for uninterrupted notification reception.
  • It may take around 30 minutes to update the ConnectedLife app with the latest Fitbit data after a successful sync with the Fitbit app.

How to add a new Alert/Nudges template?

Discover the seamless process of creating Alerts and Nudges templates into the ConnectedLife platform.

Within the ConnectedLife Platform, an Alert is designed for the Support Team Member, while a Nudge is designed for the Users. Alerts are designated to inform and Nudges are designated to influence behaviours.

Please follow the step-by-step process to Add A New Alert/Nudge template:

Step 1: Sign in to your dashboard

Enter your valid email address and password linked to your ConnectedLife Organisation admin account.

Step 2: Navigate to “Programme Management”

Upon logging in, locate and select the “Programme Management” option from the top menu.

Step 3: Access “Add A New Alert/Nudges Template”

Click on the “Add A New Alert/Nudges Template” button situated in the top right corner.

Step 4: Define Alert/Nudges Rules

Specify the necessary rules you wish to establish for the alert or nudge.

Step 5: Proceed to the Next Step

Once you’ve configured the rules, click “Next” to proceed.

Step 6: Create New Messages

Choose the “Add New Message” option to set up messages. You can communicate through Email, SMS, and Push notification channels. Select any combination of these channels as per your requirements.

Step 7: Customise and Save Messages

Personalise the message content and select the desired communication channels (Email, SMS, Push Notifications). Then, click “Save” to confirm your message settings.

Step 8: Finalise and Create

After inputting the message details, click on the “Create” option to finalize the template.

Step 9: Confirmation

Upon selecting “Create,” a pop-up notification will confirm the successful creation of the Alert/Nudge template.

How to add Themes?

Introducing Themes/Skins, a feature that empowers Organisations to tailor the appearance of their mobile app UI to match their desired styles. This dynamic theme functionality not only allows Organisations to integrate their branding visuals but also facilitates the setting of different atmospheres.

With Themes, Organisations can effortlessly configure various aspects of their app’s appearance, including:

  • Colors
  • Fonts (choosing from pre-installed options like Fira Sans, Lato, Montserrat, and Figtree)
  • Image/logo files (ensuring they match the default dimensions)

Here’s how to customise your app’s theme:

Step 1: Access the Organisation Admin Dashboard

Log in to the Organisation Admin dashboard and navigate to Programme Management. From there, select “Themes” from the dropdown menu.

Step 2: Add Your Theme

Initially, the skin is set to the default ConnectedLife Health skin. To switch to your custom skin, click on the “Edit” button. A pop-up window will appear, allowing you to upload your theme file. Simply click on the browser to select the file, and then save your changes.

Broadcast messages to users with predefined links

This article outlines the process of setting predefined links and broadcasting messages to users from the Organisation Admin and Support Team Member accounts.

Adding a Link as an Organisation Admin:

  • Log in to the Organisation Admin account.
  • From the dashboard, go to Programme Management and select Links.
  • Click on +Add A New Link.
  • Enter the link name and description, then click “Add Link.” Specify it as a User message by selecting the designated box.
  • A pop-up confirms a successful addition.

Broadcasting the Link from the Support Team:

  • Log in to the Support Team Member account.
  • Select Users from the “My Users” tab.
  • Click on the Broadcast icon from the bottom of the page.

  • After selecting broadcast, click “Send links”.

  • Select the desired link, choose the communication mode (Email, Phone Number, or both), and click Send Message.

  • A pop-up confirms successful message delivery.

Scheduling Broadcast Messages from Support team:

  • Log in to the Support Team Member account.
  • Select Users from the “My Users” tab.
  • Click on the Broadcast icon from the bottom of the page.
  • Click the schedule icon.

  • Select the desired message and click Next.

  • Choose a Start Date, Duration, Recurrence, Timing, and communication mode.

  • Click Schedule. A pop-up confirms successful scheduling.

Note: Organisation admin can follow similar steps to schedule broadcast messages.

How to add Links?

An eCOA survey questionnaire Link can be provided by the support team to users. Organisation admin can add links in the following process.

Step 1: Sign in to the Organisation Admin Dashboard

Enter your credentials to access the Organisation Admin account.

Step 2: Navigate to Programme Management and Choose Links

From the Organisation Admin dashboard, go to Programme Management and select “Links” from the dropdown menu.

Step 3: Introduce a New Link

Within the Links section, you’ll find a list of link details. Click on “+ Add A New Link.”

Step 4: Provide Link Information

Fill in the name and details of the link, then hit “Add Link.” You can also designate whether it’s a User message or a Support Team message.

Step 5: Confirmation Pop-up

A confirmation popup will appear once the link is successfully added.

Additional Tip:

Support team members can utilise predefined links through the user dashboard’s message option.