What is the process of calculating Wellness Score?
This article outlines the step-by-step process of the overall calculation of wellness scores for the ConnectedLife platform.
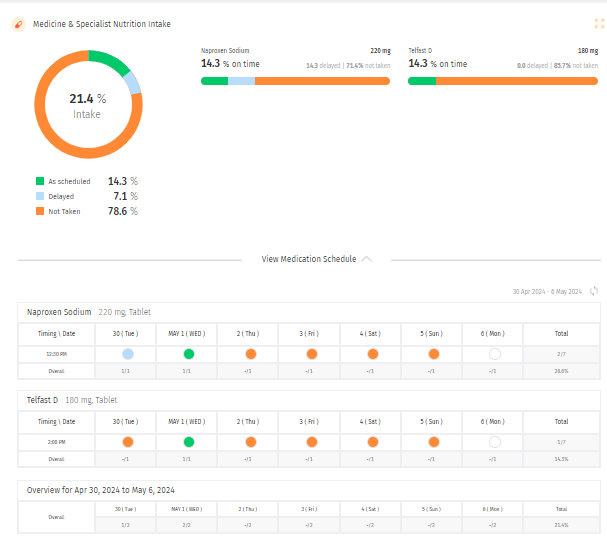
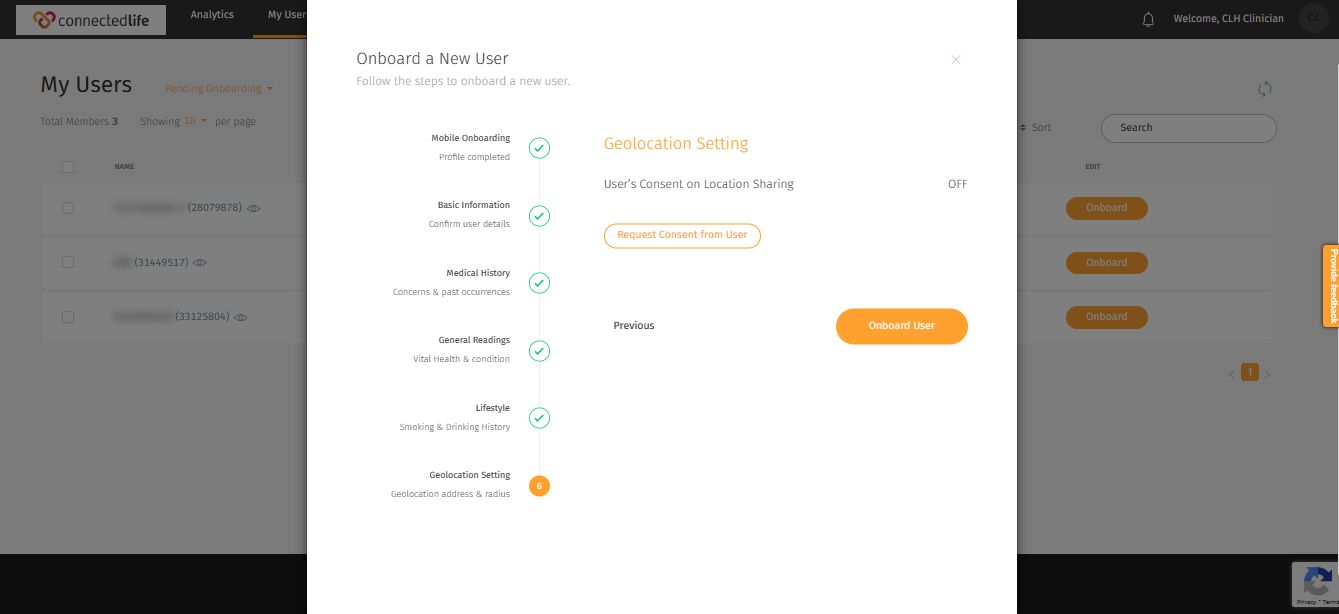
Upon submitting the “Report Health Status,” inputting Profile Log data, incorporating physicals, and syncing wearable device data, the system consolidates positive contributions while offsetting negative factors to derive a comprehensive wellness score.
The wellness score provides an insight into your well-being and potential health risks highlighting any areas you need to work on to improve. Each health and wellness parameter we capture is compared to a reference range. Where you sit on this reference range indicates a healthy or unhealthy contribution to your wellness score. The level of this contribution is based on published scientific research that has assessed longitudinal risk to your health based on each parameter.
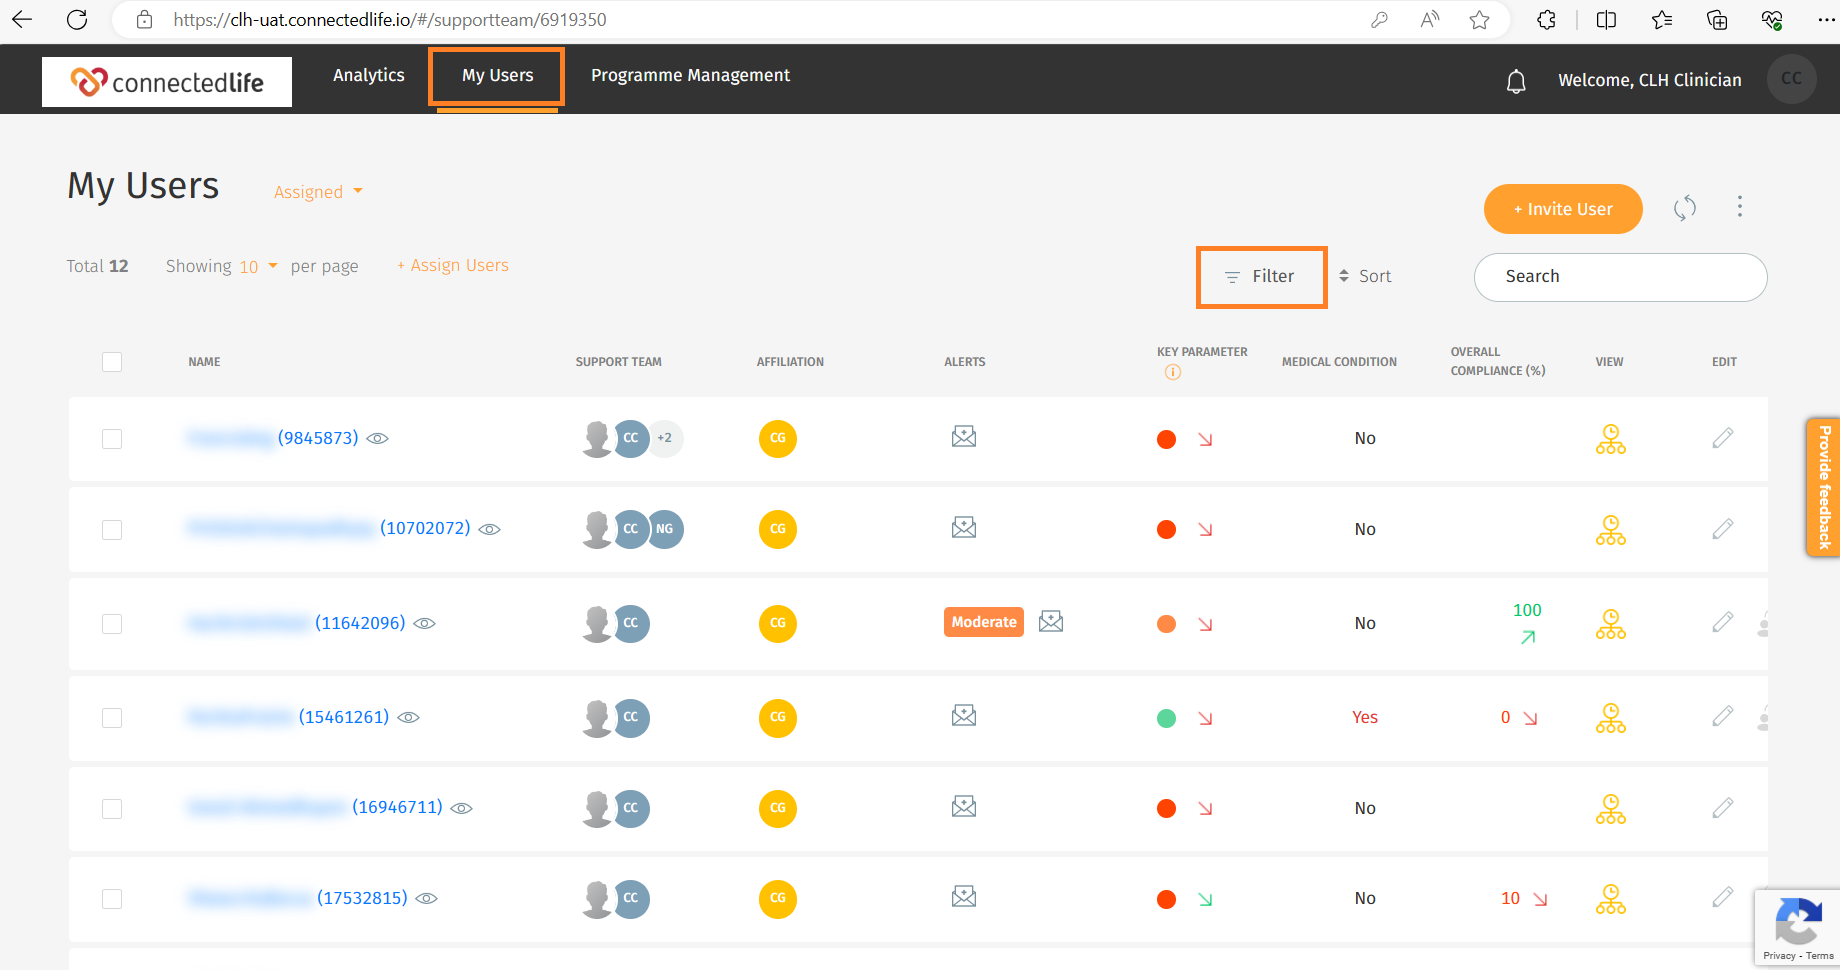
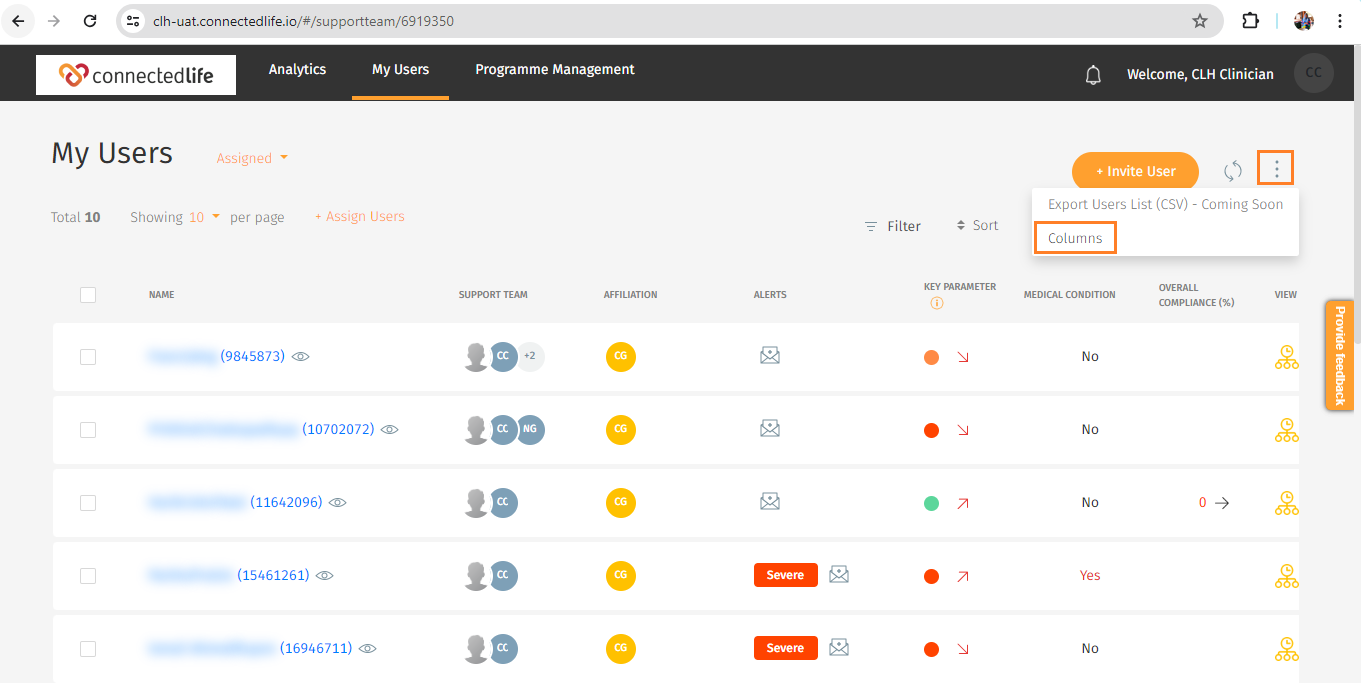
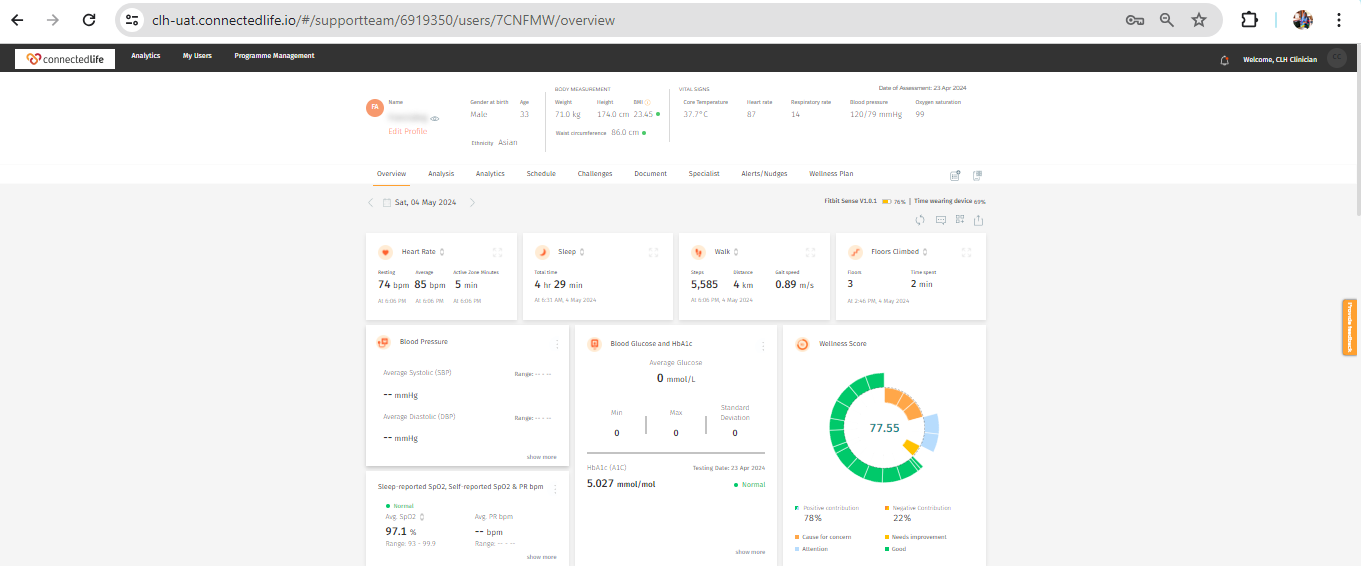
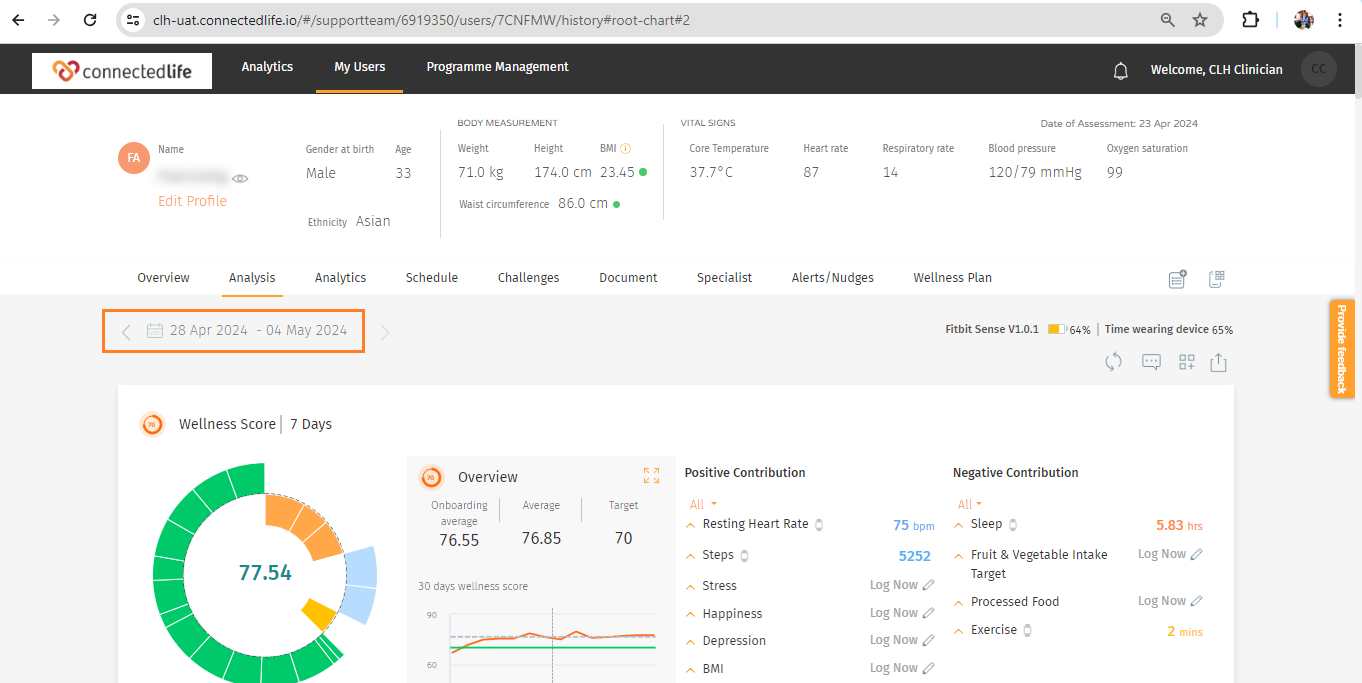
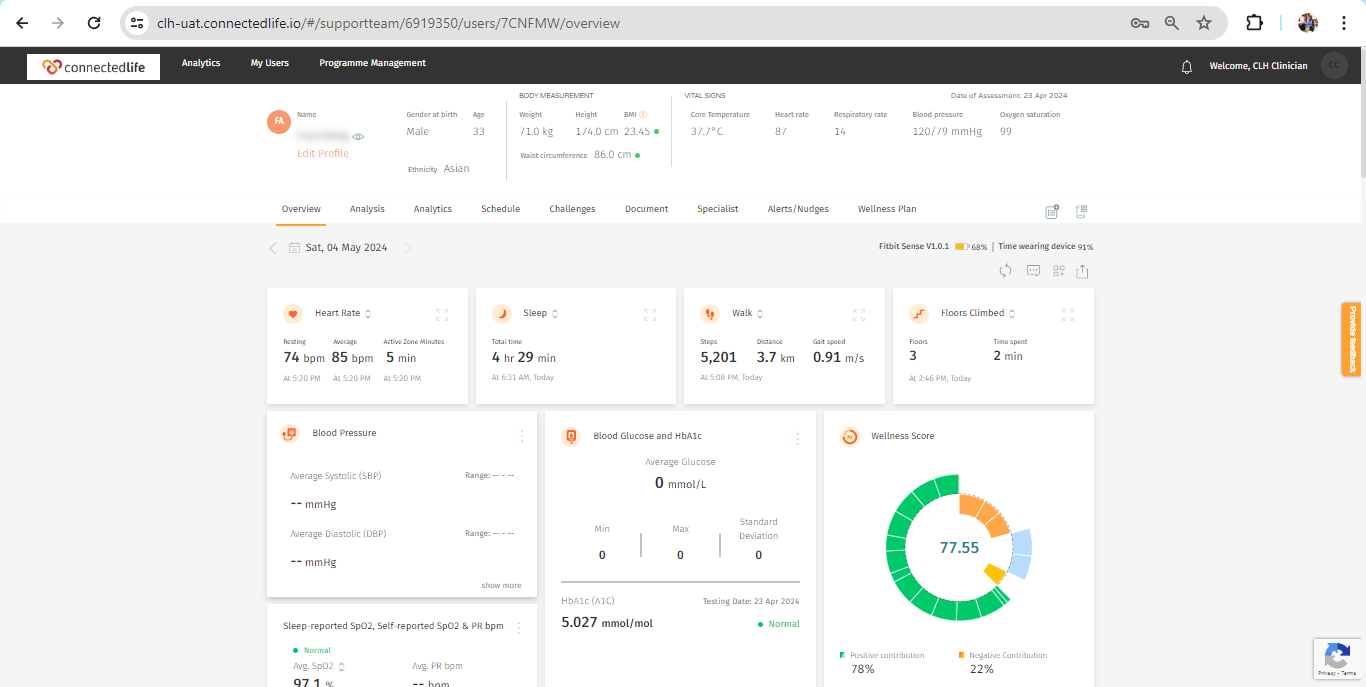
You can check the wellness score from the Overview/Analysis page of the dashboard. In the overview, you can check a single day’s wellness score data. But on the analysis page, you can check up to 90 day’s wellness score data.
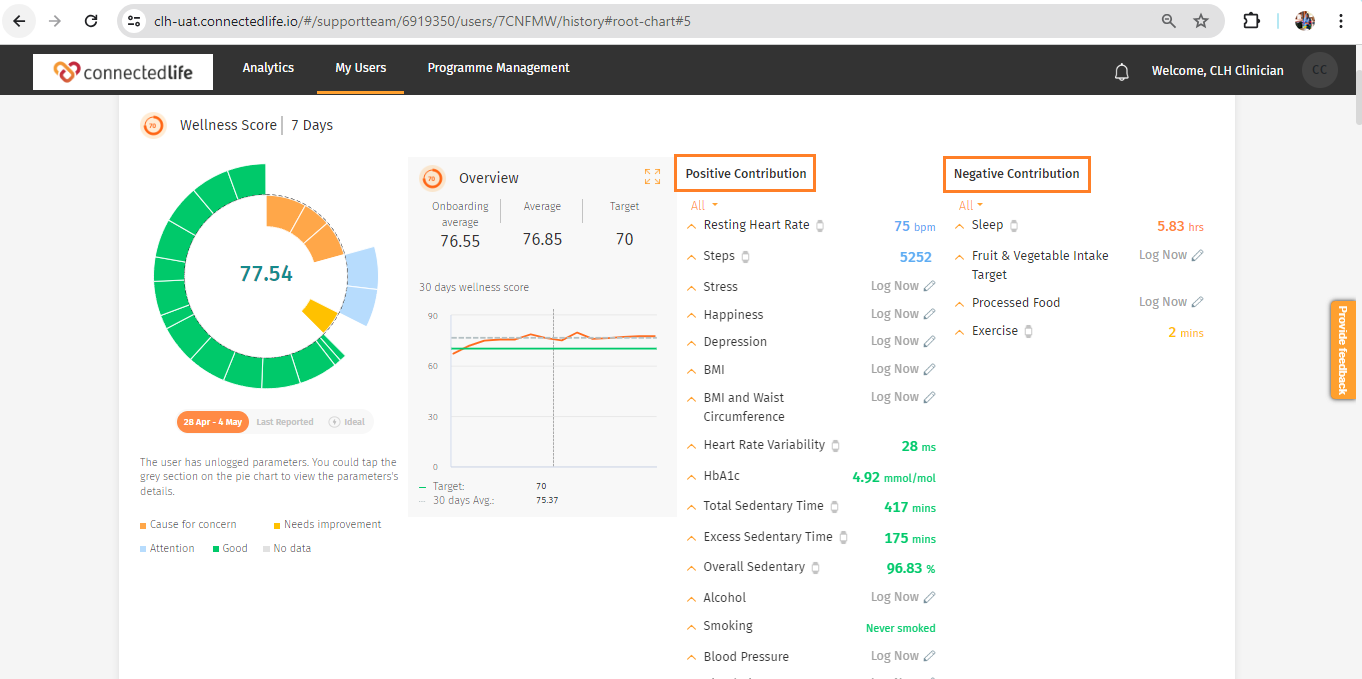
Wellness Score’s data calculation
A 70% median health score is added to or subtracted from based-on published and peer-reviewed Hazard Ratios (HR) relating to the biometric and health values aggregated within the ConnectedLife application. The calculation is adapted to different population groups with varying risk factors that should be taken into account and differing hazard ratios relating to their levels of risk. The overall contribution of each parameter is weighted depending on the hazard ratio for the individual parameters.
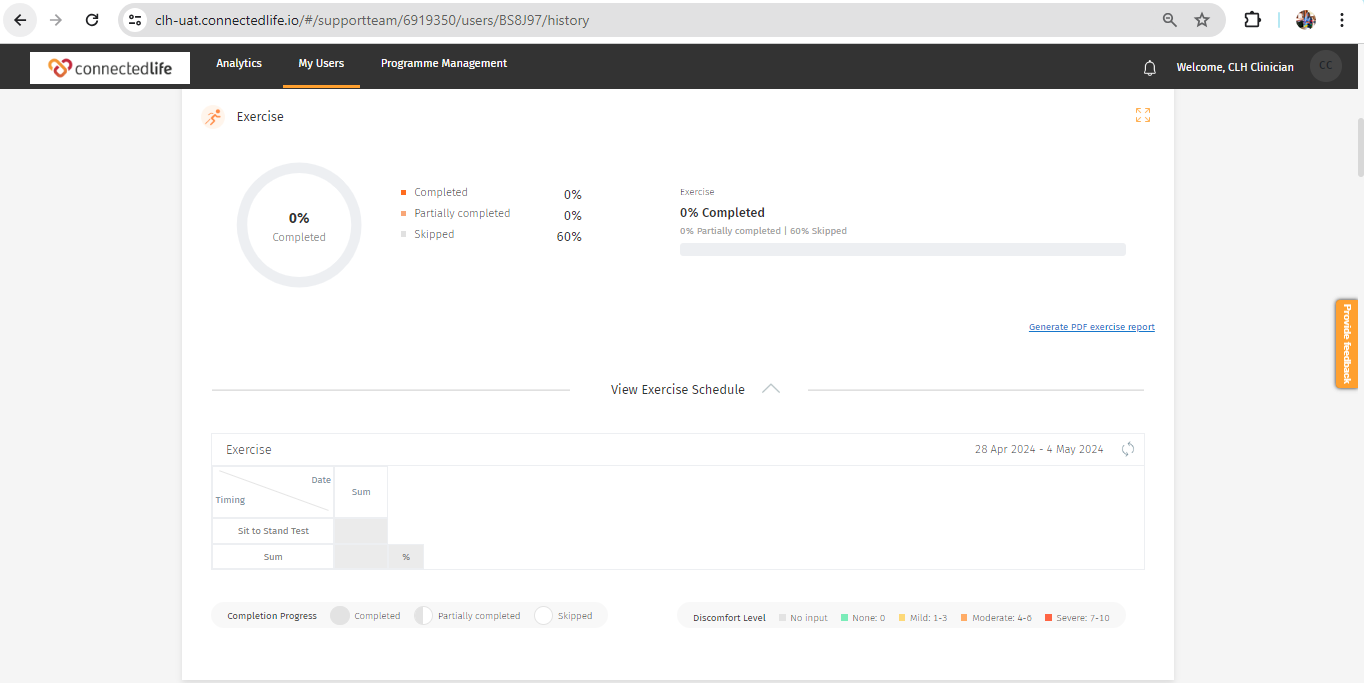
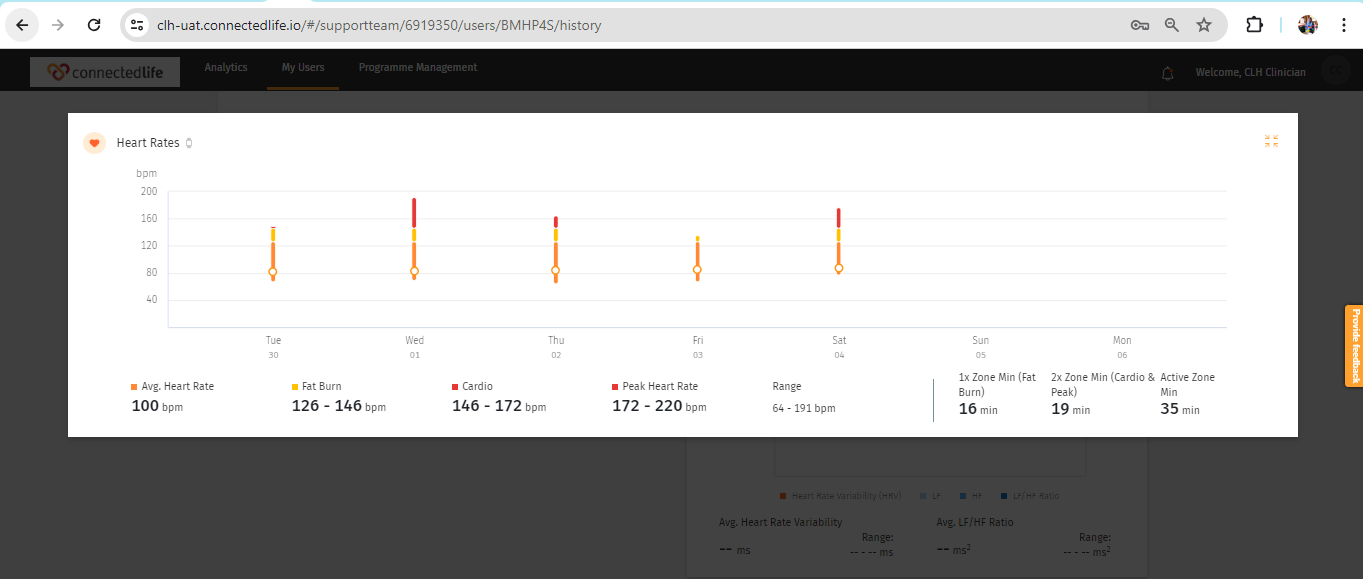
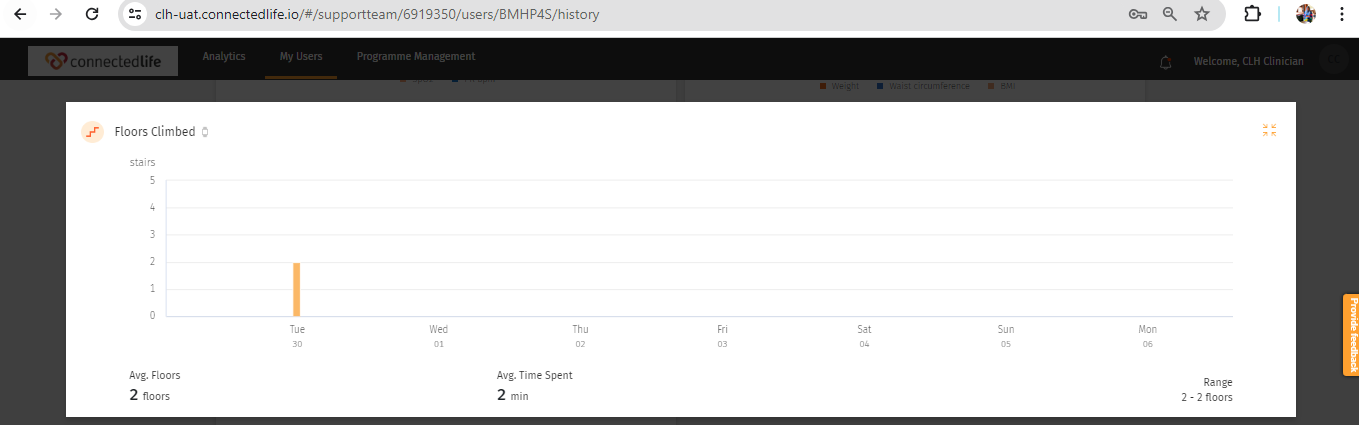
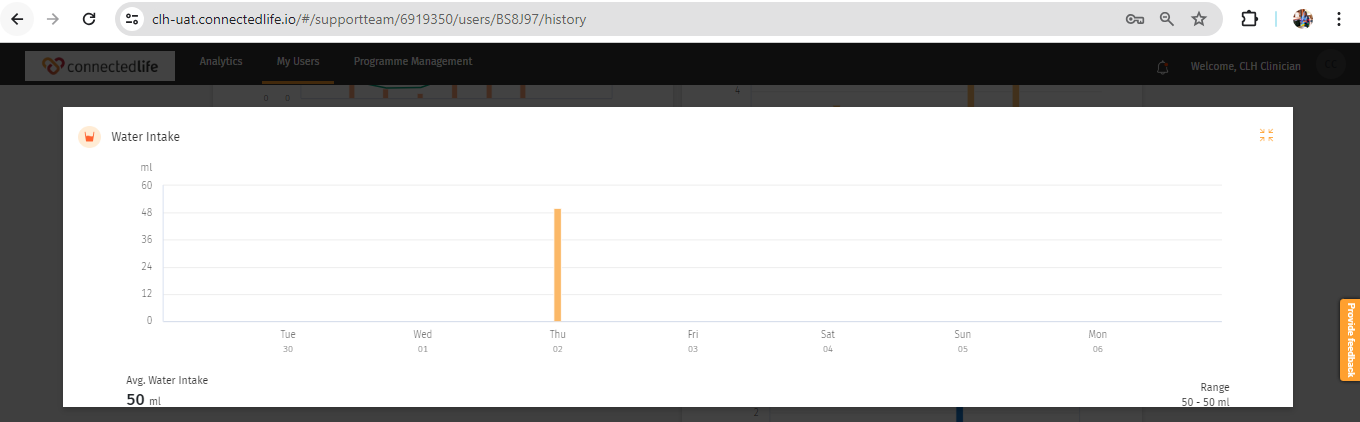
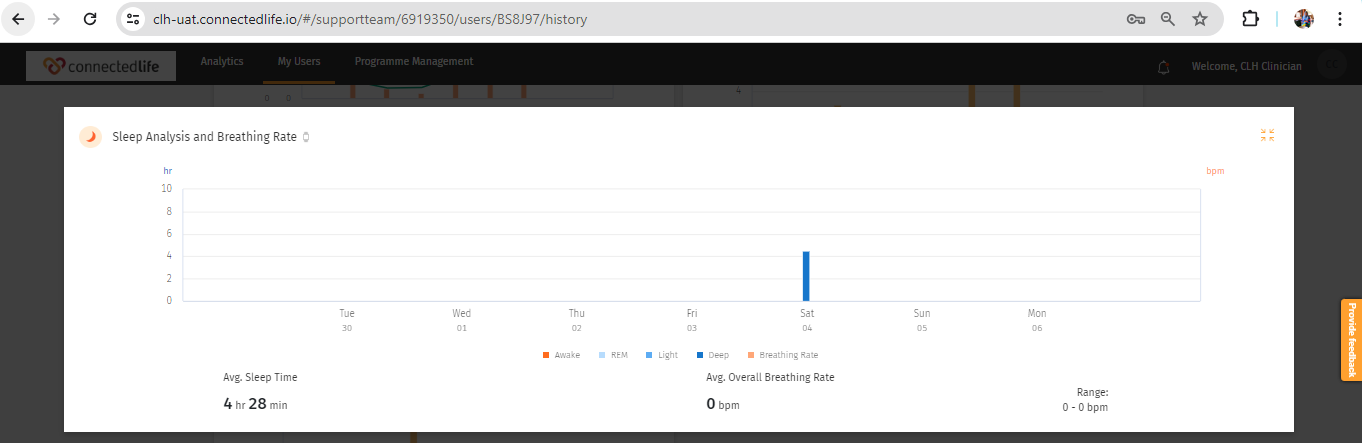
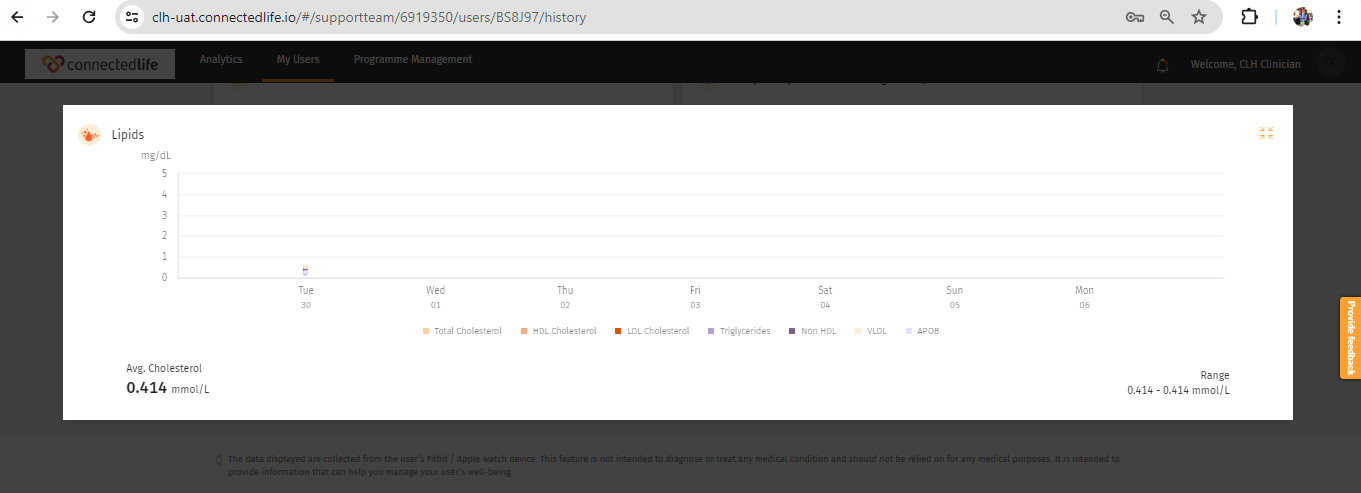
There are some parameters like sleep, exercise, and steps. Heart rate is captured automatically from wearable devices. On the other hand, some parameters can be self-logged by the user from the CLH app example: Fruit and vegetable intake, Blood lipid profile, BMI, Alcohol intake, and Blood Pressure. The higher the potential Hazard Ratio of a parameter the larger the contribution of the parameter to the wellness score.
90 Days Wellness Score data calculation from the Analysis page of the dashboard.
1 Day Wellness Score data calculation from the Overview page of the dashboard.
Note: A baseline wellness score of 70 suggests a generally healthy state, with areas for potential improvement highlighted in orange and yellow sections. Achieving a score of 100 signifies optimal well-being in the captured parameters. Strive to maintain a wellness score above 70 by actively engaging in positive contributions.


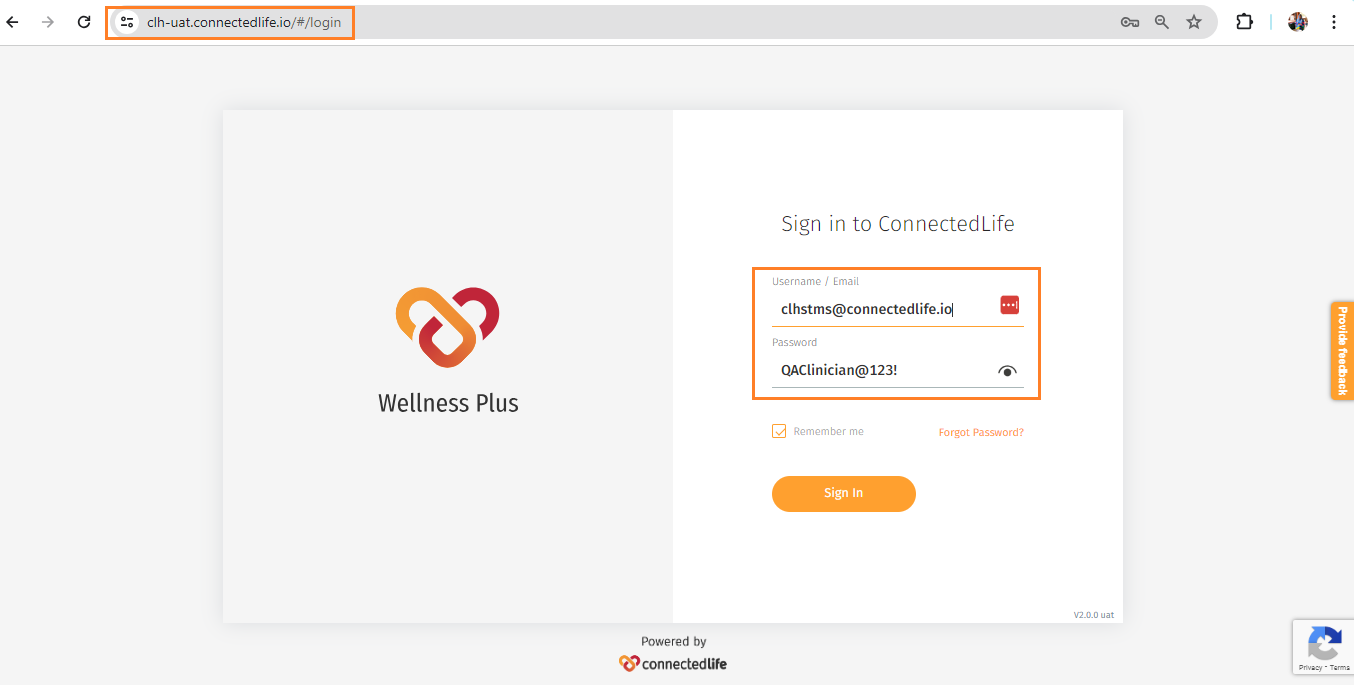


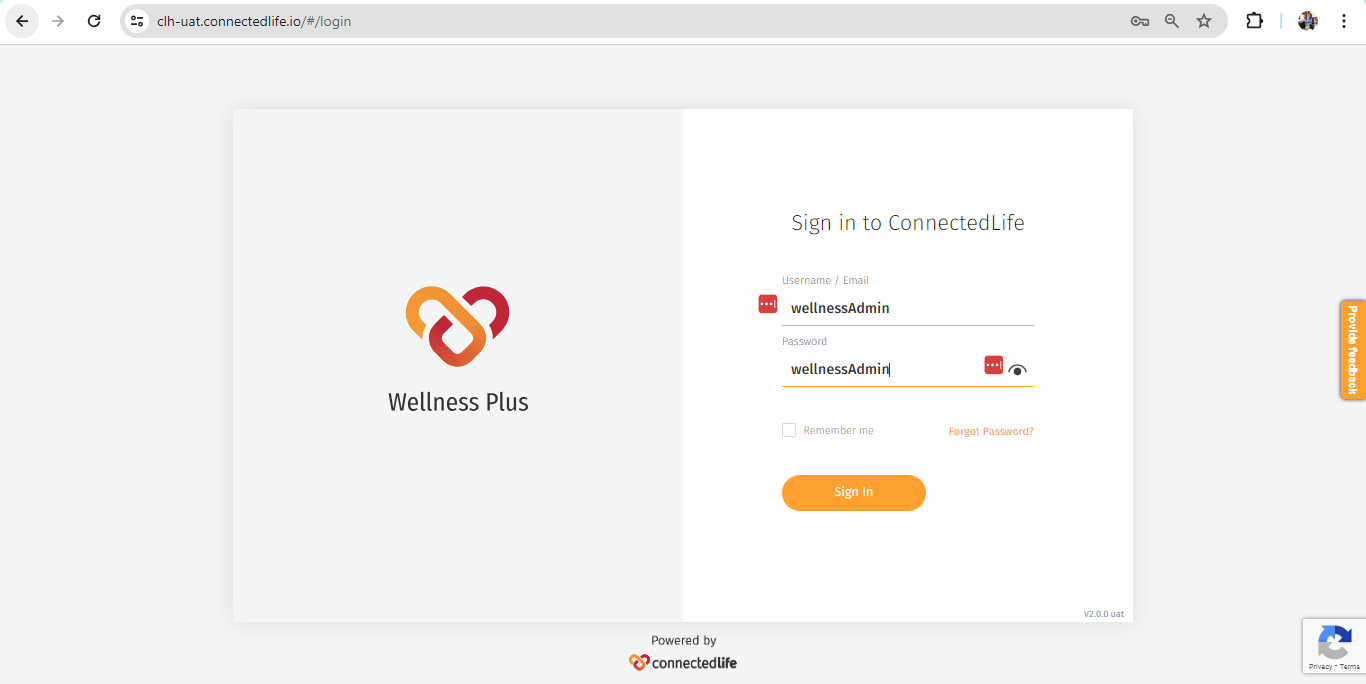
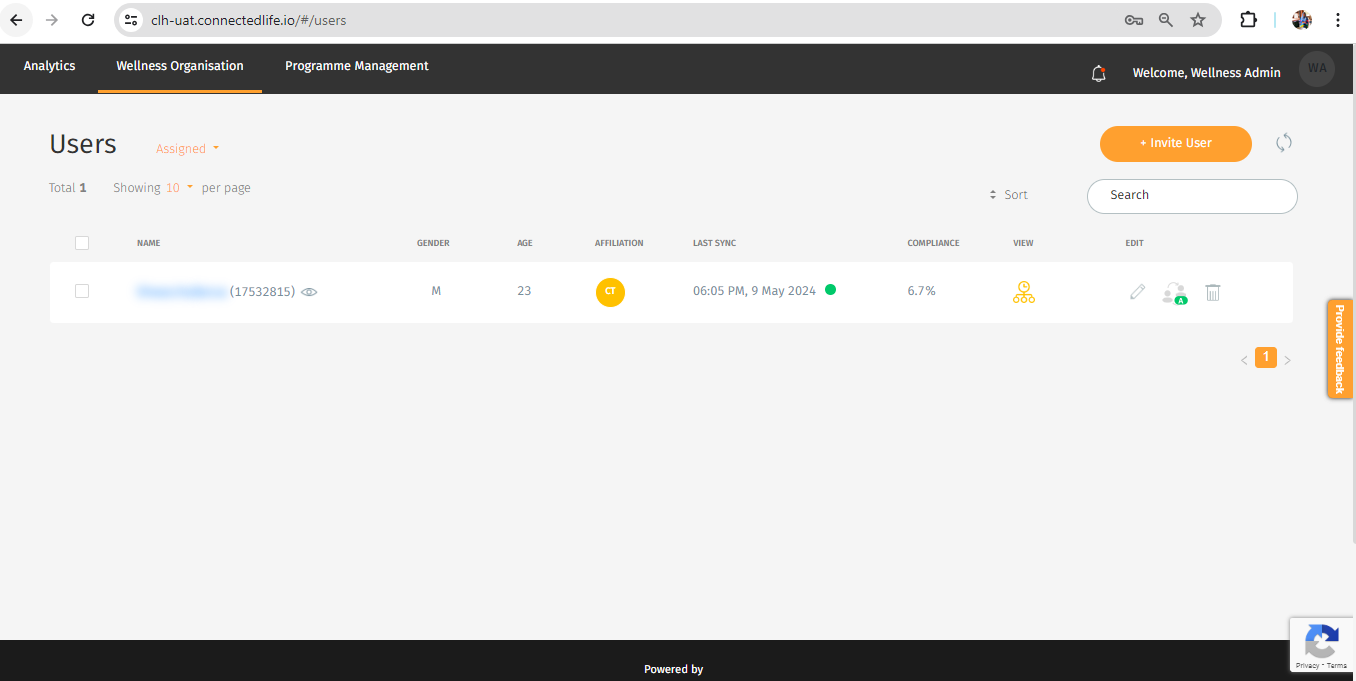
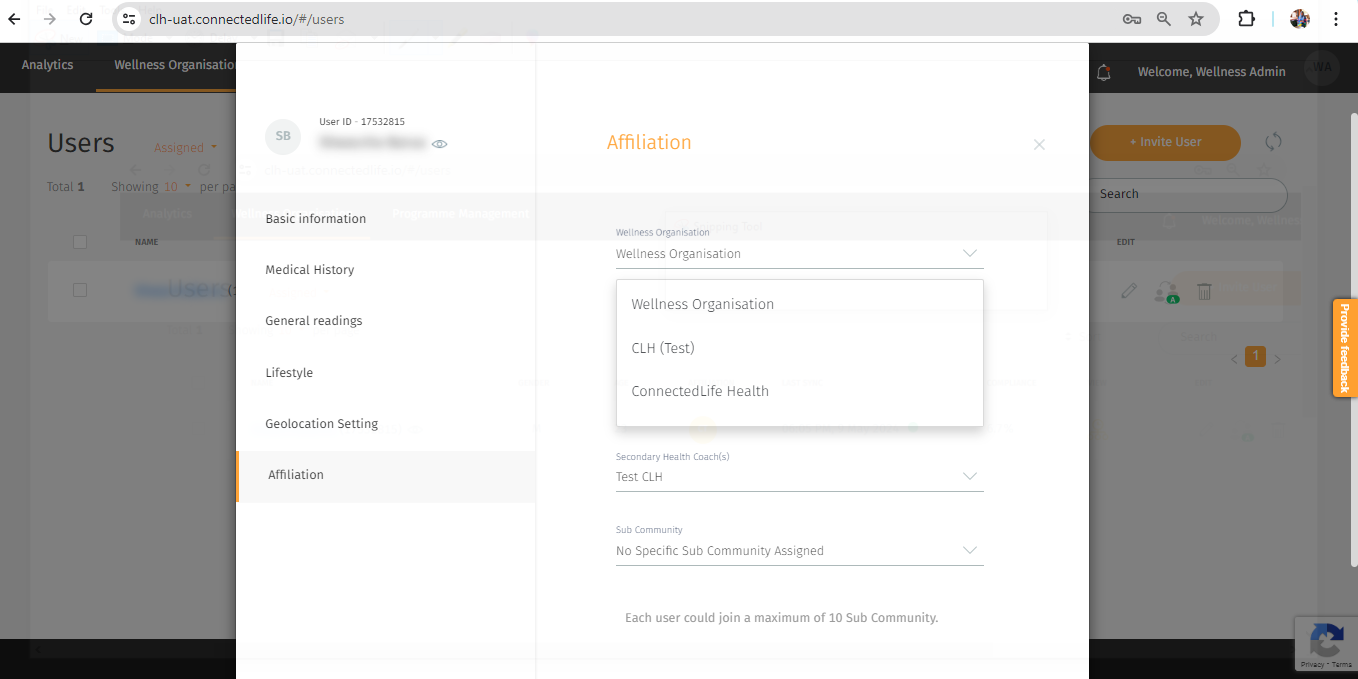
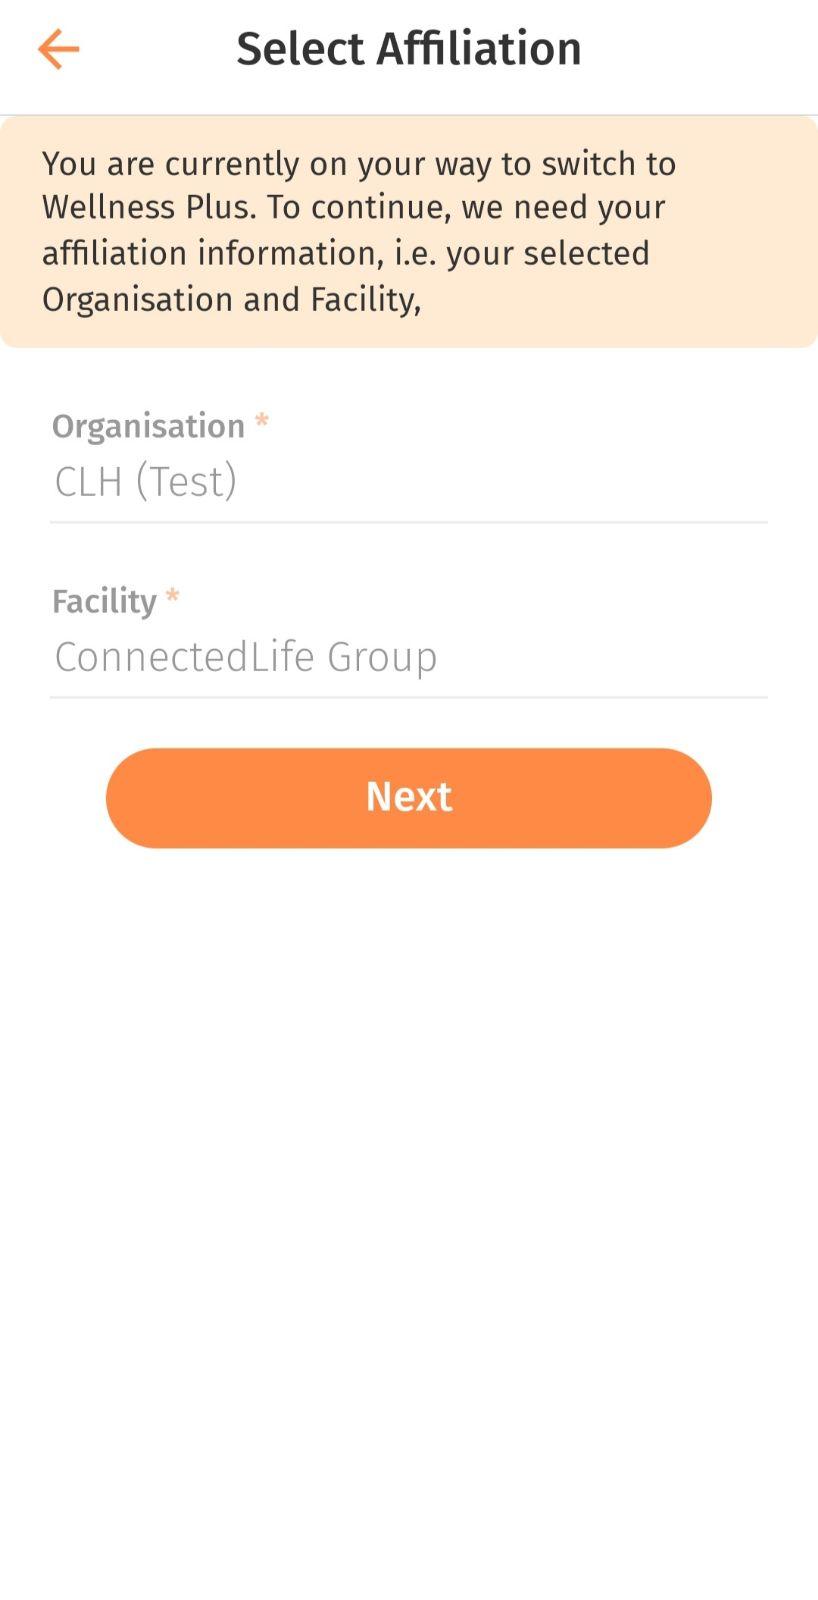
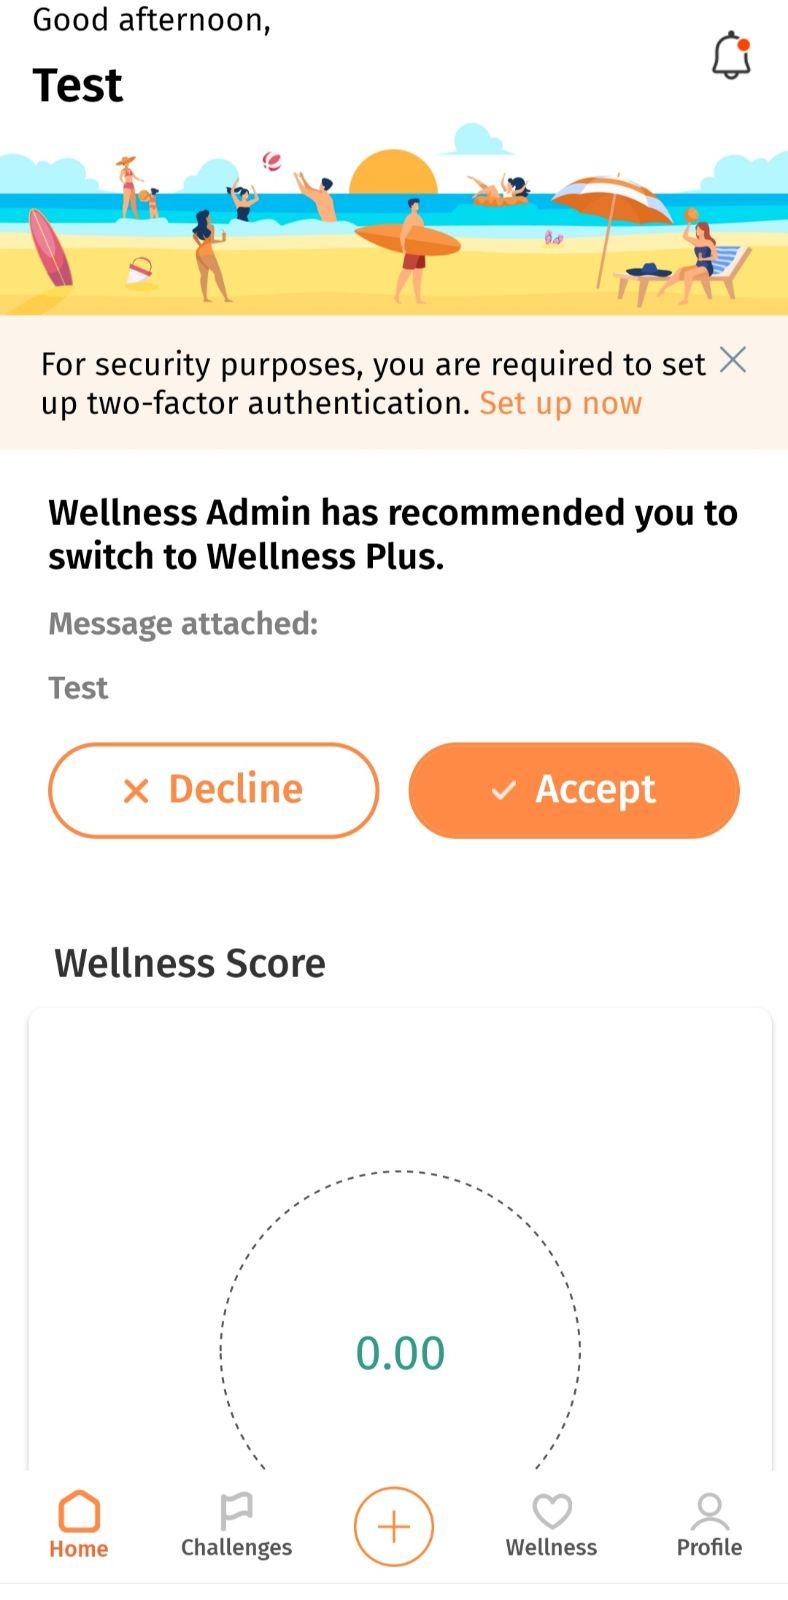 Then change organisation and facility from the app to appear into the Wellness Plus platform.