How to Customise Personalise Health Status Questionnaire in user dashboard?

You can customise a personalised health status questionnaire for the users from the Support Team Member (W+) dashboard. Support Team Member (W+) account. Please note, to customise a personalised health status questionnaire you have to be the primary Support Team Member of these specific users. If you are a secondary Support Team Member of these users you won’t be able to do this.

To do this login to the Support Team Member (W+) Account→ Search the user by User Name/ User ID→ Click on the user

Now a page will appear with the user’s details. On the user page, above Time Wearing device data there are two Icons. The left icon is a personal health status questionnaire. Click on the icon.

Now you will be able to make changes to the health status questionnaire for example: which one you want to keep and which one you don’t want to be visible to the user while submitting a report health status. Just toggle on and off beside the right side of every question. Once your customisation is completed please click the “Cross” Icon from the top left corner of the dashboard.

This is how this questionnaire can be customised using the primary support team member dashboard.

What is Wellness Plan in user dashboard?

There are two subscription plan options within the ConnectedLife Platform to choose from: the wellness plan and the wellness plus plan. Your specific needs will determine the plan that best fits you. To access the generated wellness plan, log in to the Support Team member W+ account and search for the user using their username and ID. Once you’ve located the user, click on their profile. Within the profile options, including overview and analysis, you’ll find the wellness plan next to Alerts/Nudges. Click on the wellness plan to view its details.

How to schedule Alerts and Nudges in user dashboard?

Alerts/nudges are some kind of notification or reminder that users get based on a certain condition. Alerts can be sent from support team members and nudges are for the user. Alerts and Nudges can be scheduled from Programme Management and the User’s Profile.

This article outlines the step-by-step process for scheduling Alerts and Nudges from the user profile in ConnectedLife platform.

Step 1:

From your Support Team account under the My Users tab, click on the user you want to schedule Alert/Nudges. You can use the search bar to find the user as well.

Step 2:

Choose the “Alert/Nudges” option from the patient’s profile and then click “Add a New Alert/Nudge”. Also you can choose Alerts/Nudges which one you want to set from the dropdown menu.

Step 3:

Search the Alerts/Nudge you want to set and click “Next”

Search the existing Alert and Nudges Template from the search bar, if you want you can set a custom nudge also from the “Custom” option and select Alert or Nudge then click “Next”.

Step 4:

Crosscheck the nudge rule, schedule time and click “Next”.

Please check the nudge rule you want to set based on user profile, wellness, clinical, and compliance, and set the timing as well.

Step 5:

Edit the Channel and messages and Click “Next”

There are three channels to send messages to the users (SMS, E-mail, and Push notification). You can delete any channel if you want or you can keep three channels as well.

After selecting “Next” Alerts/Nudges will be set to the user profile successfully.

This is how Alerts/nudges can be scheduled based on user profiles.

What is Specialist page in the user dashboard?

This article will help you to understand the overall details about the Specialist section in the Connected Life dashboard.

How to Check Specialist page

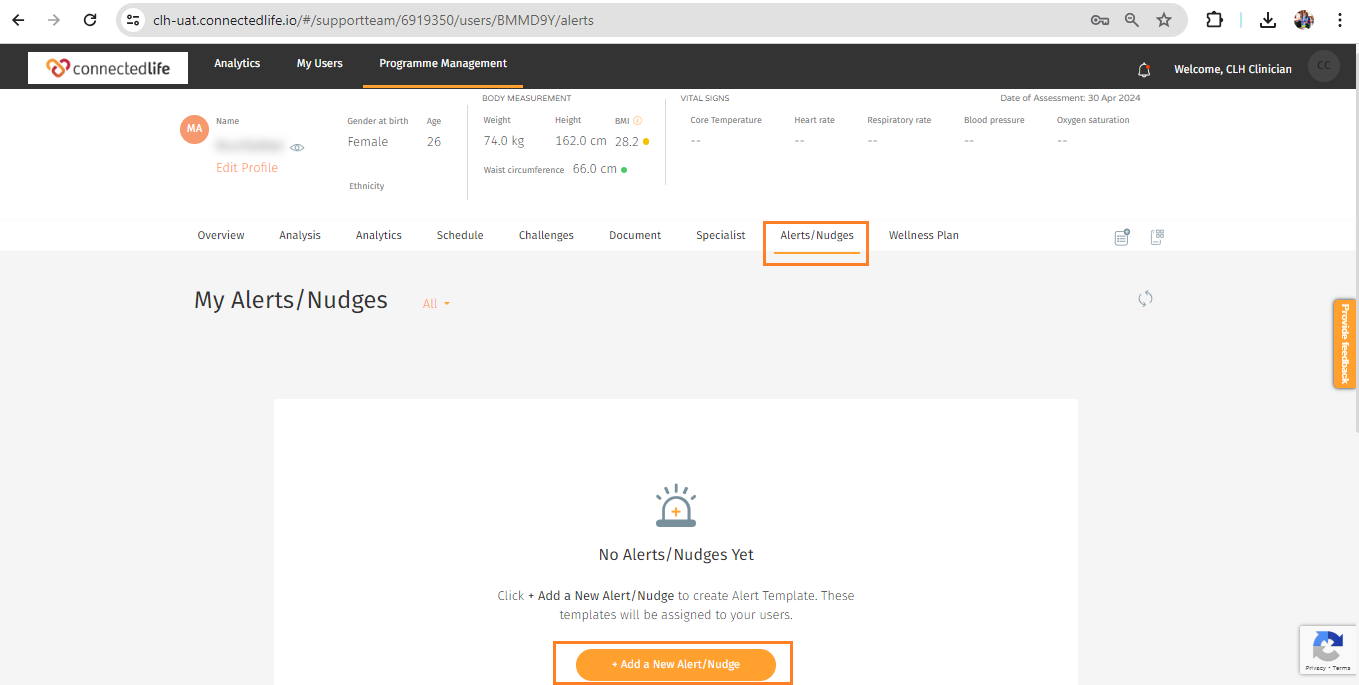
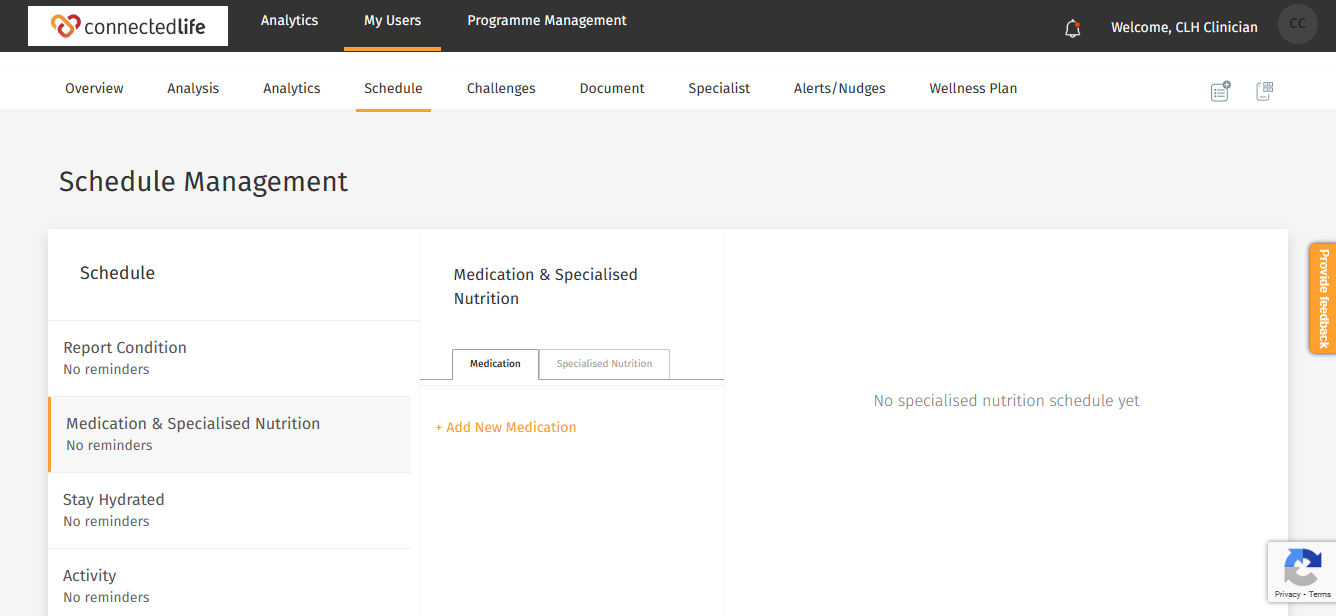
You can check the “Specialist” option from the user’s profile. By clicking on “Specialist” the page view will appear.

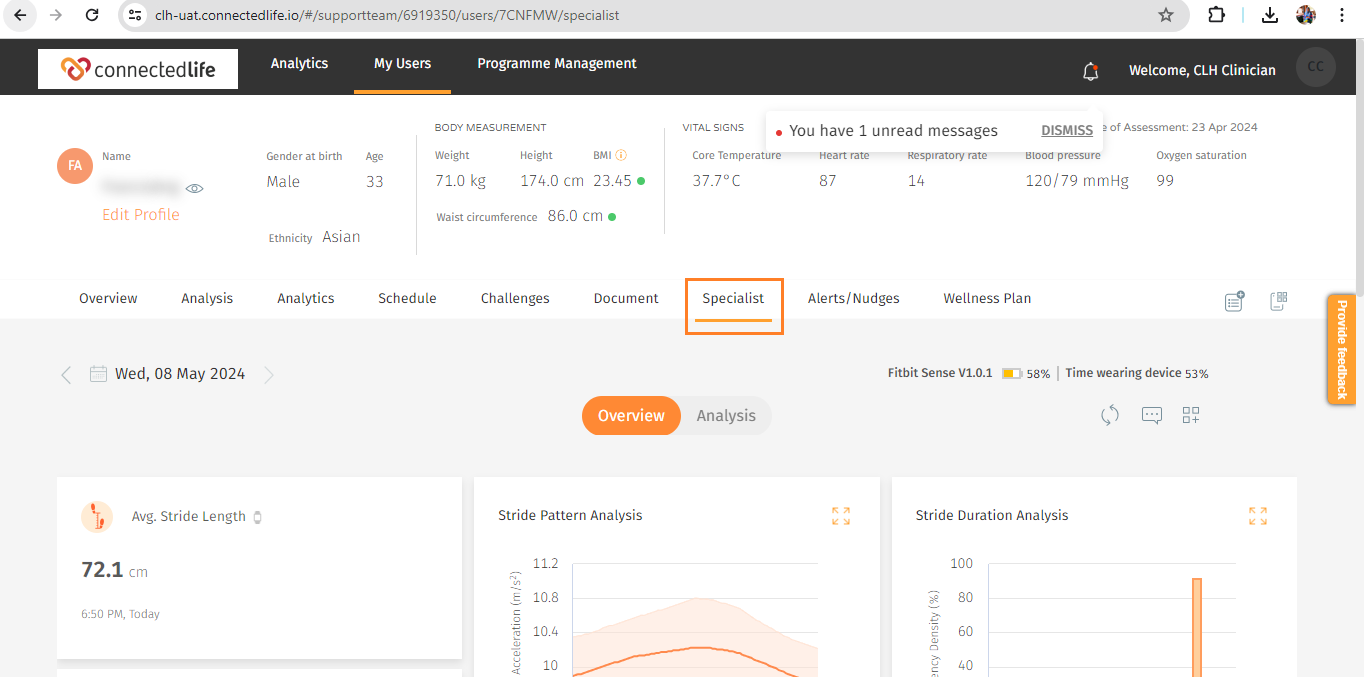
In the Specialist tab, there will be two sections; One is “Overview” and another is “Analysis”.
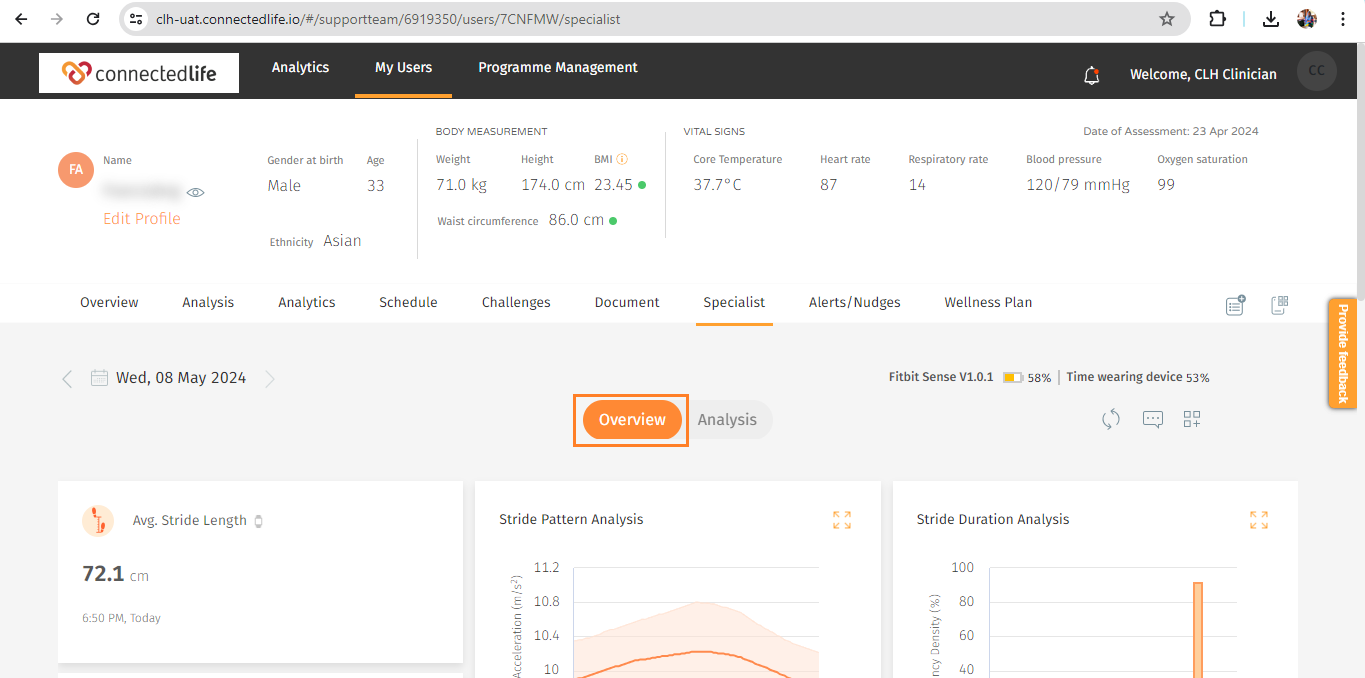
Overview

Here, It includes the user’s well-being based on unique AI models.

The features that can be seen from this page:

  • Avg. Stride length: Fitbit device generates this data.
  • Stride Level Analysis: The JIKU model based on accelerometer and gyroscope data is used to generate this data.
  • Stride Duration Analysis: This is also generated by following the JIKU model. On a given day, It is the distribution of the stride duration.
  • Stride Pattern Analysis: It is the Average pattern of the User walking session which is generated by the JIKU model.
  • Discomfort Level: Users can manually log their discomfort level.

Analysis

The analysis section includes the user’s information, plotted into a graphical report format for easy viewing. The data is presented in a format that allows you to see trends and understand the evolution of symptoms throughout the day. This information is used to track the User’s recovery and update their treatment if required.

You can choose to see the analysis of a particular day or week up to 90 days by changing the date range on the top left corner.
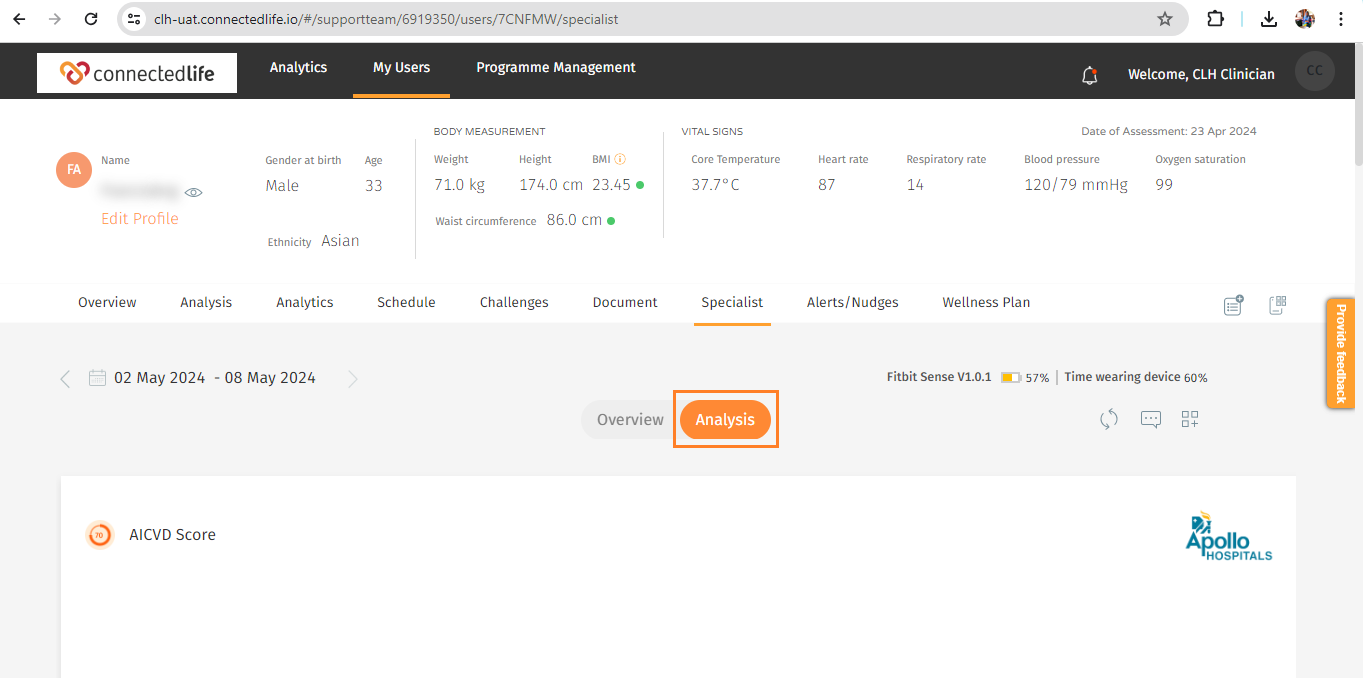
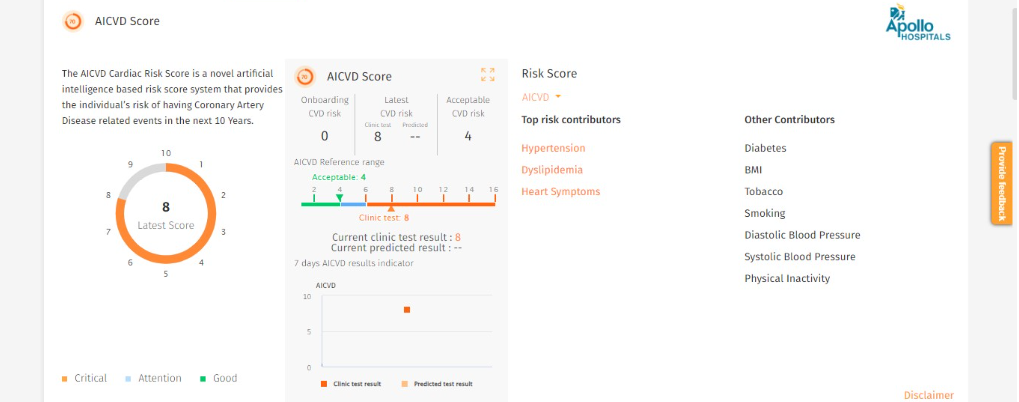
AICVD Score

The AICVD Cardiac Risk Score is a calculation of your 10-year risk of having a cardiovascular problem. This risk estimate considers age, sex, race, cholesterol levels, blood pressure, medication use, diabetic status, and smoking status.

It is an innovative artificial intelligence-driven system, that delivers a personalized risk assessment for Coronary Artery Disease events over the next decade. This functionality grants a thorough summary of the user’s assessment outcome, supplying crucial insights to inform subsequent analyses and decision-making processes.

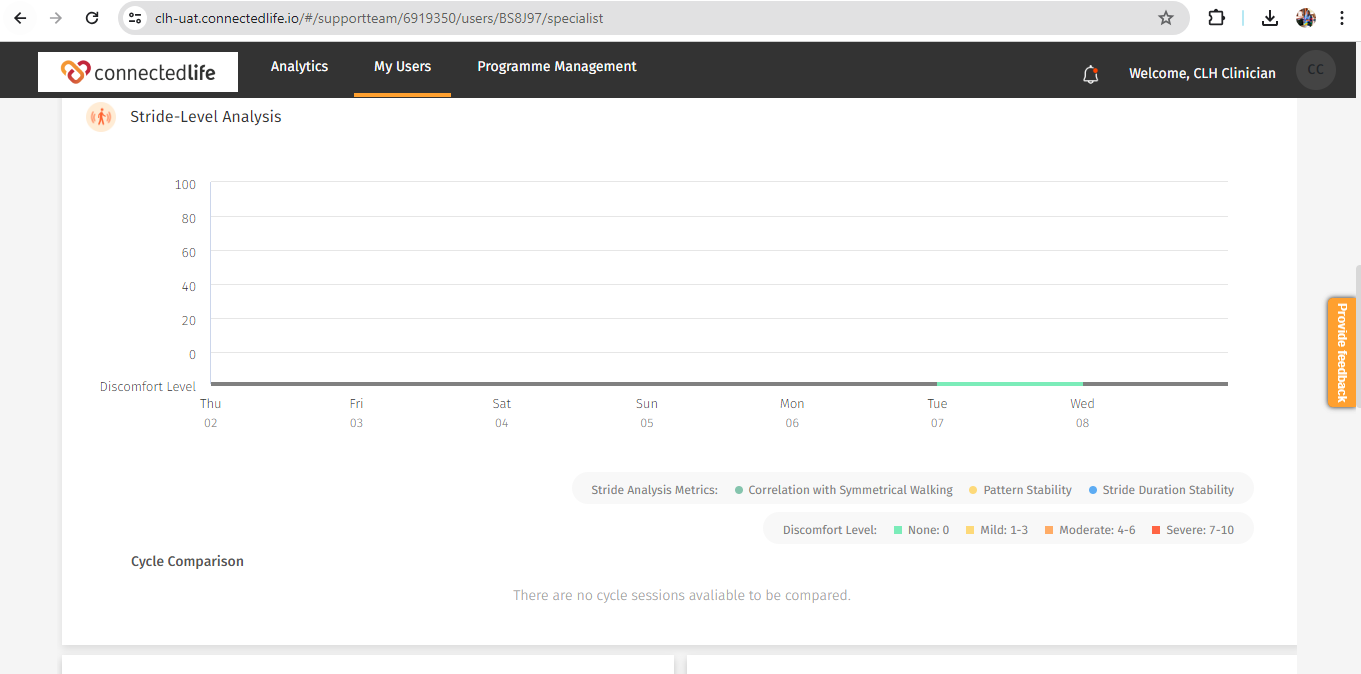
Stride-Level Analysis

The stride pattern of a user can be checked in the Stride Level Analysis section.

In Cycle Comparison, a comparison can be made between individual sessions or average sessions of a day. “Session” here means a continuous walking session. The latest 2 sessions are shown by default. You can click on the marked button to remove a session.

You can click on the “Add Compare” button to add a new comparison and maximum comparison is allowed to 4. Select a date first, then select an individual session or ‘day average’. Day average is the average of all the sessions of the day.

Additionally, it is required to assign the exercise “walking” to your Users, so users can record their walking on their smartwatch. The walking data will be collected by the smartwatch during the recording.
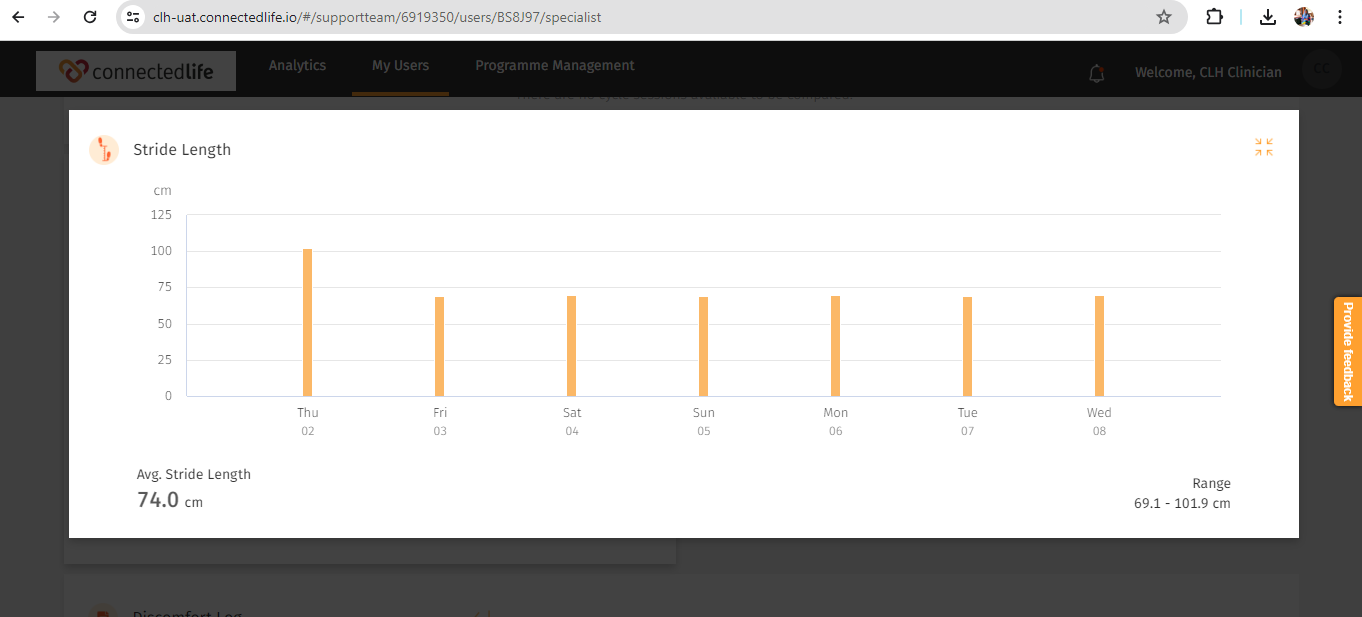
Stride Length

Stride length data can be viewed from here. Daily basis, weekly basis or monthly basis

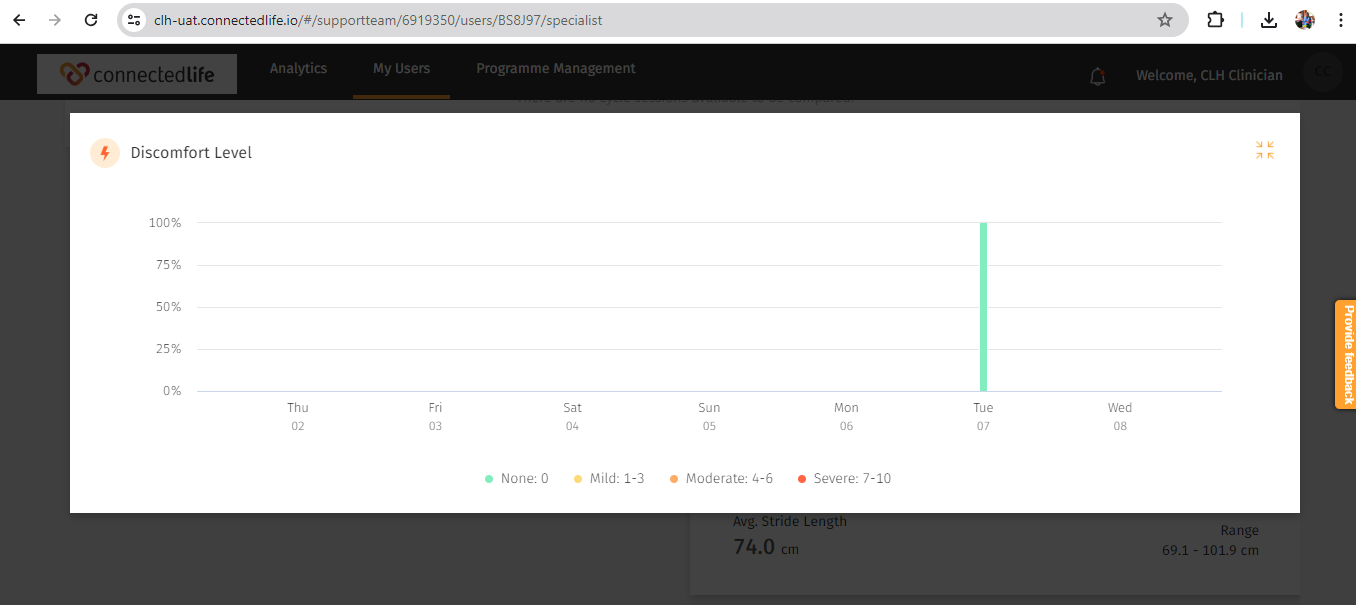
Discomfort Level Analysis

Discomfort levels of the user can be checked in the charts. User can log their discomfort via the mobile app or smartwatch.

The user reports a certain discomfort level and it will reveal the location where the data logged in. Each record consists of the timestamp and location captured.

How to Upload and Send Documents to user profile?

This article will guide you through the process of how you can upload and send documents to the “User” profile.

Step 1:

Log in to the CLH STM account.

Step 2:

After signing in, tap on “My Users-Users” tap.

Step 3:

A list of users page will be displayed after tapping on the user. Now input the Patient’s User ID or Name in the Search bar.

Step 4:

After clicking on the user ID a user profile will be displayed with all of the user’s information. From here you have to choose the “Document” section.

Step 5:

Now click on the “Upload Document” option found in the document area.

Step 6:

Next, use the button “Upload Document” to pick files from your computer or “Drag and Drop Files”. Also, you can click and upload files.

Step 7:

Now you need to click “Upload All” after choosing the file, and it will upload. Alternatively, you can click “Remove” beneath the file to get rid of it before uploading.

Step 8:

By clicking on “Confirm” your file will be uploaded.

Step 9:

After uploading your document you will see a “Green Tick” and your document has been uploaded.

Step 10:

On the Document tab, choose the file you want to share with the user. Several files can be selected at once. At the bottom of the screen, click on the “Share Icon”.

Step 11:

Enter your message and press “Send”.

Step 12:

The file will be successfully shared with the user when it is “Shared”.


What is the Challanges page in user the dashboard?

The Challenges section offers a systematic method for evaluating goals. It encompasses Ongoing Challenges, Personal Challenges, Past Challenges, Start Date, End Date, Participants, an All Goals Template, Challenge Analysis, Goals Contribution Distribution, and Participants Engagement. Organisational roles can monitor progress over time. Through Challenge Analysis tools, users can assess the impact of initiatives and interventions, promoting ongoing enhancement.

On the challenge page in the user dashboard, you will see the details of the challenge given to this specific participant.

You will be able to challenge calendar-wise for up to 90 days.

To see the challenge page in the user dashboard, log in to support team member accounts. Search the user from the search bar on the top right side of the dashboard. Then click on the user, and a page will appear. Click on the “Challenge” option. Now you will be able to see the challenge details.


How to schedule Take Rest?

In the ConnectedLife dashboard, promoting a holistic approach to health includes scheduling reminders for patients to take adequate rest.

Follow these simple steps to set up reminders for your patients to prioritise rest and recovery:

Step 1: Access Schedule Management

Navigate to the Schedule Management section within the Patient Profile’s Schedule Section.

Step 2: Edit Take a Rest Section

Click on the pen icon located at the upper right side of the “Take a Rest” section. This will open the editing interface, allowing you to Customise the rest schedule.

Step 3: Configure Reminder Settings

  • Start Date: Choose the date when you want the rest reminders to commence.
  • Duration: Specify the length of time the reminders should continue.
  • End Date: Set the date on which you wish to conclude the rest reminders.
  • Recurrence: Determine whether the reminders should occur daily, weekly, or at Customised intervals.
  • Frequency: Specify how often the reminders should be sent.
  • Timing: Choose the time of day for sending the rest reminders.

Step 4: Save Your Settings

After configuring the “Take a Rest” schedule to suit your preferences, click “Save” to confirm your settings. This ensures that your patients receive timely reminders to prioritise rest and rejuvenation.

Tips:

When using scheduling features, it’s crucial to consider Futuristic Scheduling. Ensure that the selected dates for scheduling various features for patients are in the future, as the system does not permit scheduling for past dates.

How to schedule Activity?

In the ConnectedLife dashboard, you can seamlessly schedule activity reminders to encourage your patients to embrace a physically active lifestyle.

Follow these user-friendly steps to set up Activity reminders effectively:

Step 1: Navigate to Schedule Management

Go to the user’s profile in the dashboard from your Support Team Account, you will land on the overview page then click on the schedule to view Schedule Management.
From the Activity tab, a new exercise can be added by tapping +Add new Exercise Group

Step 2: Configure Reminder Settings

  • Enter Group Name: Please enter the exercise group name to proceed to schedule the exercise.
  • Type of Exercise: Define the specific type of exercise you want patients to engage in.
  • Start Date: Choose the commencement date for the activity reminders.
  • Duration: Specify how long the reminders will continue.
  • End Date: Set the date on which you want to conclude the activity reminders.
  • Recurrence: Determine if the reminders should occur daily, weekly, or at custom intervals.
  • Frequency: Specify how often the reminders should be sent.
  • Timing: Choose the time of day for sending the reminders.

Step 3: Update Schedule

After configuring the Activity schedule to suit your requirements, click “Update Schedule” to save the changes. You also have the option to delete the schedule directly from this interface.

Step 4: A Confirmation Pop-up Message will appear

After successfully adding the scheduled activity, a confirmation message will appear.

How to Edit Activity Section

Click on the pen icon situated at the upper right side of the Activity section. This grants you the ability to make changes and tailor the Activity schedule according to your preferences.

Tips:

You can only schedule 2 exercises daily in the Same Exercise Group; 1 in the morning and 1 in the evening. When utilising scheduling features, it’s crucial to consider Futuristic Scheduling. Ensure that the selected dates for scheduling various features for patients are in the future. The system does not permit scheduling for past dates.

How to schedule Stay Hydrated?

In the ConnectedLife dashboard, you can schedule Stay Hydrated reminders, fostering healthy hydration habits for your patients. Follow these straightforward steps to set up reminders effectively.

Step 1: Navigate to Schedule Management

Access the patient’s profile and locate the Schedule Management section. This feature can be found in the Patient Profile’s Schedule Section.

Step 2: Edit Stay Hydrated Section

Click on the pen icon positioned at the upper right side of the Stay Hydrated section. This allows you to make adjustments and Customise the Stay Hydrated schedule.

Step 3: Configure Reminder Settings

  • Target Volume: Set the desired water intake target volume for the patient.
  • Start Date: Choose the date when you want the Stay Hydrated reminders to commence.
  • Duration: Specify how long the reminders will continue.
  • End Date: Set the date on which you want to conclude the Stay Hydrated reminders.
  • Recurrence: Determine if the reminders should occur daily, weekly, or at custom intervals.
  • Frequency: Specify how often the reminders should be sent.
  • Timing: Choose the time of day for sending the reminders.

Step 4: Save Changes

After configuring the Stay Hydrated schedule based on your preferences, click the “Save” button to apply the changes.

By following these steps, you empower patients to log their water intake regularly, contributing to their overall well-being.

Tips:

When utilising the scheduling features in the ConnectedLife dashboard, it’s essential to keep in mind the Futuristic Scheduling. Ensure that the dates selected for scheduling the various features for patients are in the future. The system doesn’t allow scheduling for past dates.

How to schedule Medicine and Specialised nutrition?

In the User Profile’s Schedule Management section, effortlessly manage Medicine and Specialised Nutrition reminders with these simple steps.

Access Schedule Management

From the Support Team account, Under My Users, go to the user’s profile. Then click on Schedule, and you will land on Schedule Management.

.

Add Medicine and Specialised Nutrition

Click +Add New Medication or +Add New Spcialised Nutrition to schedule.

Select the Medication.

Configure Reminder Details

Set essential details such as Start Date, Duration, End Date, Recurrence, Frequency, and Timing, Dose and include any relevant Notes.

Save Changes

Once you’ve configured the details, click “Save” to confirm the changes.

Deletion Option

If needed, you can also delete medications directly from this section.

Edit Medicine and Specialised Nutrition

Click on the pen icon at the upper right side to access editing options.

Tips:

Specialised Nutrition scheduling process is the same as described above. When utilizing the scheduling features in the ConnectedLife dashboard, it’s essential to keep in mind the Futuristic Scheduling. Ensure that the dates selected for scheduling the various features for patients are in the future. The system doesn’t allow scheduling for past dates.